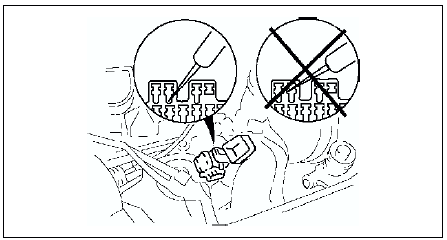
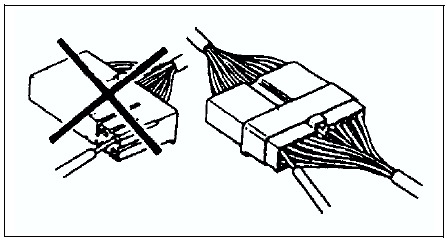
Insert the probe into the terminal when connecting a jumper wire to the data link connector.
Caution
Inserting a jumper wire probe into the data link connector terminal may damage the terminal.
Disconnecting connectors
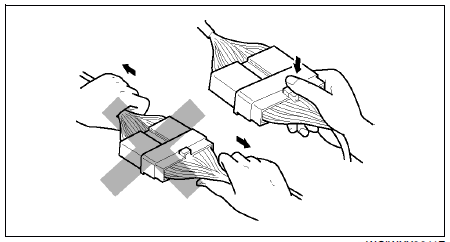
When disconnecting connector, grasp the connectors, not the wires.
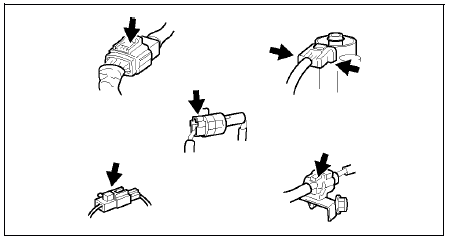
Connectors can be disconnected by pressing or pulling the lock lever as shown.
Locking connector
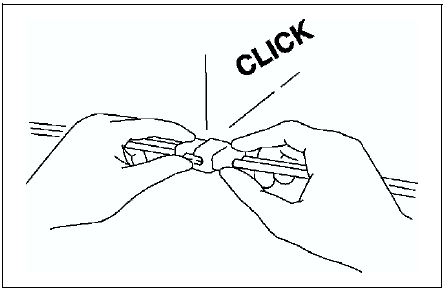
When locking connectors, listen for a click indicating they are securely locked.
Inspection
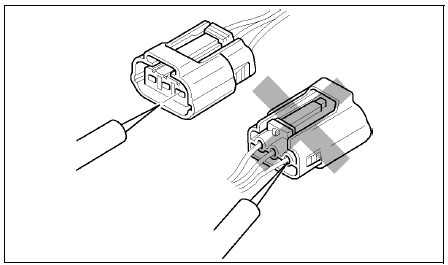
When a tester is used to inspect for continuity or measuring voltage, insert the tester probe from the wiring harness side.
Inspect the terminals of waterproof connectors from the connector side since they cannot be accessed from the wiring harness side.
Caution
To prevent damage to the terminal, wrap a thin wire around the tester probe before inserting into terminal.
TerminalsInspection
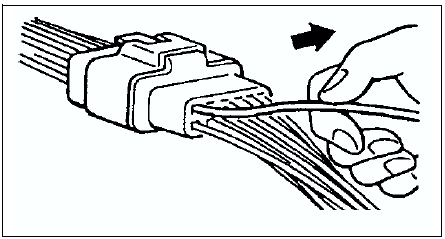
Pull lightly on individual wires to verify that they are secured in the terminal.
Replacement
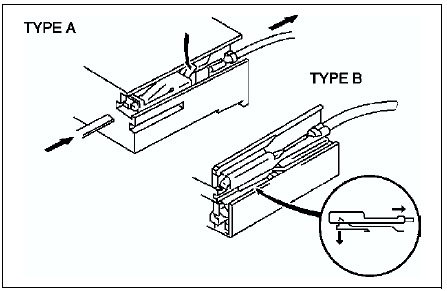
Use the appropriate tools to remove a terminal as shown. When installing a terminal, be sure to insert it until it locks securely.
Insert a thin piece of metal from the terminal side of the connector and with the terminal locking tab pressed down, pull the terminal out from the connector.
Sensors, Switches, and Relays
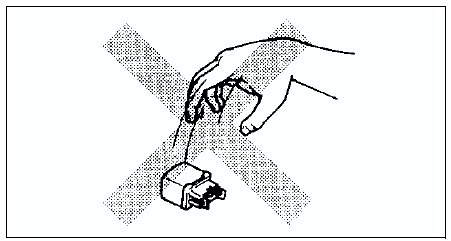
Handle sensors, switches, and relays carefully. Do not drop them or strike them against other objects.
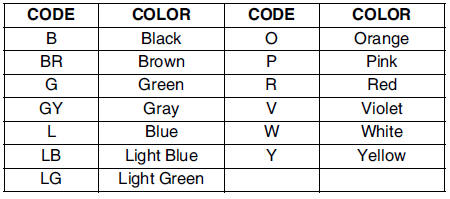
Wiring HarnessWiring color codes
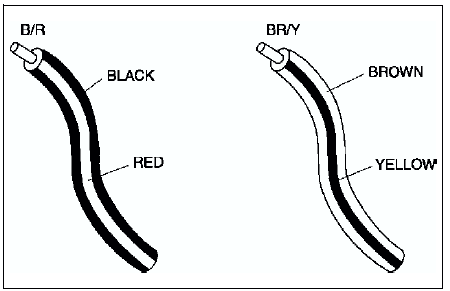
Two-color wires are indicated by a two-color code symbol.
The first letter indicates the base color of the wire and the second the color of the stripe.
FuseReplacement
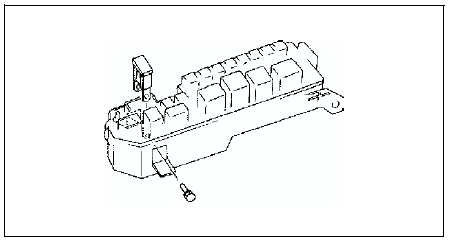
When replacing a fuse, be sure to replace it with one of the same capacity. If a fuse fails again, the circuit probably has a short and the wiring should be inspected.
Be sure the negative battery terminal is disconnected before replacing a main fuse.
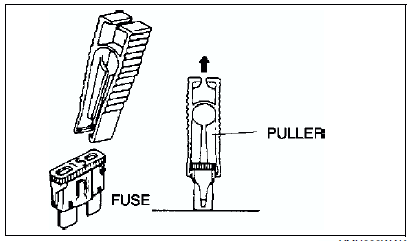
When replacing a pullout fuse, use the fuse puller.
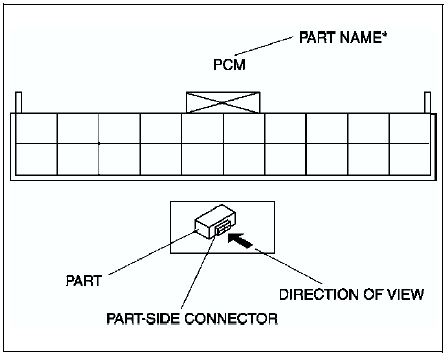
Direction of View for ConnectorPart-side connector
Direction of view is from the terminal side.
* : Part names are shown only when there are multiple connector drawings.
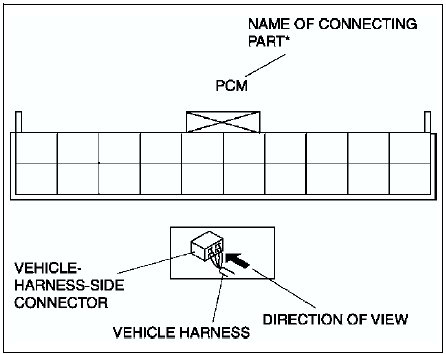
Vehicle-harness-side connector
Direction of view is from the harness side.
* : Part names are shown only when there are multiple connector drawings.
Other
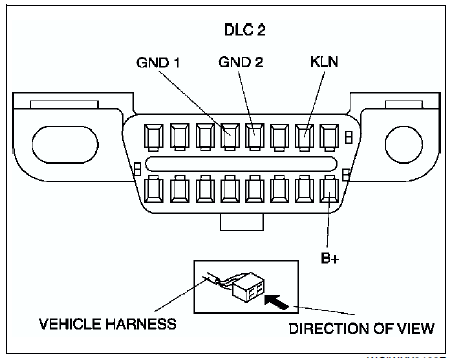
Because vehicle-harness-side connectors, such as the DLC 2, have to be viewed from the terminal side, the direction of view is from the terminal side.
?
Test yourself
A quick Mazda 6 quiz: every answer comes with an explanation and a link to the manual page.