Brake
Rear brake caliper disassembly and assembly
In this manual: Brake
~2min read
Refer to “rear brake caliper removal and installation” .
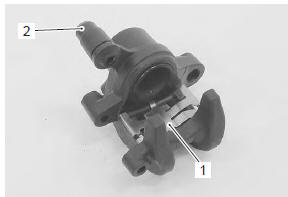
Disassembly- Remove the pad spring (1) and rubber boot (2) from the caliper.
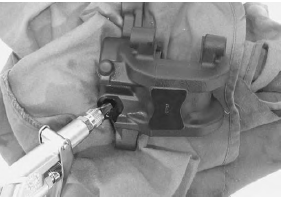
- Place a rag over the piston to prevent it from popping out and then force out the piston using compressed air.
Caution do not use high pressure air to prevent piston damage.
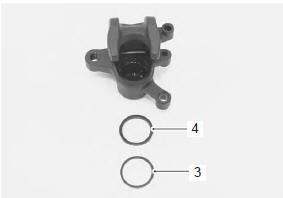
- Remove the dust seal (3) and piston seal (4).
- Remove the rubber boot (5), pad spring (6) and sliding pin b (7) from the bracket.

Assembly
Assemble the caliper in the reverse order of disassembly. Pay attention to the following points:
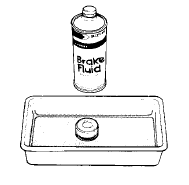
- wash the caliper bore and piston with specified brake fluid. Particularly wash the dust seal groove and piston seal groove.
- wash the caliper components with fresh brake fluid before reassembly. Never use cleaning solvent or gasoline to wash them.
- Do not wipe the brake fluid off after washing the components.
- When washing the components, use the specified brake fluid. Never use different types of fluid or cleaning solvent such as gasoline, kerosine or the others.
- Replace the piston seal and dust seal with new ones.
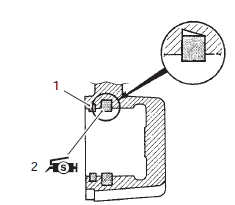
- Apply the brake fluid to dust seal (1).
- Apply grease to the piston seal (2).
 : Grease 99000–25100 (suzuki
silicone grease or equivalent)
- Install the piston seal (2) as shown in the figure.
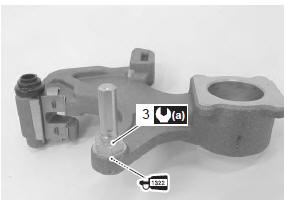
- Apply thread lock to the thread part and install the sliding pin b (3) to the bracket.
 Thread lock cement
99000–32110 (thread lock cement super “1322” or equivalent) Tightening torque rear caliper sliding pin b (a): 12 N·m
- Install the rear brake caliper. Refer to “rear brake caliper removal and installation” .
Test yourself
A quick Suzuki GSX-R 1000 quiz: every answer comes with an explanation and a link to the manual page.
Was this page helpful?