Disassembly
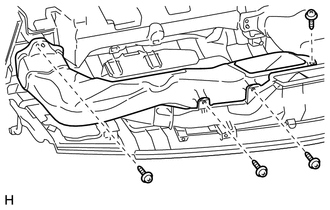
1. REMOVE NO. 1 HEATER TO REGISTER DUCT
(a) Remove the 4 screws and No. 1 heater to register duct. |
 |
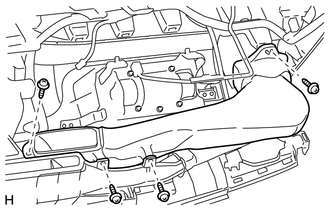
2. REMOVE NO. 2 HEATER TO REGISTER DUCT
(a) Remove the 4 screws and No. 2 heater to register duct. |
 |
3. REMOVE NO. 1 SIDE DEFROSTER NOZZLE DUCT
(a) Remove the screw. |
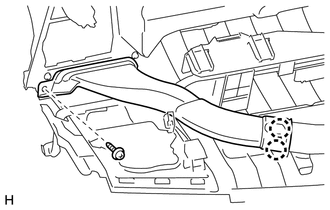 |
(b) Detach the 2 claws to remove the No. 1 side defroster nozzle duct.
4. REMOVE NO. 2 SIDE DEFROSTER NOZZLE DUCT
(a) Remove the screw. |
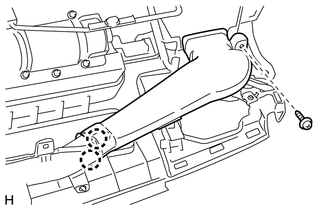 |
(b) Detach the 2 claws to remove the No. 2 side defroster nozzle duct.
5. REMOVE NO. 3 HEATER TO REGISTER DUCT
(a) Remove the 2 screws. |
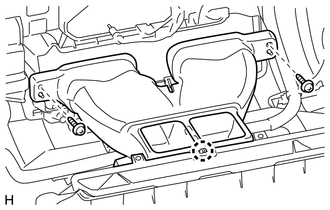 |
(b) Detach the claw to remove the No. 3 heater to register duct.
6. REMOVE DEFROSTER NOZZLE ASSEMBLY
(a) Remove the 3 screws and defroster nozzle assembly. |
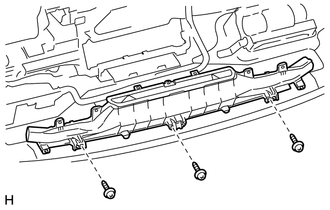 |
7. REMOVE ACCESSORY METER ASSEMBLY

8. REMOVE TELLTALE LIGHT ASSEMBLY
9. REMOVE NO. 2 INSTRUMENT PANEL WIRE
(a) Disconnect the connector.
(b) Detach the 17 clamps to remove the No. 2 instrument panel wire.
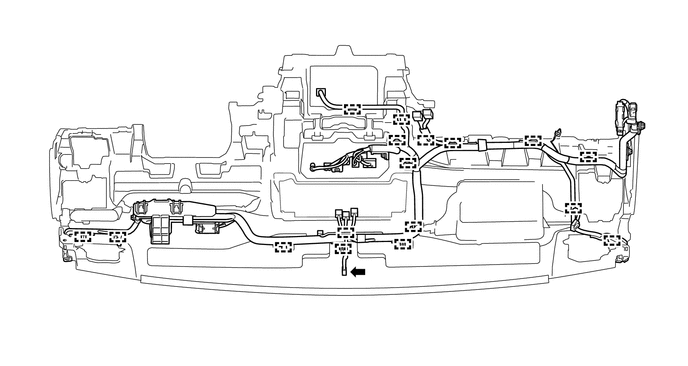
10. REMOVE INSTRUMENT PANEL PASSENGER AIRBAG ASSEMBLY
11. REMOVE AUTOMATIC LIGHT CONTROL SENSOR
12. REMOVE NAVIGATION ANTENNA ASSEMBLY (w/ Navigation System)
Test yourself
A quick Toyota 4Runner quiz: every answer comes with an explanation and a link to the manual page.