Outer Rear View Mirror Glass
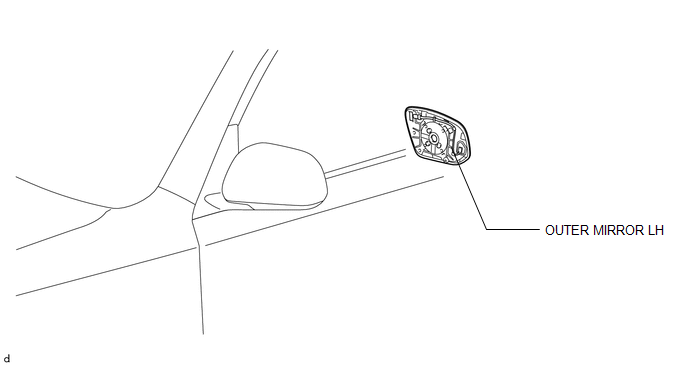
Removal REMOVAL CAUTION / NOTICE / HINT
HINT:
- Use the same procedure for both the RH and LH sides.
- The procedure listed below is for the LH side.
1. REMOVE OUTER MIRROR LH
(a) Put protective tape around the outer mirror LH.
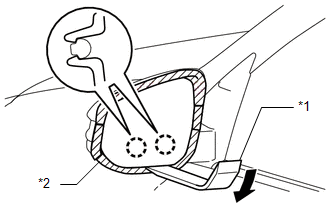
(b) Using a moulding remover, detach the 2 claws of the outer mirror LH as shown in the illustration. Text in Illustration
|
 |
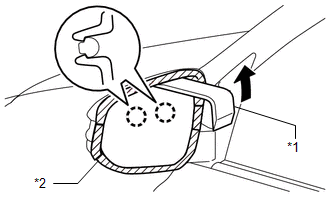
(c) Using a moulding remover, detach the 2 claws of the outer mirror LH as shown in the illustration. Text in Illustration
|
 |
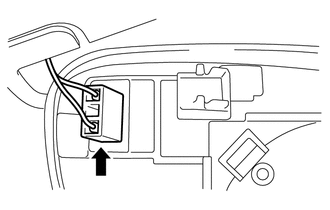
(d) Disconnect the connector and remove the outer mirror LH. |
 |
HINT:
- Use the same procedure for both the RH and LH sides.
- The procedure listed below is for the LH side.
1. INSPECT OUTER MIRROR LH
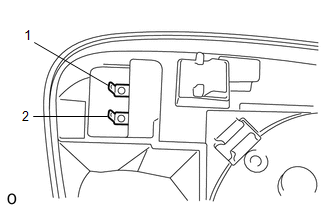
(a) Check the outer mirror heater operation.
(1) Measure the resistance according to the value(s) in the table below. Standard Resistance:
If the result is not as specified, replace the outer mirror LH. |
 |
HINT:
- Use the same procedure for both the RH and LH sides.
- The procedure listed below is for the LH side.
1. INSTALL OUTER MIRROR LH
(a) Connect the connector.
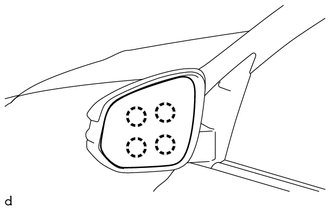
(b) Attach the 4 claws to install the outer mirror LH. |
 |
Test yourself
A quick Toyota 4Runner quiz: every answer comes with an explanation and a link to the manual page.