Engine Oil Cooler
 ILLUSTRATION
 ILLUSTRATION
 Inspection INSPECTION PROCEDURE
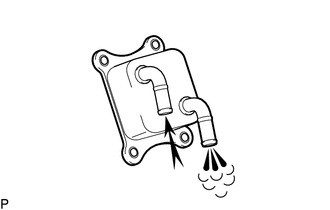
1. INSPECT OIL COOLER ASSEMBLY
(a) Check the oil cooler assembly for damage and clogging. If necessary, replace the oil cooler assembly. |
 |
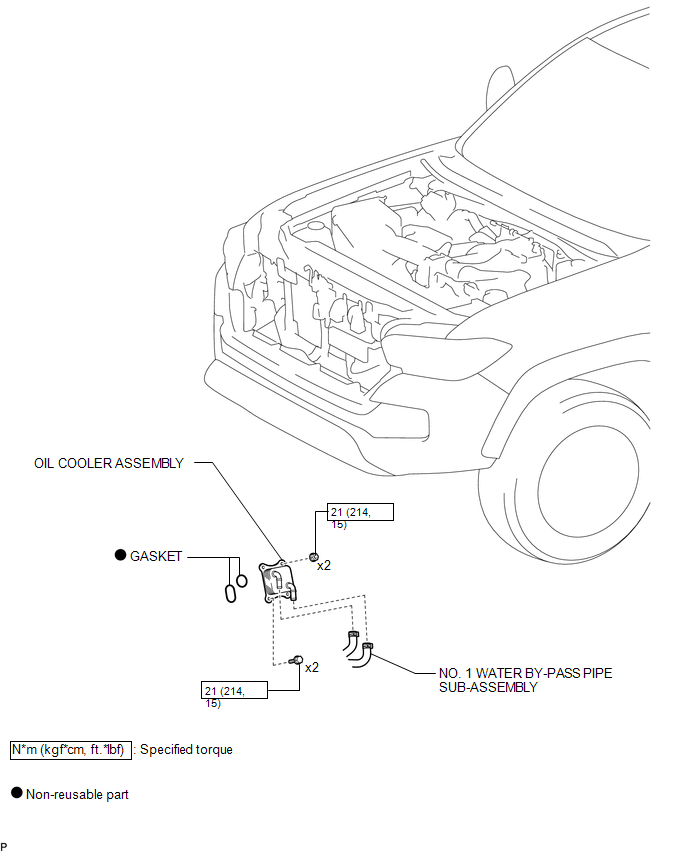
1. INSTALL OIL COOLER ASSEMBLY
(a) Install 2 new gaskets to the oil bracket sub-assembly.
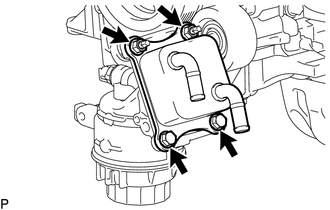
(b) Install the oil cooler assembly with the 2 bolts and 2 nuts.
Torque:
21 N·m {214 kgf·cm, 15 ft·lbf}
2. CONNECT NO. 1 WATER BY-PASS PIPE SUB-ASSEMBLY
(a) Connect the No. 1 water by-pass pipe sub-assembly.
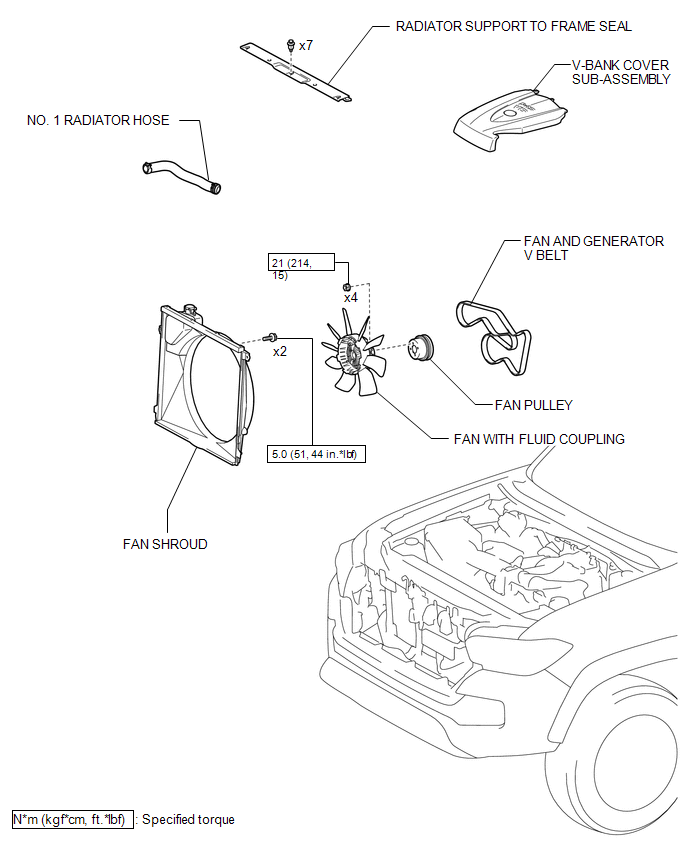
3. INSTALL FAN SHROUD

4. INSTALL NO. 1 RADIATOR HOSE
5. INSTALL V-BANK COVER SUB-ASSEMBLY
6. ADD ENGINE OIL
7. CHECK ENGINE OIL LEVEL
8. ADD ENGINE COOLANT
9. INSPECT FOR ENGINE OIL LEAK
10. INSPECT FOR COOLANT LEAK
11. INSTALL RADIATOR SUPPORT TO FRAME SEAL
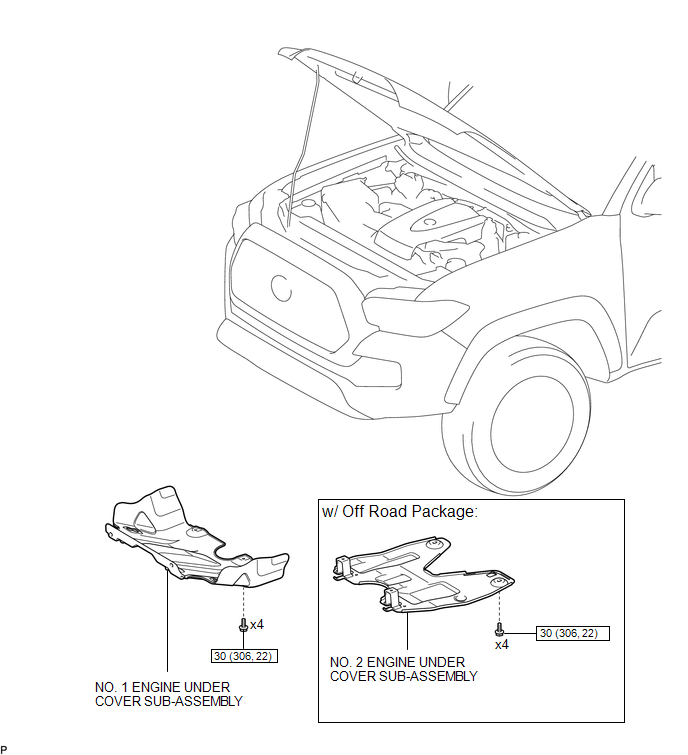
12. INSTALL NO. 1 ENGINE UNDER COVER SUB-ASSEMBLY
13. INSTALL NO. 2 ENGINE UNDER COVER SUB-ASSEMBLY (w/ Off Road Package)
Removal REMOVAL PROCEDURE1. REMOVE NO. 2 ENGINE UNDER COVER SUB-ASSEMBLY (w/ Off Road Package)
2. REMOVE NO. 1 ENGINE UNDER COVER SUB-ASSEMBLY
3. REMOVE RADIATOR SUPPORT TO FRAME SEAL

4. DRAIN ENGINE COOLANT
5. DRAIN ENGINE OIL
6. REMOVE V-BANK COVER SUB-ASSEMBLY
7. REMOVE NO. 1 RADIATOR HOSE
8. REMOVE FAN SHROUD
9. DISCONNECT NO. 1 WATER BY-PASS PIPE SUB-ASSEMBLY
(a) Disconnect the No.1 water by-pass pipe sub-assembly.
10. REMOVE OIL COOLER ASSEMBLY
(a) Remove the 2 bolts, 2 nuts and oil cooler assembly. |
 |
(b) Remove the 2 gaskets.
Test yourself
A quick Toyota Tacoma quiz: every answer comes with an explanation and a link to the manual page.