Seat Variable Cushion Switch
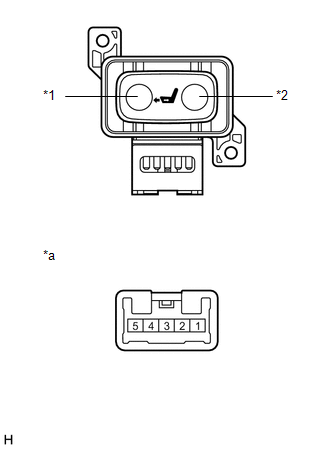
InspectionINSPECTIONPROCEDURE1. INSPECT SEAT VARIABLE CUSHION SWITCH
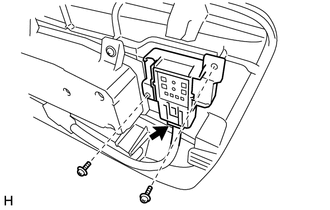
InstallationINSTALLATIONCAUTION: Wear protective gloves. Sharp areas on the parts may injure your hands. HINT: A bolt without a torque specification is shown in the standard bolt chart (See page PROCEDURE1. INSTALL SEAT VARIABLE CUSHION SWITCH (a) Install the seat variable cushion switch with the 2 screws. (b) Connect the connector. 2. INSTALL FRONT SEAT CUSHION SHIELD LH  3. INSTALL FRONT SEAT ASSEMBLY LH (See page RemovalREMOVALCAUTION: Wear protective gloves. Sharp areas on the parts may injure your hands. PROCEDURE1. REMOVE FRONT SEAT ASSEMBLY LH (See page 2. REMOVE FRONT SEAT CUSHION SHIELD LH  3. REMOVE SEAT VARIABLE CUSHION SWITCH
(b) Remove the 2 screws and seat variable cushion switch. |