General body repairs, exterior
Moving to and back from service position
In this manual: General body repairs, exterior
~2min read
Special tools and workshop equipment required |
|
|
|
Moving to service position |
|
 Note
- The lock carrier is a safety-relevant component. The lock carrier must not be repaired for this reason
- In the event of damage, renew lock carrier.
- For vehicles with adaptive cruise control unit -J428-, the adaptive cruise control unit -J428- must be adjusted anew, whenever the lock carrier has been removed, installed or replaced.
- General information and work instructions for the adaptive cruise control unit -J428- can be found in → Electrical system; Rep. gr.27
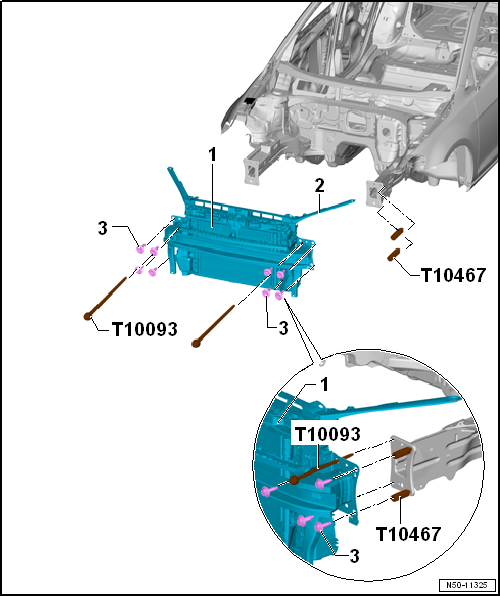
- Remove front bumper cover → Chapter
- Remove headlights → Electrical system; Rep. gr.94.
- Remove cable on mounting bracket of electrically operated lid → Chapter.
- Unhook filler neck for washer fluid reservoir on carrier -2- → Electrical system; Rep. gr.92.
- Only remove one bolt -3- on left and right side of each longitudinal member.
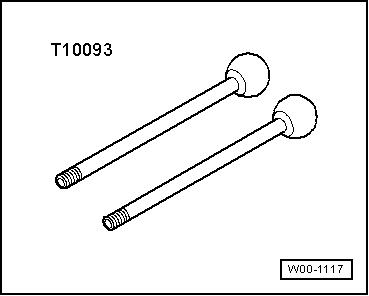
- Screw in special tool guide pins -T10093- to left and right longitudinal members where the bolts were previously located.
- Remove remaining bolts -3- on left and right side of longitudinal members
- The lock carrier with add-on parts -1- can be pulled forwards about 10 cm on the special tool guide pins -T 10093-. When doing this, be careful with the electrical wires/cables leading to lock carrier and, if necessary, detach connectors.
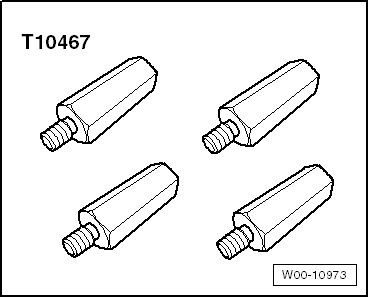
- Install special tool adapter -10467- (2 on each side) on left and right between bumper carrier and longitudinal member.
Moving from service position |
- Remove special tool adapter -T10467- on left and right from between bumper carrier and longitudinal member.
- Push lock carrier together with add-on parts -1- on the guide pins -T10093- and onto the longitudinal member.
- Place bolts -3- on left and right.
- Unscrew guide pins -T10093- on left and right.
- Align lock carrier together with add-on parts -1- to longitudinal members and between wings → Rep. gr.00.
Note
- Always fit lock carrier on the bolting points at the foremost position in the elongated hole. Only then can the lock carrier move in a crash situation.
- On vehicles equipped with adaptive cruise control unit -J428-, the adaptive cruise control unit -J428- must be readjusted whenever the lock carrier has been removed, installed or renewed.
- General information and work instructions for the adaptive cruise control unit -J428- can be found in → Electrical system; Rep. gr.27
Note
- Make sure that the charge air cooler pressure hoses are properly refitted
- Hoses and lines must not be pinched
- Adjust headlights → Electrical system; Rep. gr.94.
Specified torques
Lock carrier → Chapter „Assembly overview - lock carrier“
Test yourself
A quick Volkswagen Golf quiz: every answer comes with an explanation and a link to the manual page.
Was this page helpful?