4- cylinder injection engine(1.4 1 direct inction. turbocharger)

Removing and installing charge air cooler

~1min read

Special tools and workshop equipment required

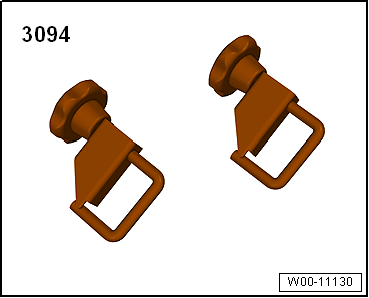
Hose clamps up to 25 mm -3094-

Removing and installing charge air cooler

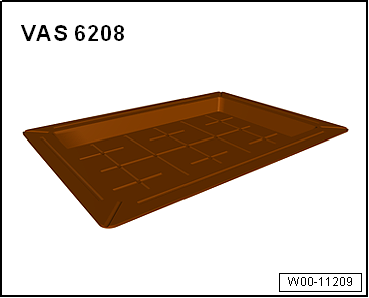
Drip tray for workshop hoist -VAS 6208-

Removing and installing charge air cooler

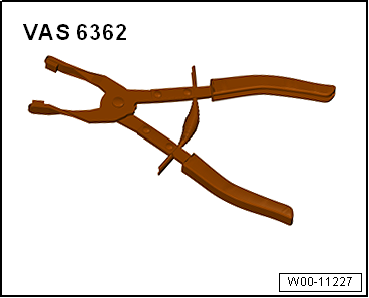
Hose clip pliers -VAS 6362-

Removing

  • Remove radiator cowl → Chapter.
Removing and installing charge air cooler
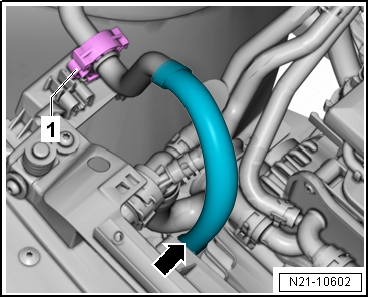
  • Open clip -1- and push hose -arrow- to one side.
  • Disconnect connector -1-.
Removing and installing charge air cooler
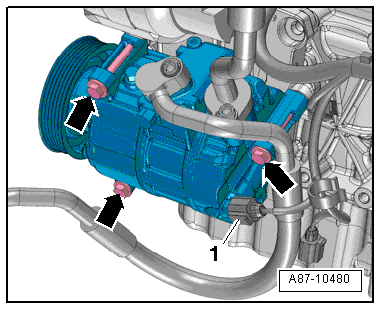
  • Remove air conditioner compressor from bracket -arrows- and tie it up → Air conditioner compressor; Removing and installing air conditioner compressor from and to bracket; Rep. gr.87.
  • Set drip tray for workshop hoist -VAS 6208- underneath.
  • Clamp off coolant hoses at charge air cooler with hose clamps -3094-.
Removing and installing charge air cooler
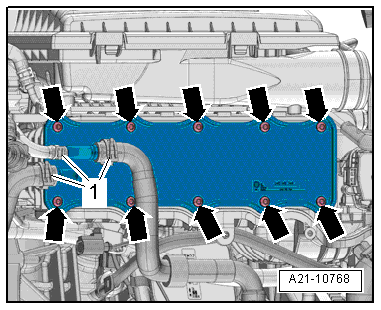
  • Release hose clips -1- and detach coolant hoses.
  • Remove bolts -arrows-.
Removing and installing charge air cooler
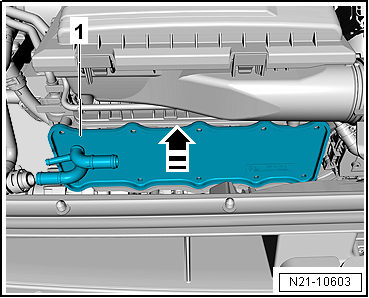
  • Pull charge air cooler -1- evenly towards front (in -direction of arrow-) out of intake manifold.

Installing

Installation is carried out in the reverse order; note the following:

Removing and installing charge air cooler
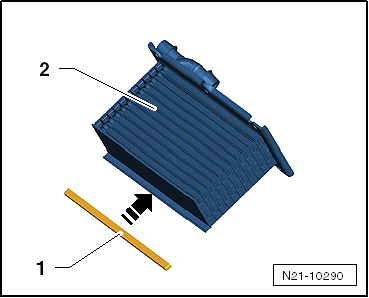
  • Fit sealing lip -1- in -direction of arrow- onto charge air cooler -2-.
  • Insert new gasket into groove on intake manifold.
Removing and installing charge air cooler
  • Tighten bolts -arrows- alternately and diagonally working from centre outwards.
  • Install hose clips -1-.
Note

If there are minor dents in the fins, refer to → Chapter.

  • Install radiator cowl → Chapter.
  • Check coolant level → Anchor.

Specified torques

→ Chapter „Assembly overview - charge air system“

→ Heating, air conditioning system; Rep. gr.87

Removing and installing charge air cooler

Test yourself

A quick Volkswagen Golf quiz: every answer comes with an explanation and a link to the manual page.