Removing and installing coolant pipes for auxiliary heater
In this manual: Auxiliary heater
~1min read
Tightening torque found on this page
Special tools and workshop equipment required
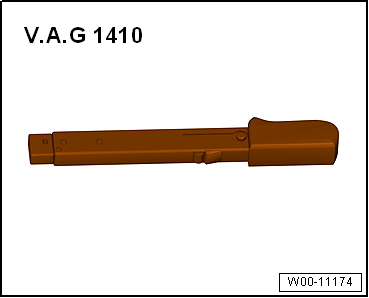
Torque wrench -V.A.G 1410- (4…20 N·m)
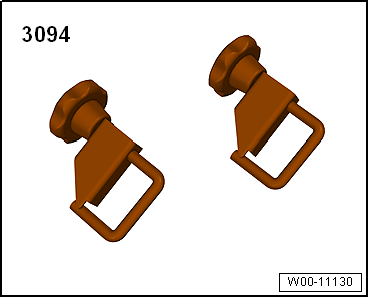
Hose clamps, up to 25 mm -3094-
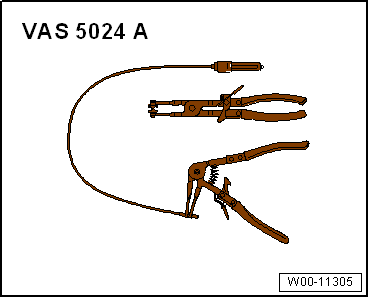
Pliers for spring-type clips -VAS 5024A-
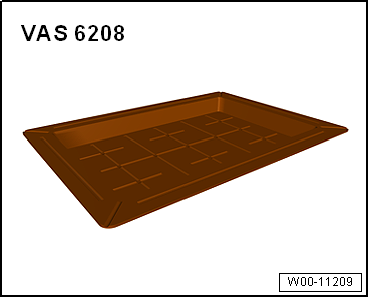
Drip tray for workshop hoist -VAS 6208-
Note
If the coolant circuit is opened, it must be bled → Rep. gr.19.
If the drive motor is warm, then the cooling system is pressurised. If necessary, release pressure before carrying out repairs.
Removing
Remove front noise insulation → General body repairs, exterior; Rep. gr.66.
Clamp off coolant hoses using hose clamps to 25 mm -3094-.
Note
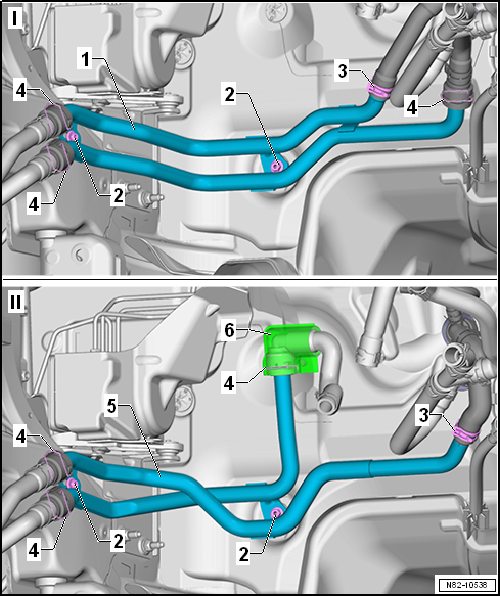
The illustration shows 2 different versions:
-I- Vehicles with petrol engine.
-II- Vehicles with diesel engine.
The removal and installation procedure is identical for both versions.
Danger of scalding due to steam and hot coolant. There is a risk of injury to the skin and parts of the body due to scalding.Release pressure by pressing pressure relief valve on cooling system tester until the gauge shows a pressure of 0.
Loosen spring-type clip -3-.
If fitted (only on specific vehicles), slide protective grommet -6- to one side.
Unclip coolant hoses -4- and pull them off coolant pipes -1- and -5-.
Unscrew nuts -2-.
Remove coolant pipes -1- and -5-.
Installing
Install in reverse order.
Specified torque
Component to be tightened
Specified torque
Collar nut
8 N·m
Nose insulation; Assembly overview - noise insulation → General body repairs, exterior; Rep. gr.66.
?
Test yourself
A quick Volkswagen Golf quiz: every answer comes with an explanation and a link to the manual page.
 Note