Electrical system
Removing and installing tail light in rear lid
In this manual: Electrical system
~1min read
 Note Removal and installation are described for the left side. Removal and installation on the right side are carried out in the same way. If the event of a defective LED, the entire tail light needs to be renewed.Removing
|
 Caution
|
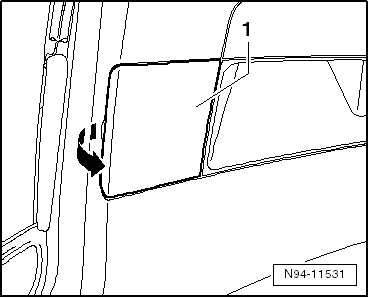 |
InstallingInstall in the reverse order of removal, observing the following: Note Ensure that the gap between vehicle body and tail light housing is properly sealed by the seal. Make sure that the connector is engaged firmly.
Specified torques→ Chapter „Assembly overview - tail lights in rear lid, with bulbs“ |
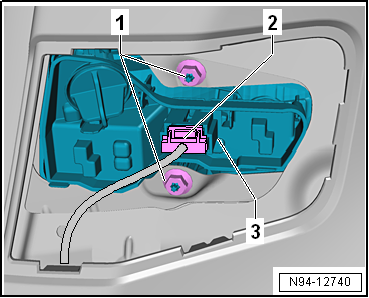 |
Test yourself
A quick Volkswagen Golf quiz: every answer comes with an explanation and a link to the manual page.
Was this page helpful?