Wheels and Tyres Guide - General Information
Renewing trim elements, bonded trim elements
In this manual: Wheels and Tyres Guide - General Information
~1min read
Special tools and workshop equipment required |
Cartridge gun -V.A.G 1628- |
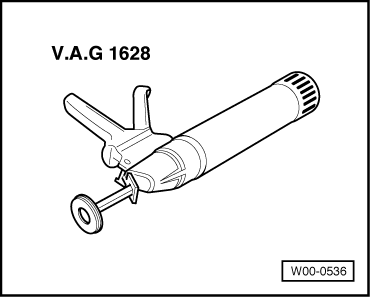 |
Removal wedge -3409- |
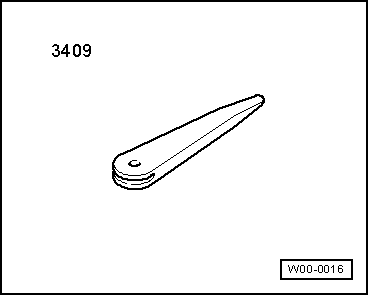 |
Hot air blower -V.A.G 1416-Materials |
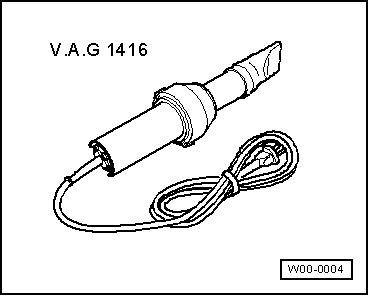 |
1K Window adhesive |
-DH 009 100 A2- |
Silicone remover |
-LSE 020 100 A3- |
Removing trim element
 Note
The trim element cannot be removed without causing damage to the element.
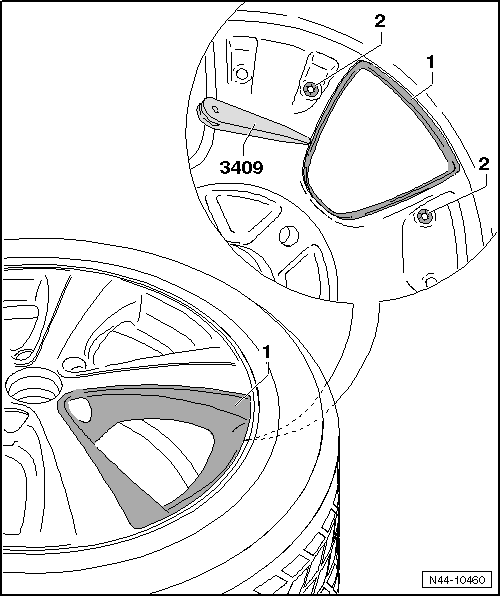
- Remove clamping washers -2- on inner side of alloy wheel.
- Heat outer side of trim element -1- with hot air blower -V.A.G 1416-.
 Caution Use only low heat on tyres and alloy wheels (do not overheat). |
- Release trim element -1- on inner side of alloy wheel using wedge -3409-.
- Grasp under a corner on the outside and pull trim element -1- forcefully off alloy wheel.
Note
Cut back adhesive PUR beads on alloy wheel.
Residual material is used as a bonding base for the new trim element.
The new trim element can be installed immediately.
Installing trim element
These alloy wheels are fitted with exchangeable trim elements. Follow these instructions during installation. Ensure bonding surfaces in alloy wheel and trim element are free of dust and grease.Clean bonding surfaces with silicone remover -LSE 020 100 A3-.
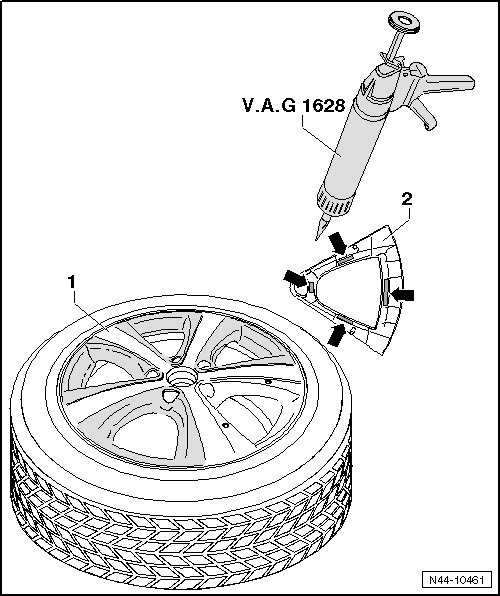
- Apply 1K window adhesive -DH 009 100 A2- to bonding surfaces -arrows- using cartridge gun -V.A.G 1628-.
Adhesive bead: length = approx. 25 mm and diameter = approx. 10 mm.
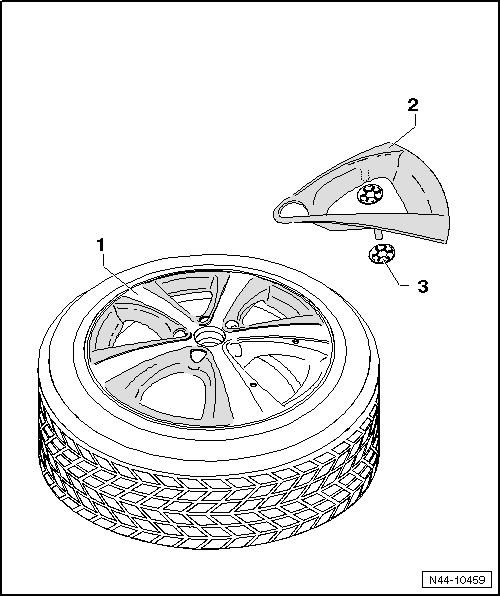
- Push trim element -2- forcefully into alloy wheel -1-.
- Secure trim element -2- on inner side of alloy wheel -3- with clamping washers.
Minimum curing period: 3 hours at a minimum room temperature of 15 °C.
 WARNING Alloy wheel must be rebalanced → Chapter. |
Test yourself
A quick Volkswagen Golf quiz: every answer comes with an explanation and a link to the manual page.
Was this page helpful?