Roof Trim Panels
Tools
Special tools and workshop equipment required
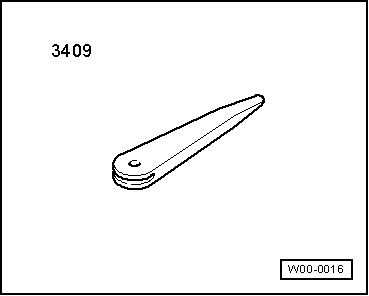
- Trim Removal Wedge -3409-
- Window Release Tool -T10236-

- Torque Wrench 1783 - 2-10Nm -VAG1783-

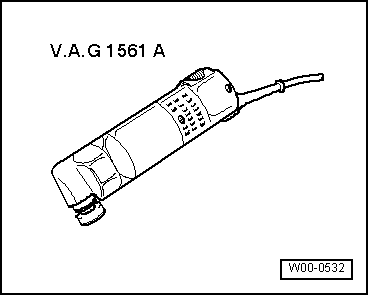
- Window Cutter -VAG1561A-
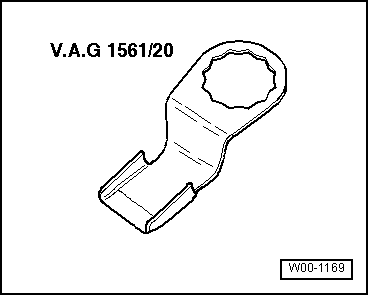
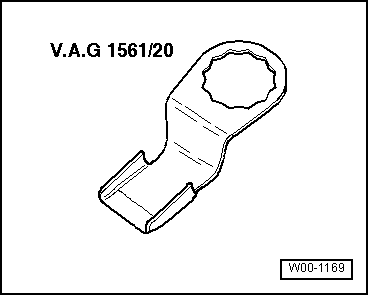
- Scraper Blade - 45mm -VAG1561/20-
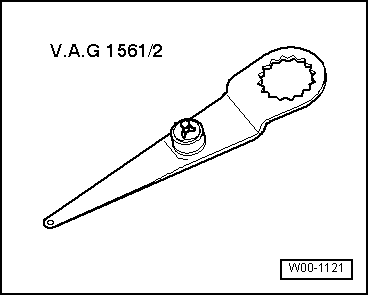
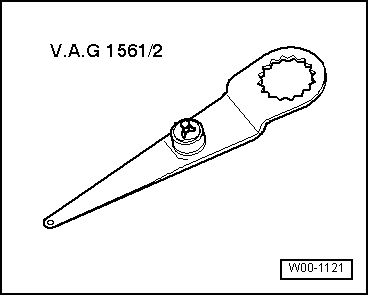
- Window Cutter - Offset Blade (2 pc.) -VAG1561/2-
- Cartridge Gun -VAG1628-

Roof End Strip, Removing and Installing
Removing
- Open the rear lid.

- Remove the roof end strip -1- downward and out of mounts in roof crossmember and rear lid seal molding.
Installing
- Install in reverse order of removal.
Note
Before the assembly check the clips for damage and replace if necessary.
Headliner, Removing and Installing
Removing
- Switch off the ignition.
- Remove the front interior and reading lamps:
- Vehicle without Panorama sunroof.
- Vehicle with Panorama sunroof.
Vehicles with a Roof Console
- Remove the roof console.
Vehicles Equipped with a Screen Separator
- Remove the bolt -1- (8 N·m) in each of the mounts -2-.

All Vehicles
- Remove roof end strip.
- Remove the A-pillar upper trim panel.
- Remove the B-pillar upper trim.
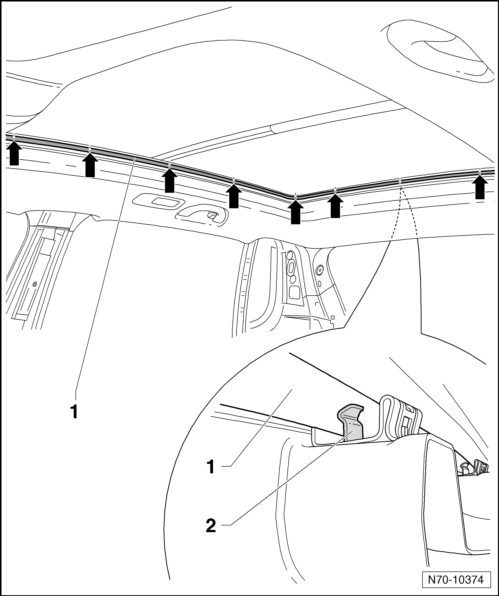
- For vehicles with a Panorama sunroof, remove the surrounding retaining channel -1- from the clips -2- using the Window Release Tool -T10236- and the Trim Removal Wedge -3409-.
Note
The clamping profile is mounted with 23 clamps -arrows-.
- Remove the roof grab handles.
- Remove the sun visors.
- Fold rear seat backrests forward.
- Move the front seats all the way forward and fold the backrests.
Note
It is not necessary to remove the C-pillar trim panels.
- Disconnect the connector -1- and remove the two bolts -arrows-; on vehicles with a roof console, the bolts are already removed.
- Pull the headliner in the area of the roof console out of the mounts.

The bracket clips remain in the body so that a desired break can occur at the predetermined breaking points.
- Lower the headliner just below the interior rearview mirror and pull it out of the C-pillar trim in the direction of travel.
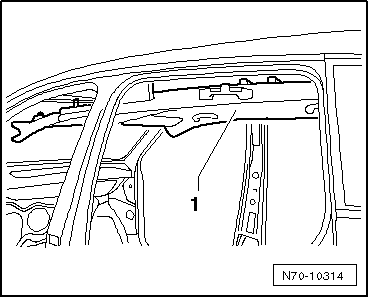
- With a second technician, remove the headliner -1- and pull it at an angle out of the vehicle through the rear door.
Installing
If a headliner is being replaced, then the new headliner may have to be cut to match the vehicle equipment.

- Remove the remaining clamp mounts -1- and -2- from the console in the headliner in the area of the four threaded holes.
- Install in reverse order of removal.

- When installing, slide the headliner -1- opposite direction of travel -arrow-, under the C-pillar trim panel -2-.
Openings for "Vanity Lamp" and "Screen Separator", Cutting in Headliner
If the headliner is being replaced, it may be necessary to cut openings in the new headliner.
- Attach the Window Cutter - Offset Blade (2 pc.) -VAG1561/2- on the Window Cutter -VAG1561A-.
- Use the old part as a template.
- Place the template on the material side of the new part and mark the cutting lines.
- Make the cuts in the material side with the Window Cutter -VAG1561A-.
Note
A commercially available carpet knife can also be used as an alternative to the Window Cutter -VAG1561A-.
- Install the "vanity lamp" and "screen separator" in the new part.
Roof Insulation and Reinforcement, Removing and Installing
Removing
- Switch off the ignition.
- Remove the front interior and reading lamps:
- Vehicle without Panorama sunroof.
- Vehicle with Panorama sunroof.
Vehicles with a Roof Console
- Remove the roof console.
Vehicles Equipped with a Screen Separator
- Remove the bolt -2- (8 N·m) in the respective mounts -1-.

All Vehicles
- Remove roof end strip.
- Remove the A-pillar upper trim panel.
- Remove the B-pillar upper trim.
- Remove the roof grab handles.
- Remove the sun visors.
- Fold rear seat backrests forward.
- Move the front seats all the way forward and fold the backrests.
- Remove the headliner.
Note
A Lupo is shown as an example in the following illustrations. Removal and installation of insulation/reinforcements is same in Tiguan.
- Cut roof insulation/reinforcements -1- in direction of travel in strips approximately 6 cm wide -2- using a carpet knife.
- Pull off the strips -2- from the roof.
- Cut back the excess adhesive -3- using the Window Cutter -VAG1561 A- and the Scraper Blade - 45mm -VAG1561/20--4-.
Note
If paint structure was damaged while removing roof insulation/reinforcements, paint damage must be repaired in accordance with the specifications.

Installing
Note
Processing instructions of adhesive must be observed when installing roof insulation/reinforcements.
- Apply adhesive D 190 MKD A3 on to insulation/reinforcements using the Cartridge Gun -VAG1628-.
- Apply adhesive in beads on insulation/roof reinforcement.
- Dimension -a- = 58 +- 2 mm
- Dimension -b- = 25 +- 5 mm
- Transport the roof insulation/reinforcements into vehicle through rear lid and press on to roof over the entire surface.

Special Tools
Special tools and workshop equipment required
- Trim removal wedge -3409-

- Torque wrench -VAG1783-

- Torque wrench -VAG1331-

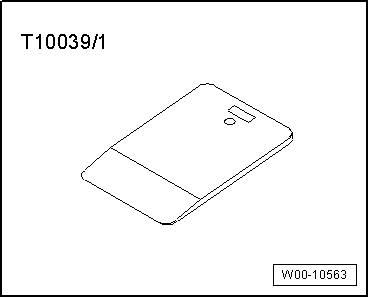
- Wedge -T10039/1-
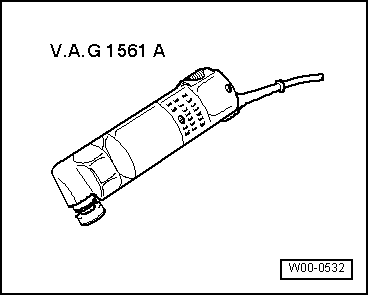
- Window cutter -VAG1561A-
- Scraper (45 mm) -VAG1561/20-
- Cutting blade (58 mm) -VAG1561/2-
- Cartridge gun -VAG1628-

Test yourself
A quick Volkswagen Tiguan quiz: every answer comes with an explanation and a link to the manual page.