Heating, Ventilation, and Air Conditioning
Blower Unit Repair Procedures
In this manual: Heating, Ventilation, and Air Conditioning
30steps
~180min
5/5difficulty
Done 0 of 30
Replacement
- Disconnect the negative (-) battery terminal.
- Recover the refrigerant using a refrigerant recovery/recycling/recharging station.
- When the engine has cooled, drain the engine coolant from the radiator. (Refer to Engine Mechanical System - "Coolant")
- Remove the engine cover. (Refer to Engine Mechanical System - "Engine Cover")
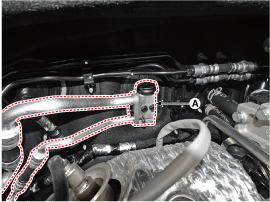
- Remove the bolts and the expansion valve (A) from the evaporator core.
Tightening torque: 8.8–13.7 N·m
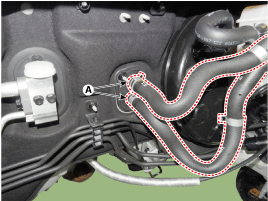
- Disconnect the heater hoses (A) from the heater unit.
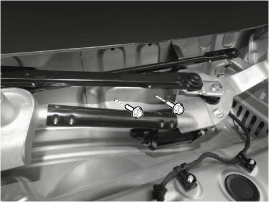
- Loosen the hood cross member bolts.
- Remove the floor console assembly. (Refer to Body – Floor Console Assembly)
- Remove the emergency pad lower panel. (Refer to Body - "Emergency Pad Lower Panel")
- Remove both sides of the front pillar garnish. (Refer to Body - "Front Pillar Garnish")
- Remove the hood side trim. (Refer to Body - "Hood Side Trim")
- Remove the lower steering column cover panel. (Refer to Body - "Steering Column Cover Panel")
- Remove the steering wheel. (Refer to Steering System - "Steering Wheel")
- Remove the combination switch. (Refer to Body Electrical System - "Combination Switch")
- Lower the steering column after loosening the mounting bolts. (Refer to Steering System - "Steering Column and Shaft")
- Remove the shift lever assembly. (Refer to Automatic Transmission System - "Shift Lever")
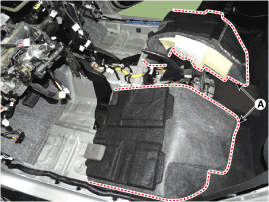
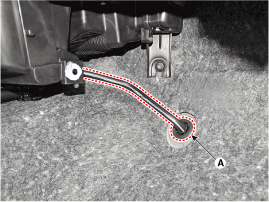
- Separate the floor covering (A) to make room for removing the rear heater duct.
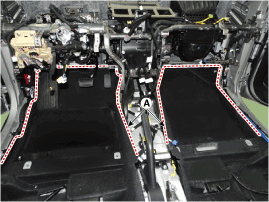
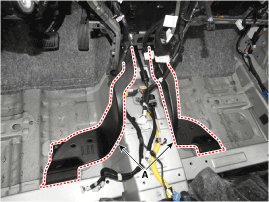
- Loosen the retaining nut and remove the rear duct (A).
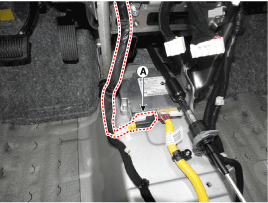
- Disconnect the connector (A) of the SRS control module (SRSCM).
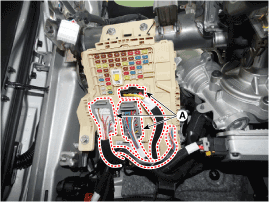
- Disconnect the connectors of the junction box (A).
- Disconnect the connectors of the multi-box (A). [LHD]
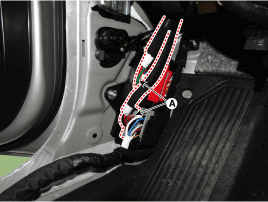
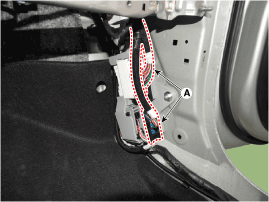
- Disconnect the connectors (A) and the wire harness clips on the front pillar. [Driver Side]
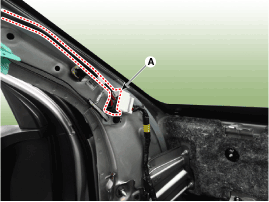
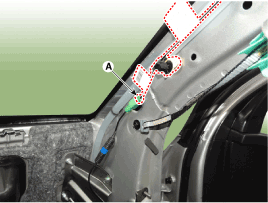
- Loosen the blower unit mounting bolts.
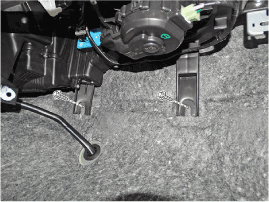
- Remove the drain hose (A).
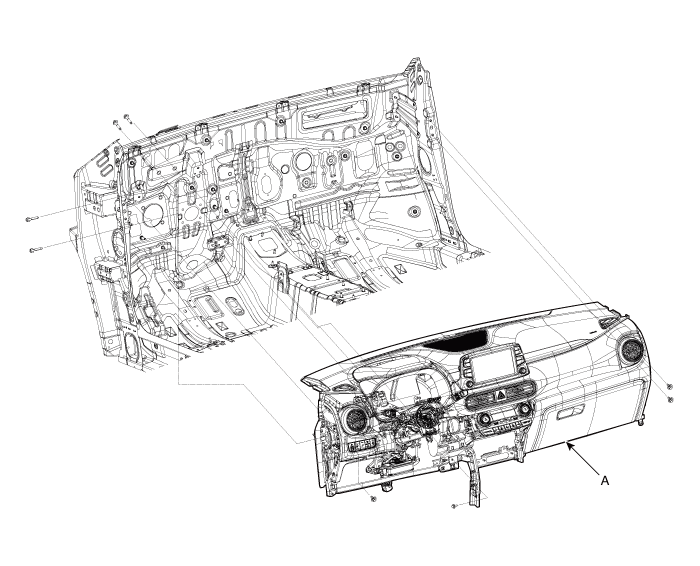
- After loosening the bolts and nuts, remove the main cowl panel and hood cross member assembly (A) together.
- Disconnect the heater unit and blower connectors. [Driver Side]
- Disconnect the mode control actuator connector (A) and remove the wire harness clips.
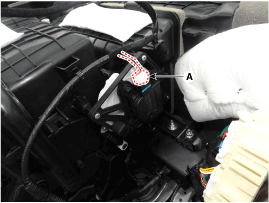
- Disconnect the evaporator temperature sensor connector (A) and remove the wire harness clips.
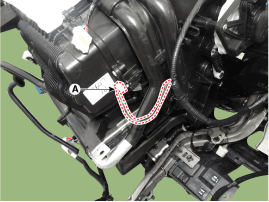
- Disconnect the blower motor connector (A) and remove the wire harness clips.
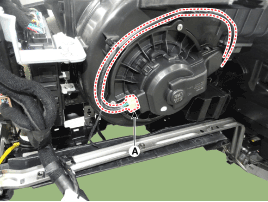
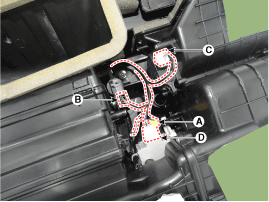
- Disconnect the temperature control actuator connector (A), the auto defog actuator connector (B), and remove the wire harness clips.
- Disconnect the intake actuator connector (C), the ionizer cluster connector (D), and remove the wire harness clips.
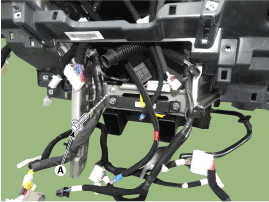
- Disconnect the mode control actuator connector (A) and remove the wire harness clips.
- Loosen the heater and blower unit mounting bolt (A).
- Remove the heater and blower unit (A) from the airbag (B) after loosening the mounting nuts.
Tightening torque: 3.9 ~ 5.9 N·m
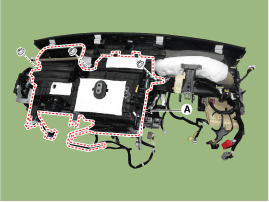
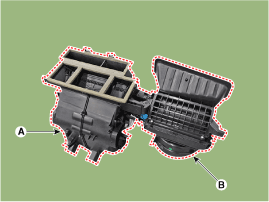
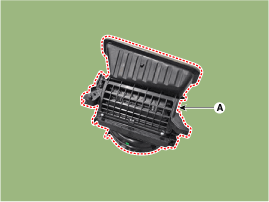
- Separate the blower unit (A) from the heater unit (B) after loosening the screws.
- To install, reverse the removal procedure.
Test yourself
A quick Hyundai Kona quiz: every answer comes with an explanation and a link to the manual page.
Was this page helpful?