Body (Interior and Exterior)
Front Seat Repair Procedures
In this manual: Body (Interior and Exterior)
28steps
~173min
5/5difficulty
1special tools
Done 0 of 28
Replacement
Seat Assembly Replacement- Remove the seat mounting cover.
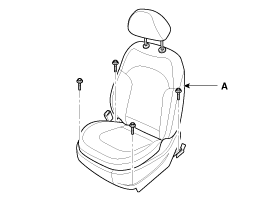
- Loosen the seat assembly mounting bolts, then remove the seat assembly (A).
Tightening torque: 44.1 ~ 59 N·m
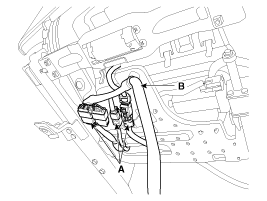
- Disconnect the connector (A) and the wiring harness (B).
- Install in the reverse order of removal.
SEAT MOUNTING BOLT INSTALLATION PROCEDURE
- Move the seat to the most rearward position. Make sure each slide is locked, then temporarily tighten the front mounting bolt.
- Move the seat to the most forward position. Make sure all slides are locked, then fully tighten the rear mounting bolt.
- Move the seat to the most rearward position. Fully tighten the front mounting bolt.
- Make sure the seat moves smoothly forward and rearward and that the locking part engages securely.
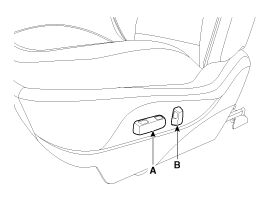
- Remove the seat switch (A) and the seatback recliner switch (B).
- Using a screwdriver, remove the front protector cover (A).
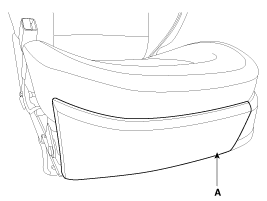
- Using a screwdriver, remove the protector cover (A).
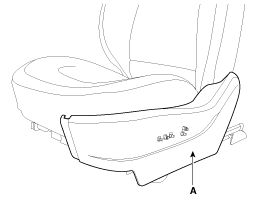
- Disconnect the connector (A).
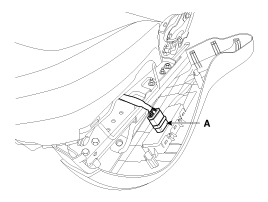
- Install in the reverse order of removal.
|
- Remove the front seat assembly.
- Remove the headrest.
- Slide the clips (B) off the seatback trim cover (A).
- Press the center of the clip using a flat-head screwdriver.
- Be careful not to damage the clip.
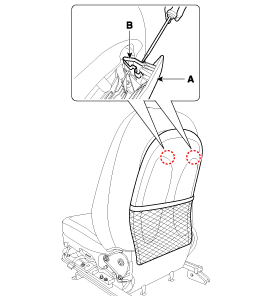
- Insert the hooks (A) into the seatback frame.
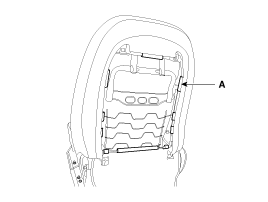
- Disconnect the connector mounting clip (A).
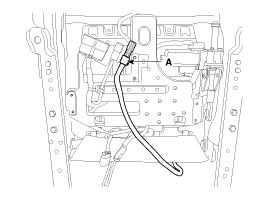
- Pull out the headrest guides (A) while squeezing their ends, then remove them.
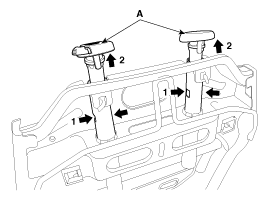
- Remove the seatback from the frame.
- Remove the clips (B) on the front of the seatback, then remove the seatback trim cover (A).
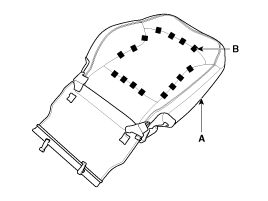
- Install in the reverse order of removal.

- To prevent wrinkles, make sure the material is evenly stretched over the cover (B) before fastening the clips (A).
- Replace the clips with new ones using the special service tool (C) (09880-4F000).
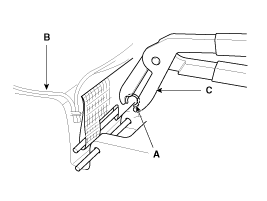
- Remove the front seat assembly.
- Remove the shield cover.
- Press the hook (A), then remove the seat cushion (C).
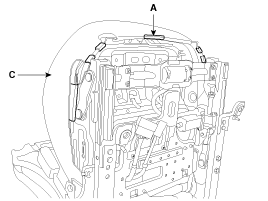
- Disconnect the connector (A).
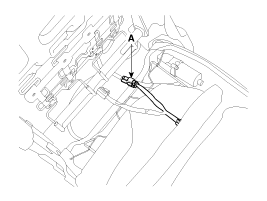
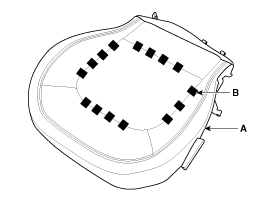
- Remove the clip (B) on the front of the seat cushion, then remove the seat cushion cover (A).
- When removing the ring clip, press on the wire so the wire does not separate from the sponge.
- Install in the reverse order of removal.
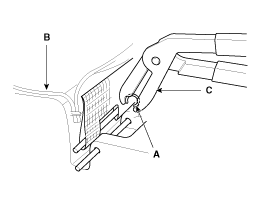
- To prevent wrinkles, make sure the material is evenly stretched over the cover (B) before fastening the clips (A).
- Replace the clips with new ones using the special service tool (C) (09880-4F000).
- Remove the following components:
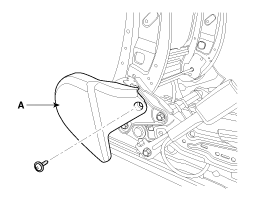
A. Front Seat Assembly B. Seat Back C. Seat Cushions D. Head Restraint - Loosen the mounting screw, then remove the front inner shield cover (A).
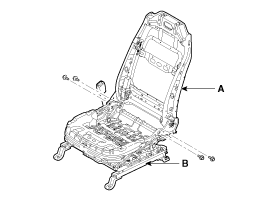
- Loosen the mounting bolts, then disconnect the seatback frame (A) and the seat cushion frame (B).
- Remove the side airbag to replace the side airbag installation location.
- Before performing any service, fully review the airbag precautions and service procedures (Refer to RT-Airbag System).
Tightening torque: 44.1 ~ 59 N·m
- Install in the reverse order of removal.
Test yourself
A quick Hyundai Tucson LM quiz: every answer comes with an explanation and a link to the manual page.
Was this page helpful?