Body (Interior and Exterior)
Floor Console Assembly Repair Procedures
In this manual: Body (Interior and Exterior)
18steps
~108min
5/5difficulty
Done 0 of 18
Replacement
[M/T]- Disconnect the gear boots (A).
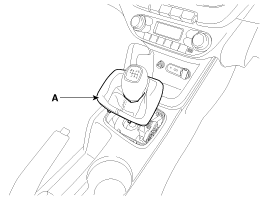
- Using a screwdriver or removal tool, remove the console trim (A). [LH]
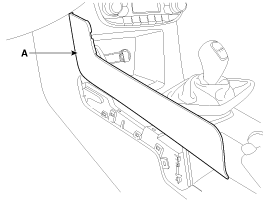
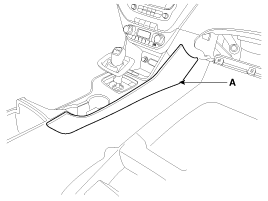
- Using a screwdriver or remover, remove the console upper cover (A).
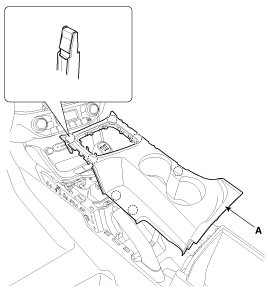
- After loosening the mounting screws, remove the console tray (A).
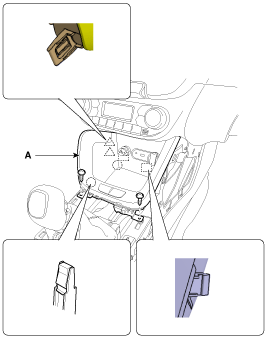
- Disconnect the connectors (A).
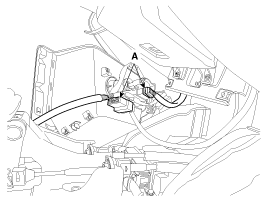
- Remove the console tray mat (A).
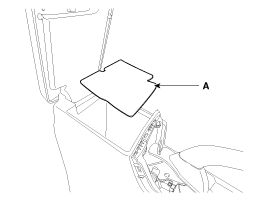
- After loosening the mounting screws, bolts, and clips, remove the floor console assembly (A).
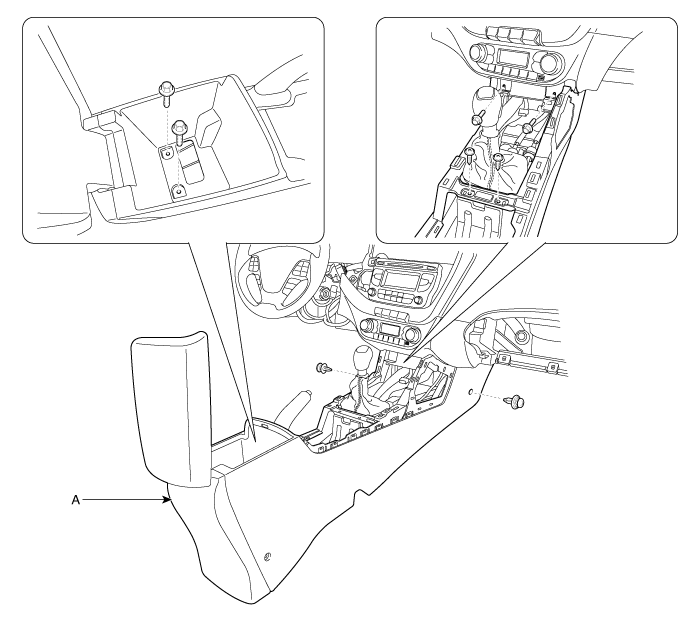
- Install in the reverse order of removal.
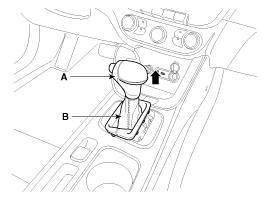
- Remove the boots (B) and the shift lever (A).
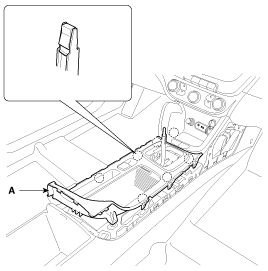
- Using a screwdriver or removal tool, remove the console trim (A). [LH]
- Using a screwdriver or remover, remove the console upper cover (A).
- Disconnect the indicator connector (A).
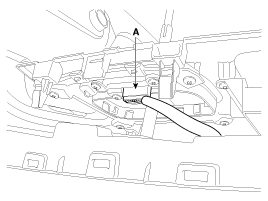
- Disconnect the EPB switch connector (A).
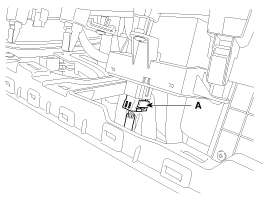
- After loosening the mounting screws, remove the console tray (A).
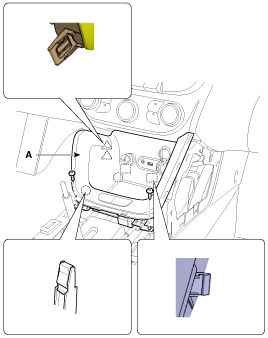
- Disconnect the connectors (A).
- Remove the console tray mat (A).
- After loosening the mounting screws, bolts, and clips, remove the floor console assembly (A).
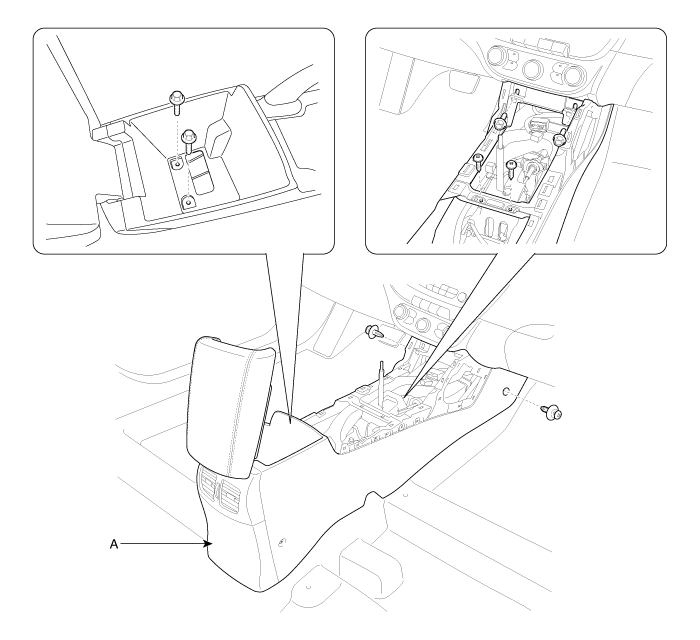
- Install in the reverse order of removal.
Test yourself
A quick Kia Cee'd quiz: every answer comes with an explanation and a link to the manual page.
Was this page helpful?