Air cleaner filter element renewal
Carburettor models
1. To remove the air cleaner element, remove the air cleaner cover. This is secured by a centre nut or bolt, or by three screws.
Additionally, release the spring clips around the edge of the cover or, if spring clips are not fitted, carefully prise around the lower edge of the cover with your fingers to release the retaining lugs (see illustrations).
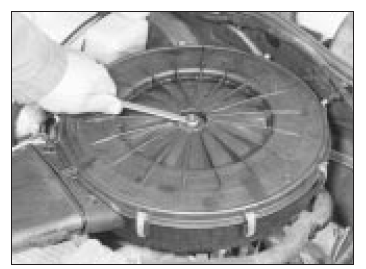
On carburettor models, undo the retaining nut (on some models the lid will be retained by screws) . . .
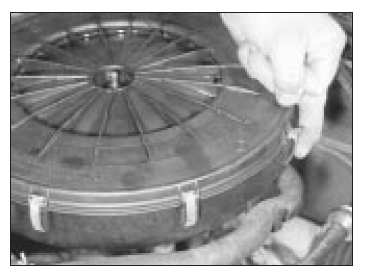
. . . and release the retaining clips . . .
2. With the cover removed, lift out the element (see illustrations).
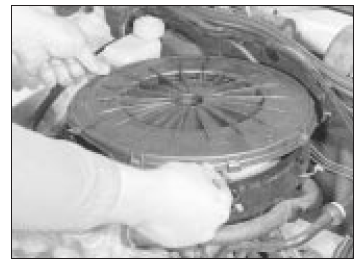
. . . then lift off the air cleaner lid . . .
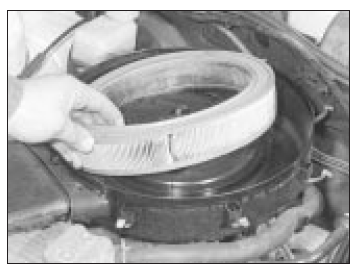
. . . and withdraw the filter element
3. Wipe inside the air cleaner, being careful not to introduce dirt into the carburettor throat. It is preferable to remove the air cleaner completely. Remember to clean the inside of the air cleaner cover.
4. Fit the new element, then refit and secure the cover. Observe any cover-to-body alignment lugs or slots.
Fuel injection models
1.4 and 1.6 litre models
5. Refer to paragraphs 1 to 4.
1.8 and 2.0 litre 8-valve models
6. The air cleaner on these models is contained within the airflow sensor housing.
7. Release the locking clip, and disconnect the plug from the airflow sensor (see illustration). Disconnect the air trunking.

On 1.8 and 2.0 litre 8-valve models, disconnect the airflow sensor wiring connector . . .
8. Release the spring clips, and lift off the air cleaner cover with airflow sensor attached.
The element will probably come away with the cover (see illustrations). Do not drop or jar the airflow sensor.
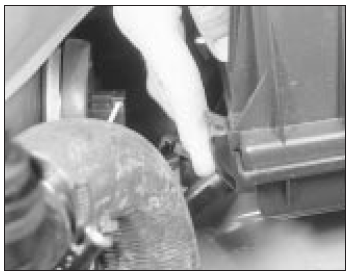
. . . then release the retaining clips . . .
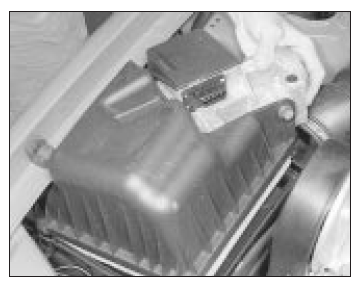
. . . and remove the air cleaner housing cover, complete with the filter element
9. Wipe clean the inside of the air cleaner an fit a new element to the cover, engaging the element seal in the cover recess (see illustration). Refit and secure the cover, then reconnect the airflow sensor plug. Refit the air trunking.
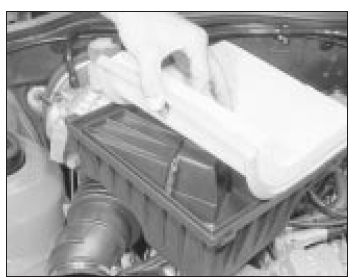
On fitting, ensure the element is correctly seated in the cover groove
2.0 litre 16-valve models
10. Disconnect the trunking which connects the air cleaner to the mass meter (see illustration).
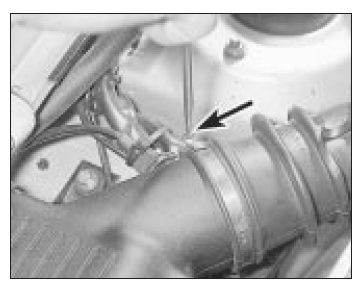
Disconnecting the trunking from the air cleaner - 2.0 litre 16-valve models
11. Release the four spring clips which secure the air cleaner lid. Remove the lid.
12. Remove the element and wipe clean the inside of the filter housing and lid.
13. Fit a new element, sealing lip uppermost (see illustration). Refit and secure the lid and trunking.
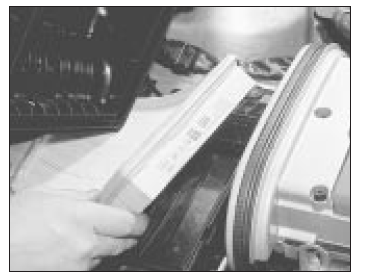
Fitting a new air cleaner element - 2.0 litre 16-valve models
Test yourself
A quick Opel Corsa quiz: every answer comes with an explanation and a link to the manual page.