Pre-Collision System Buzzer
Removal
REMOVAL
PROCEDURE
1. REMOVE FUSE BOX COVER
Click here
2. REMOVE PRE-COLLISION SYSTEM BUZZER
(a) Release the latch. |
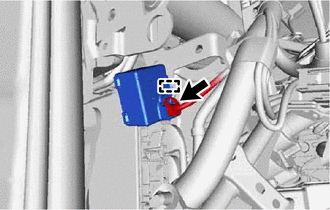 |
(b) Disconnect the connector to remove the pre-collision system buzzer.
NOTICE:
If the pre-collision sensor has been subjected to an impact or dropped, replace it with a new one.
Components
COMPONENTS
ILLUSTRATION
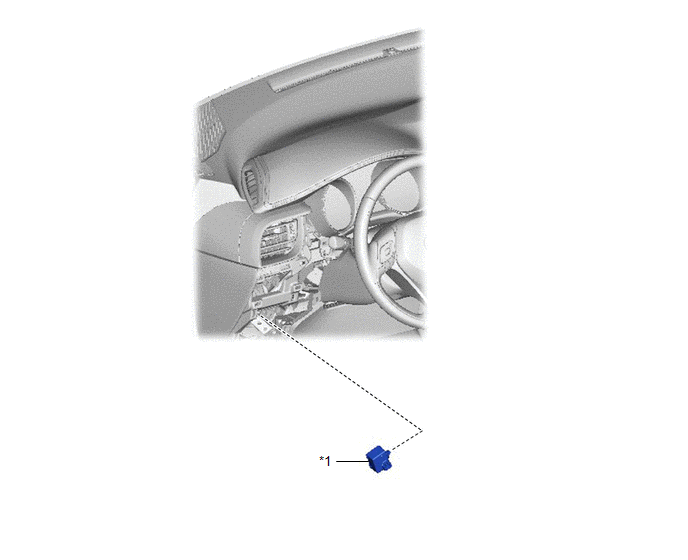
*1 |
PRE-COLLISION SYSTEM BUZZER |
- |
- |
Installation
INSTALLATION
PROCEDURE
1. INSTALL PRE-COLLISION SYSTEM BUZZER
(a) Connect the connector. |
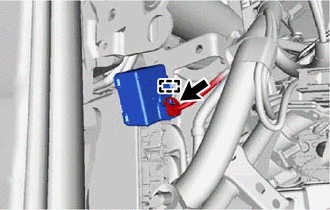 |
(b) Engage the clip to install the pre-collision system buzzer.
NOTICE:
If the pre-collision sensor has been subjected to an impact or dropped, replace it with a new one.
HINT:
Make sure to install the pre-collision system buzzer in the correct direction.
2. INSTALL FUSE BLOCK OPENING COVER
Click here
Inspection
INSPECTION
PROCEDURE
1. INSPECT PRE-COLLISION SYSTEM BUZZER
(a) Check that there is no looseness at the connector lock and connections.
(b) Disconnect the pre-collision system buzzer connector.
(c) Check the connector and terminals for any deformation and corrosion.
OK:
No deformation or corrosion.
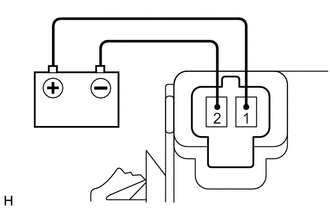
(d) Connect the positive (+) battery cable to terminal 1 and the negative (-) battery cable to terminal 2 of the pre-collision system buzzer, then check that the buzzer sounds. OK: The pre-collision system buzzer sounds. If the result is not as specified, replace the pre-collision system buzzer. |
 |