Inspection
INSPECTION
PROCEDURE
1. CHECK TIRES
(a) Check the tire wear condition and tire inflation pressure.
Tire Inflation Pressure when Cold:
Tire Size | Tire Inflation Pressure when Cold |
|
|---|---|---|
Front | Rear |
|
215/60R17 96H |
230 kPa (2.3 kgf/cm2, 33 psi) |
230 kPa (2.3 kgf/cm2, 33 psi) |
225/50R18 95V |
230 kPa (2.3 kgf/cm2, 33 psi) |
230 kPa (2.3 kgf/cm2, 33 psi) |
Tire Inflation Pressure when Cold (for compact spare tire):
Tire Size | Tire Inflation Pressure when Cold |
|---|---|
T145/70D18 107M |
420 kPa (4.2 kgf/cm2, 60 psi) |
T145/90D16 106M |
420 kPa (4.2 kgf/cm2, 60 psi) |
(1) Perform initialization.
Click here
(2) Tire pressure adjustment method when warm:
- Turn the ignition switch OFF.
- Connect the Techstream to the DLC3.
- Turn the ignition switch ON.
- Turn on the Techstream.
- Select the following menu items: Chassis / Tire Pressure Monitor / Data List.
- Adjust the tire pressure so that the displayed value is equal to the specified pressure.
- Perform initialization and check that it is completed.
Click here
- Check and record the value of the Data List item "Temperature in Tire". (Ts)
- Check and record the ambient temperature when adjusting the tire pressure. (Tm)
- Readjust the tire pressure based on the difference between the tire internal temperature (Ts) and the ambient temperature (Tm). (P)
HINT:
Tire internal temperature: Ts, ambient temperature: Tm, readjusted tire pressure value: P
P = (specified pressure) + (Ts - Tm)
- Check the pressure adjustment value with the Data List item "Tire Inflation Pressure".
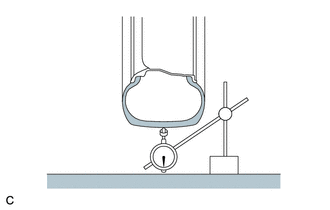
(b) Check the tire runout using a dial indicator. Maximum Tire Runout: 1.4 mm (0.0551 in.) HINT: Measure the runout with the wheel assembly removed from the vehicle. |
 |
2. ROTATE TIRES
(a) Remove the steering wheel assembly.
Click here
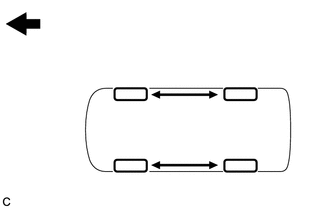
(b) for North America:
(1) Rotate the tires as shown in the illustration.
 |
Front |
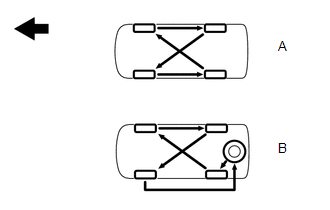
(c) except North America:
(1) If the spare tire wheel is a different type from the other tires, rotate the tires as shown in (A) in the illustration. If the spare tire wheel is the same type as the other tires, rotate the tires, including the spare tire, as shown in (B) in the illustration.
|
Front |
(d) Install the steering wheel assembly.
Click here
(e) Perform initialization.
Click here
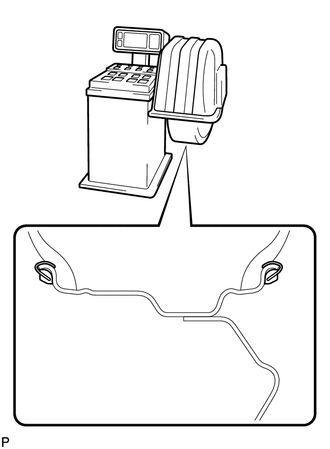
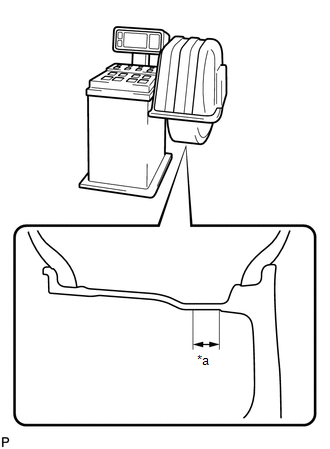
3. INSPECT AND ADJUST WHEEL BALANCE
(a) Check and adjust the off-vehicle wheel balance.
(1) for steel wheels: Maximum Wheel Imbalance: 8.0 g (0.0176 lb.) HINT:
|
 |
(2) for aluminum wheels: Maximum Wheel Imbalance: 8.0 g (0.0176 lb.) NOTICE:
HINT:
|
|
4. INSPECT FRONT AXLE HUB BEARING
Click here
5. INSPECT REAR AXLE HUB BEARING
Click here