Emission Control System
Parts Location
PARTS LOCATION
ILLUSTRATION
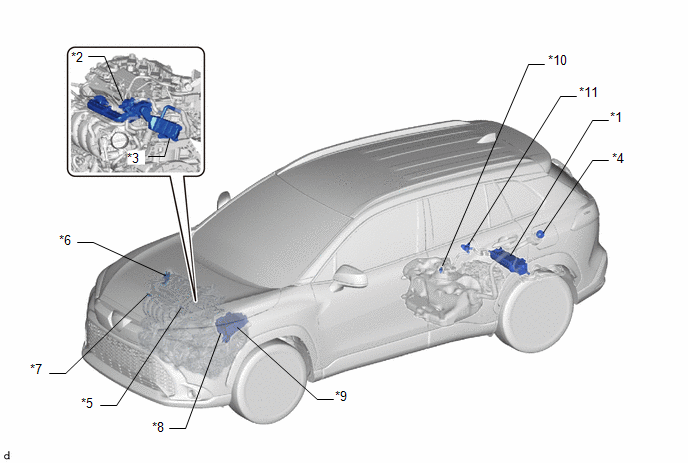
*1 |
CANISTER (FUEL SUCTION PLATE SUB-ASSEMBLY) |
*2 |
EGR VALVE ASSEMBLY |
*3 |
EGR COOLER ASSEMBLY |
*4 |
FUEL TANK CAP ASSEMBLY |
*5 |
PCV VALVE (VENTILATION VALVE SUB-ASSEMBLY) |
*6 |
PURGE VALVE (PURGE VSV) |
*7 |
E.F.I. VACUUM SENSOR ASSEMBLY (MANIFOLD ABSOLUTE PRESSURE SENSOR) |
*8 |
ECM |
*9 |
NO. 1 ENGINE ROOM RELAY BLOCK AND NO. 1 JUNCTION BLOCK ASSEMBLY - EFI-MAIN RELAY - EFI NO. 3 FUSE |
*10 |
FUEL TANK PRESSURE SENSOR (VAPOR PRESSURE SENSOR) |
*11 |
FUEL VAPOR CONTAINMENT VALVE (FUEL TANK SOLENOID MAIN VALVE ASSEMBLY) |
- |
- |
System Diagram
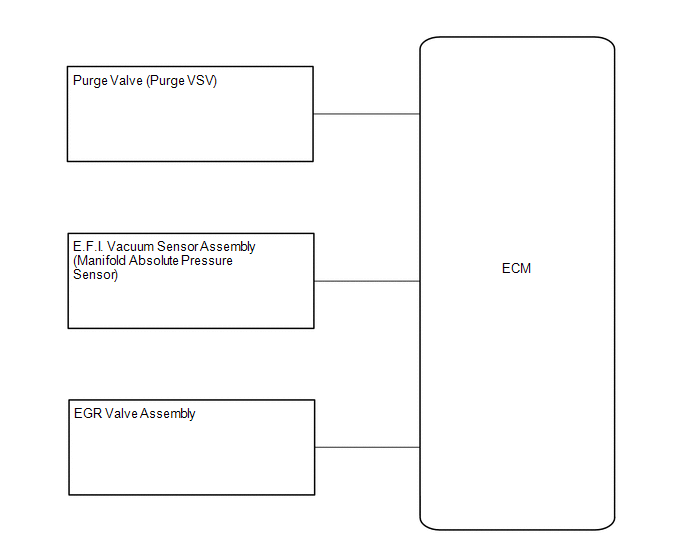
SYSTEM DIAGRAM
On-vehicle Inspection
ON-VEHICLE INSPECTION
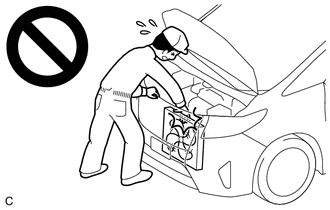
CAUTION:
To prevent injury due to contact with an operating cooling fan, keep your hands and clothing away from the cooling fans when working in the engine compartment with the engine running or the power switch on (IG).
PROCEDURE
1. VISUALLY INSPECT HOSES, CONNECTIONS AND GASKETS
(a) Visually check that the hoses, connections and gaskets have no cracks, leaks or damage.
NOTICE:
- Detachment or other problems with the engine oil level dipstick, oil filler cap sub-assembly, ventilation hose or other components may cause the engine to run improperly.
- Air suction caused by disconnections, looseness or cracks in any part of the air induction system between the throttle body assembly and cylinder head sub-assembly will cause engine failure or engine malfunctions.
If any defects are found, replace parts as necessary.
2. INSPECT EVAPORATIVE EMISSION CONTROL SYSTEM
CAUTION:
To prevent injury due to contact with an operating cooling fan, keep your hands and clothing away from the cooling fans when working in the engine compartment with the engine running or the power switch on (IG).
(a) Connect the GTS to the DLC3.
(b) Turn the power switch on (IG).
(c) Turn the GTS on.
(d) Put the engine in inspection mode (maintenance mode).
Click here 
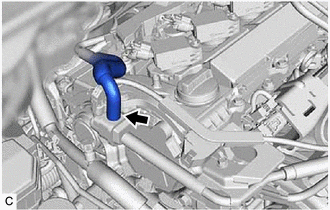
(e) Disconnect the No. 1 fuel vapor feed hose from the purge valve (purge VSV). |
 |
(f) Enter the following menus: Powertrain / Engine / Active Test / Activate the Evap Purge VSV.
Powertrain > Engine > Active TestActivate the EVAP Purge VSV
(g) Check that vacuum occurs at the purge valve (purge VSV) port.
(h) If vacuum does not occur, check the following items.
- Purge valve (purge VSV)
- Clogging in the No. 2 fuel vapor feed hose that connects the intake manifold and purge valve (purge VSV)
- Voltage from the ECM PRG terminal
Click here
(i) Exit Active Test mode and connect the No. 1 fuel vapor feed hose.
If the result is not as specified, replace the purge valve (purge VSV), wire harness or ECM.
(j) Enter the following menus: Powertrain / Engine / Data List / EVAP (Purge) VSV.
Powertrain > Engine > Data ListEVAP (Purge) VSV
(k) Warm up the engine and drive the vehicle.
(l) Confirm that the purge valve (purge VSV) opens.
If the result is not as specified, replace the purge valve (purge VSV), wire harness or ECM.