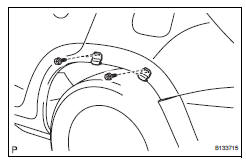
Use the same procedures for the rh side and lh side.
The procedures listed below are for the lh side.
When installing the moulding, heat the vehicle body and moulding using a heat light.
Standard heating temperature Notice:
Do not heat the vehicle body and moulding excessively.
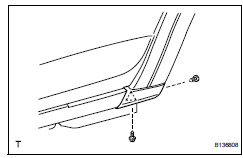
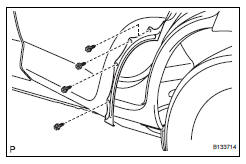
Install no. 1 Rocker panel moulding retainer lh
Install the 2 retainers with the 4 screws.
Install quarter opening retainer lh
Install the retainer with the 4 screws.
Install no. 2 Rocker panel moulding retainer lh
Install the retainer with the 2 screws.
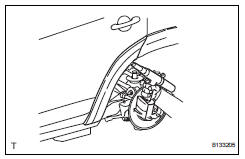
Install rear quarter outside moulding lh
Attach the 5 clips to install the moulding.
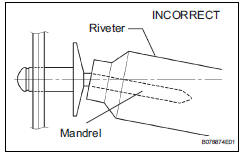
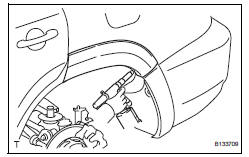
Using an air riveter or hand riveter with a nose piece, strike 2 rivets to the vehicle to install the rear quarter outside moulding to the vehicle.
Notice:
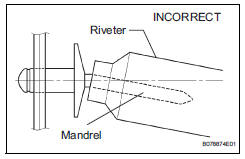
If the rivet is not positioned perpendicularly, it will bend the mandrel.
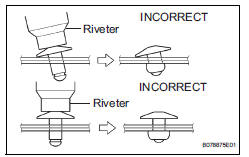
Do not pry the rivet with the riveter, as this will cause damage to the riveter and mandrel.
Confirm that the rivets are seated properly against the moulding. Do not tilt the riveter when installing the rivet to the moulding. Do not leave any space between the rivet head and moulding.
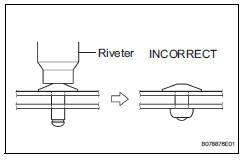
Do not leave any space between the moulding and door panel. Firmly hold together the 2 items while installing the rivet.
Install no. 1 Rear wheel opening extension lh
Attach the 5 clips to install the extension.
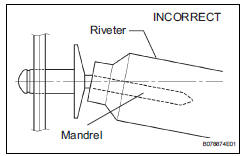
Using an air riveter or hand riveter with a nose piece, strike 2 rivets to the vehicle to install the rear wheel opening extension to the vehicle. Notice:
If the rivet is not positioned perpendicularly, it will bend the mandrel.
Do not pry the rivet with the riveter, as this will cause damage to the riveter and mandrel.
Confirm that the rivets are seated properly against the moulding. Do not tilt the riveter when installing the rivet to the moulding. Do not leave any space between the rivet head and moulding.
Do not leave any space between the moulding and door panel. Firmly hold together the 2 items while installing the rivet.
Install no. 2 Rear wheel opening extension lh
Attach the clip to install the extension.
Install front fender moulding subassembly lh
Install the screw and clip.
Attach the 9 clips to install the extension
Install the 4 screws and 2 clips.
?
Test yourself
A quick Toyota RAV4 quiz: every answer comes with an explanation and a link to the manual page.