Precaution for vehicle with srs airbag and seat belt pretensioner
Some operations in this section may affect the srs airbags and seat belt pretensioner. Prior to performing the corresponding operations, read the srs airbag notice (see page rs-1).
Components Removal
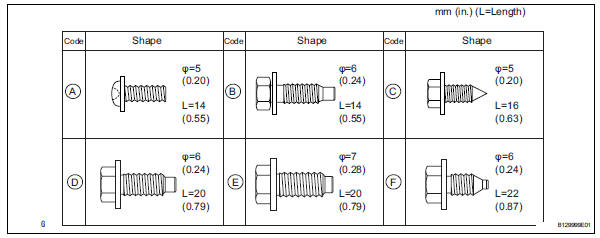
Table of bolt, screw and nut
Hint:
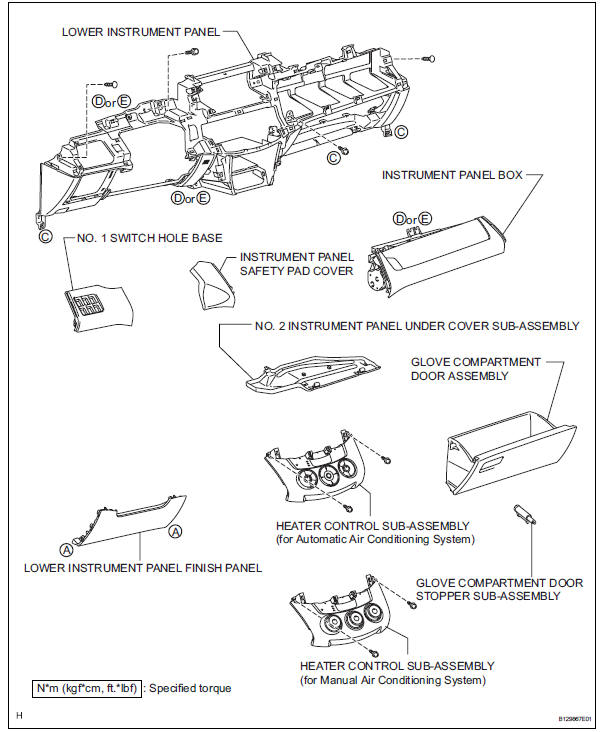
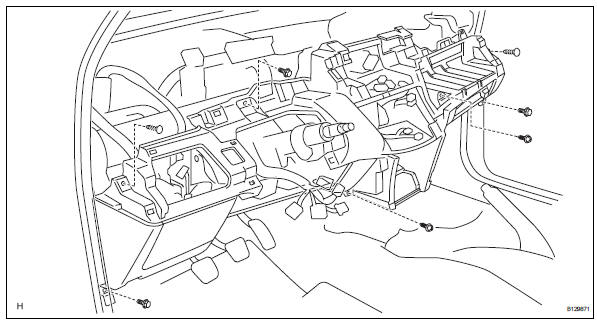
All bolts, screws and nuts relevant to installing and removing the instrument panel are shown along with their alphabet codes in the table below.
Disconnect cable from negative battery terminal
Caution:Wait at least 90 seconds after disconnecting the cable from the negative (-) battery terminal to prevent airbag and seat belt pretensioner activation.
Remove instrument panel sub-assembly
Remove the instrument panel (see page ip-4).
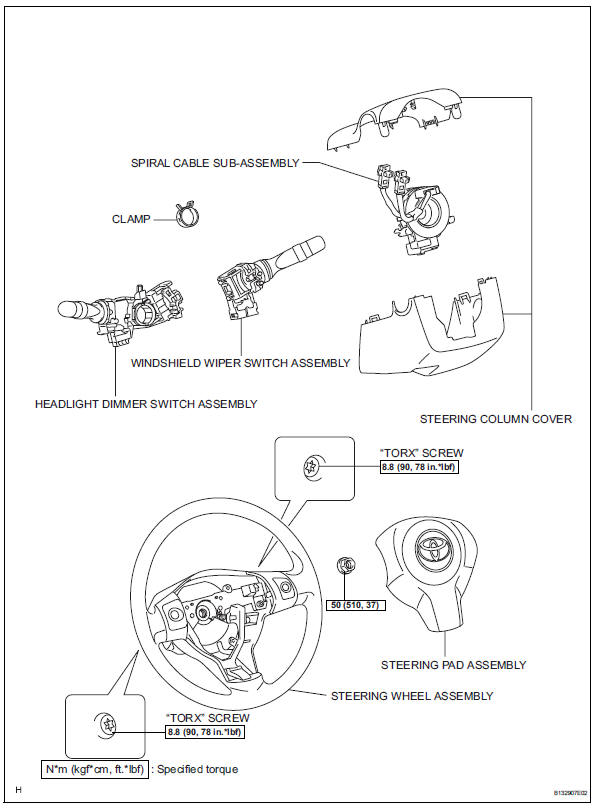
Remove steering pad assembly (see page rs- 336)
Remove steering wheel assembly (see page sr-12)
Remove steering column cover (see page sr-12)
Remove spiral cable sub-assembly (see page rs-346)
Remove headlight dimmer switch assembly
Remove windshield wiper switch assembly
Remove heater control sub-assembly (for automatic air conditioning system) (see page ac- 241)
Remove heater control sub-assembly (for manual air conditioning system) (see page ac-243)
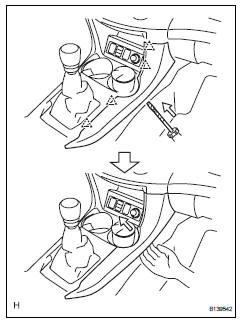
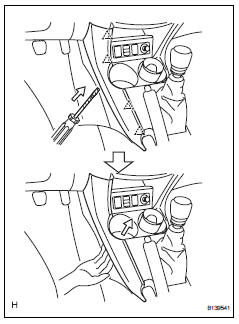
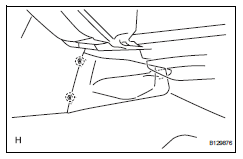
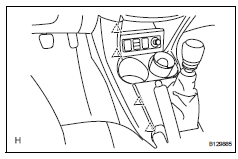
Remove no. 1 Console upper panel garnish
Using a screwdriver, detach the 4 clips and upper panel garnish.
Hint:
Tape the screwdriver tip before use.
Remove no. 2 Console upper panel garnish
Using a screwdriver, detach the 4 clips and upper panel garnish.
Hint:
Tape the screwdriver tip before use.
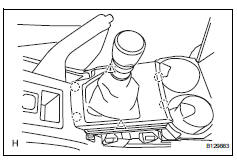
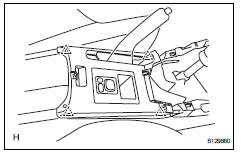
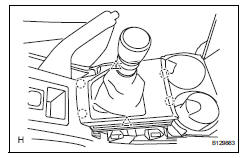
Remove upper console panel sub-assembly
Remove the shift lever knob.
Using a screwdriver, detach the 2 clips, 4 claws and remove the upper console panel then disconnect the connector.
Hint:
Tape the screwdriver tip before use.
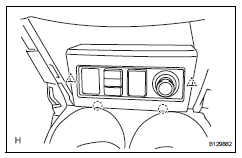
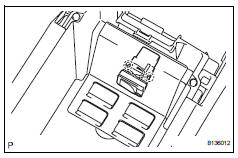
Remove switch base
Detach the 2 clips and 2 claws.
Disconnect the connectors and remove the switch base.
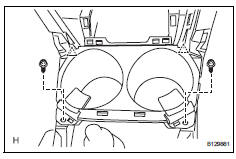
Remove console cup holder box
Remove the 2 screws.
Detach the 2 clips and remove the cup holder box.
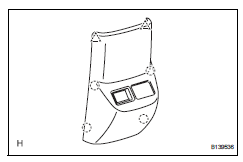
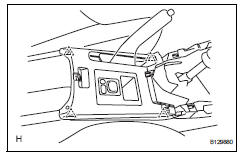
Remove upper rear console panel subassembly
Using a screwdriver, detach the 4 claws and 2 clips.
Hint:
Tape the screwdriver tip before use.
Disconnect the connector and remove the upper rear console panel.
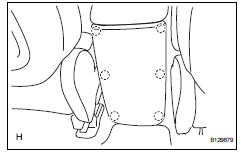
Remove console rear end panel
Using a screwdriver, detach the 6 claws and remove the console rear end panel.
Hint:
Tape the screwdriver tip before use.
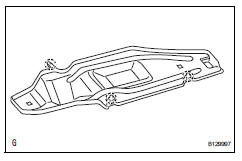
Remove console rear end panel (rse type)
Using a screwdriver, detach the 4claws, 2 clips and remove the console rear end panel then disconnect the connectors.
Detach the 2 claws and remove the instrument panel bracket cover.
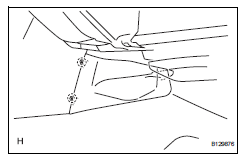
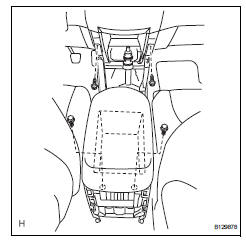
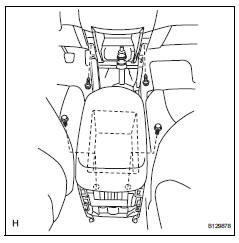
Remove rear console box sub-assembly
Remove the console box carpet.
Remove the 2 bolts and 2 screws.
Disconnect the connector and remove the rear console box.
Remove lower instrument panel finish panel
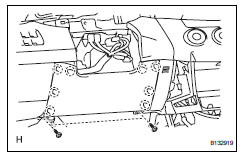
Remove the 2 screws.
Using a screwdriver detach the 8 claws and remove the lower instrument panel finish panel.
Hint:
Tape the screwdriver tip before use.
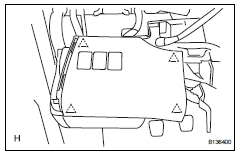
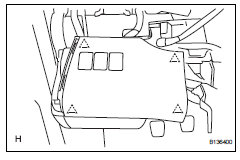
Remove no. 2 Instrument panel under cover sub-assembly
Detach the 2 claws and remove the instrument panel under cover.
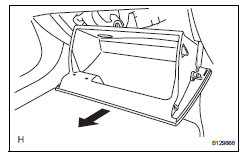
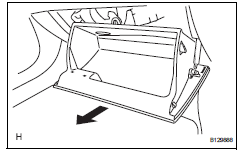
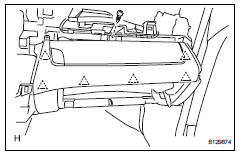
Remove glove compartment door assembly
Open the glove compartment door.
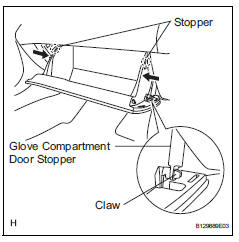
Detach the claw from the glove compartment door stopper.
While pushing in the sides of the glove compartment door as indicated by the arrows in the illustration, open the door to release it from the 2 stoppers.
Open the door until it is horizontal.
Pull the glove compartment door toward the rear of the vehicle to detach the 2 hinges and remove the glove compartment door.
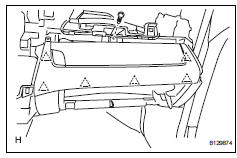
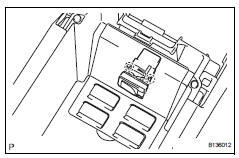
Remove no. 1 Switch hole base
Using a screwdriver, detach the 4 clips.
Disconnect the connectors and remove the switch hole base.
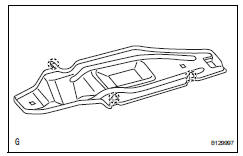
Remove instrument panel safety pad cover
Using a screwdriver, detach the 4 claws and remove the instrument panel safety pad cover.
Hint:
Tape the screwdriver tip before use.
Remove instrument panel box
Remove the screw.
Using a screwdriver, detach the 6 clips and remove the instrument panel box.
Hint:
Tape the screwdriver tip before use.
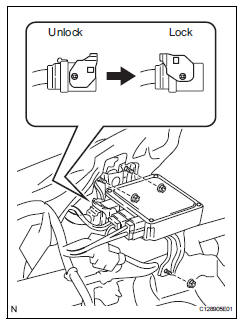
Remove power steering ecu assembly
Disconnect the connectors.
Remove the 3 nuts and ecu.
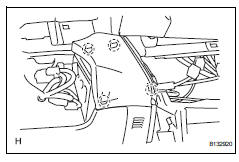
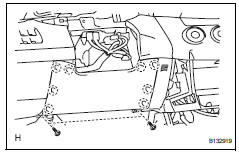
Remove lower instrument panel
Remove the 2 bolts, 3 screws and 2 clips.
Disconnect the connectors and clamps and remove the lower instrument panel.
Disassembly
Remove glove compartment door stopper sub-assembly
Remove stereo jack adapter assembly
Detach the 2 claws and remove the stereo jack adapter.
Reassembly
Install stereo jack adapter assembly
Attach the 2 claws to install the stereo jack adapter.
Install glove compartment door stopper sub-assembly
Installation
Install lower instrument panel
Connect the connectors and clamps and install the lower instrument panel.
Install the 2 bolts, 3 screws and 2 clips.
Install power steering ecu assembly
Install the ecu with the 3 nuts.
Connect the connectors.
Install instrument panel box
Attach the 6 clips to install the instrument panel box.
Install the screw.
Install instrument panel safety pad cover
Attach the 4 claws to install the instrument panel safety pad cover.
Install no. 1 Switch hole base
Connect the connectors.
Attach the 4 clips to install the switch hole base.
Install glove compartment door assembly
Attach the 2 hinges to install the door.
Attach the claw to the glove compartment door stopper.
While pushing in the sides of the glove compartment door as indicated by the arrows in the illustration, close the door to engage it to the 2 stoppers.
Install no. 2 Instrument panel under cover sub-assembly
Attach the 2 claws to install the instrument panel under cover.
Install lower instrument panel finish panel
Attach the 8 claws to install the lower instrument panel finish panel.
Install the 2 screws.
Install rear console box sub-assembly
Connect the connector.
Install the rear console box with the 2 bolts and 2 screws.