Unlock Warning Switch
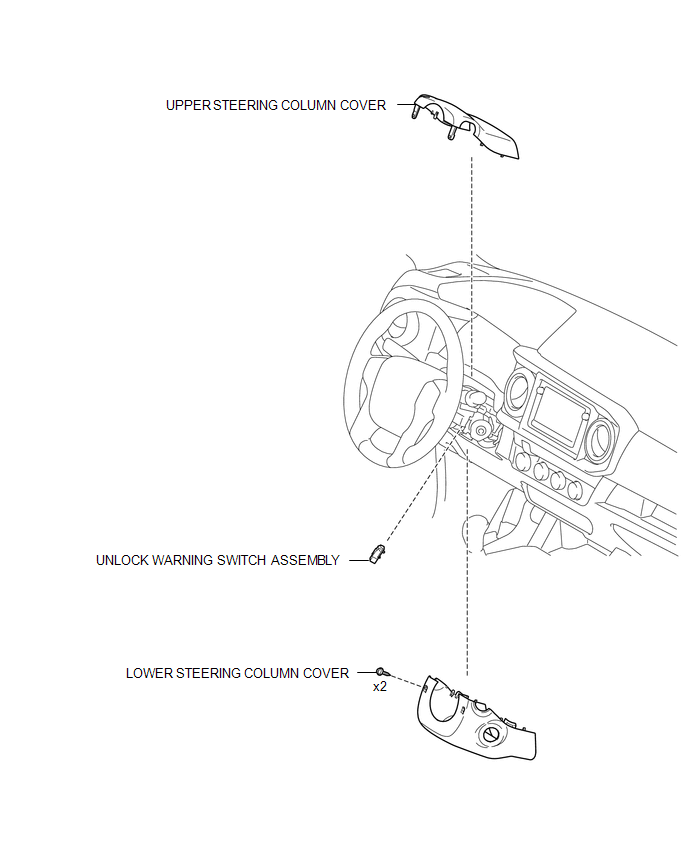 Inspection INSPECTION PROCEDURE
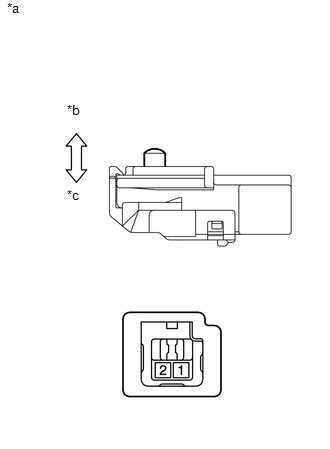
1. INSPECT UNLOCK WARNING SWITCH ASSEMBLY
(a) Check the resistance.
(1) Measure the resistance according to the value(s) in the table below. Text in Illustration
Standard Resistance:
|
 |
1. REMOVE LOWER STEERING COLUMN COVER

2. REMOVE UPPER STEERING COLUMN COVER
3. REMOVE UNLOCK WARNING SWITCH ASSEMBLY
(a) Insert the key into the ignition key cylinder. Text in Illustration
|
 |
(b) Disconnect the connector.
(c) Using a screwdriver with its tip wrapped in protective tape, disengage the 2 claws to remove the unlock warning switch assembly.
Installation INSTALLATION PROCEDURE1. INSTALL UNLOCK WARNING SWITCH ASSEMBLY
(a) Engage the 2 claws to install the unlock warning switch assembly.
(b) Connect the connector.
(c) Remove the key from the ignition key cylinder.
2. INSTALL UPPER STEERING COLUMN COVER

3. INSTALL LOWER STEERING COLUMN COVER
Test yourself
A quick Toyota Tacoma quiz: every answer comes with an explanation and a link to the manual page.