Vehicle Interior
Rear Power Window Switch
Components
COMPONENTS
ILLUSTRATION 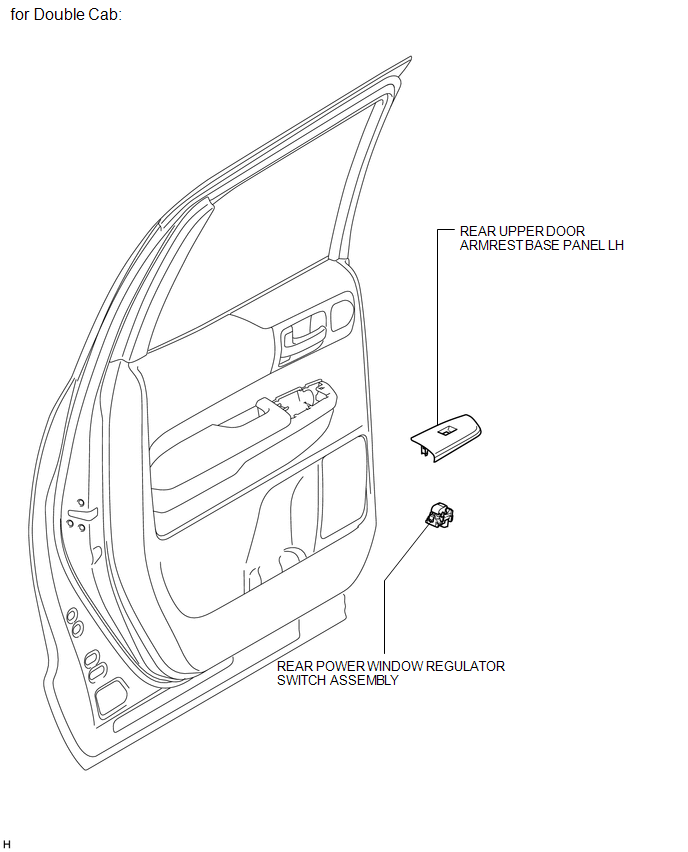
ILLUSTRATION 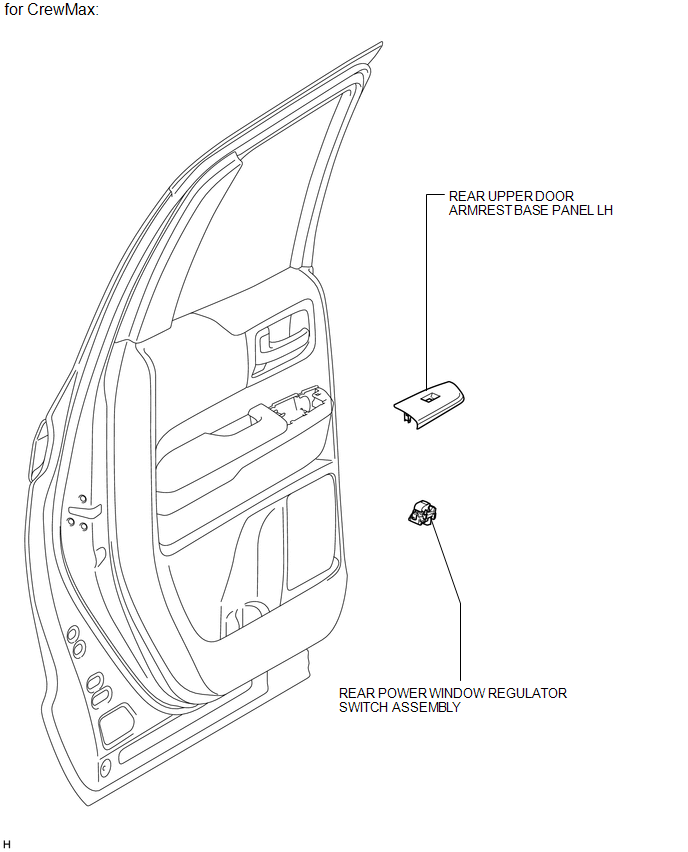
Inspection
INSPECTION
PROCEDURE
1. INSPECT REAR POWER WINDOW REGULATOR SWITCH ASSEMBLY 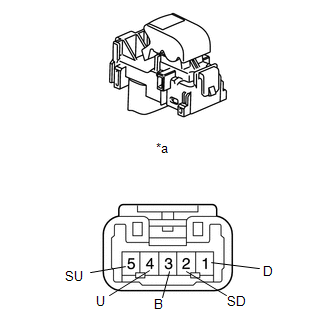
(a) Measure the resistance according to the value(s) in the table below.
Standard Resistance:
Tester Connection | Switch Condition | Specified Condition |
4 (U) - 3 (B) |
UP |
Below 1 Ω |
1 (D) - 2 (SD) |
4 (U) - 5 (SU) |
OFF |
1 (D) - 2 (SD) |
4 (U) - 5 (SU) |
DOWN |
1 (D) - 3 (B) |
- If the result is not as specified, replace the rear power window regulator switch assembly. Text in Illustration
*a |
Component without harness connected
(Rear Power Window Regulator Switch Assembly) |
Installation
INSTALLATION
HINT:
- Use the same procedure for the LH side and RH side.
- The listed below is for the LH side.
PROCEDURE
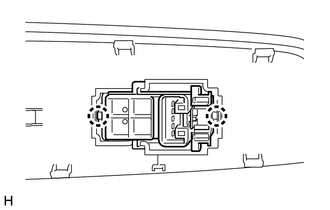
1. INSTALL REAR POWER WINDOW REGULATOR SWITCH ASSEMBLY
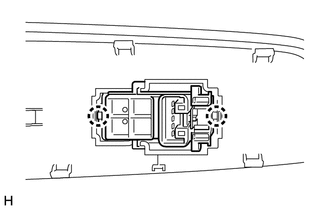
(a) Attach the 2 claws to install the rear power window regulator switch assembly. |
 |
2. INSTALL REAR UPPER DOOR ARMREST BASE PANEL LH
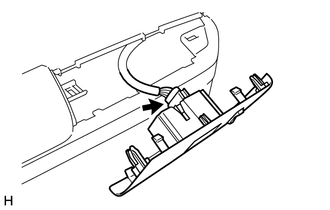
(a) Connect the connector. |
 |
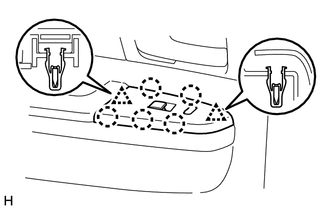
(b) Attach the 2 clips and 5 claws to install the rear upper door armrest base panel LH. |
 |
Removal
REMOVAL
HINT:
- Use the same procedure for the LH side and RH side.
- The procedure listed below is for the LH side.
PROCEDURE
1. REMOVE REAR UPPER DOOR ARMREST BASE PANEL LH
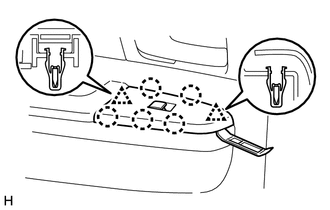
(a) Using a moulding remover A, detach the 2 clips and 5 claws, and remove the rear upper door armrest base panel LH. |
 |
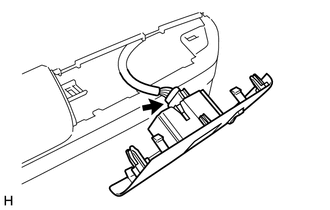
(b) Disconnect the connector. |
 |
2. REMOVE REAR POWER WINDOW REGULATOR SWITCH ASSEMBLY
(a) Detach the 2 claws and remove the rear power window regulator switch assembly. |
 |
|
Was this page helpful?