Horn
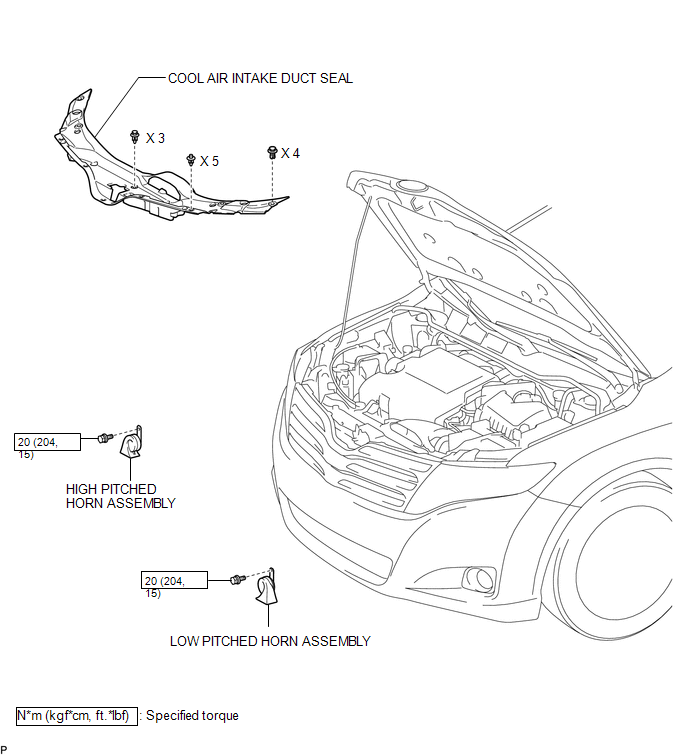
Inspection INSPECTION PROCEDURE
1. INSPECT LOW PITCHED HORN ASSEMBLY
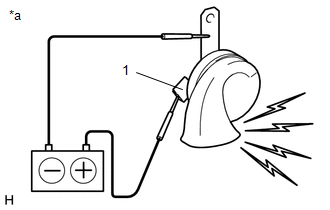
(a) Apply battery voltage and check the operation of the low pitched horn assembly according to the table below. OK:
If the result is not as specified, replace the low pitched horn assembly. |
 |
2. INSPECT HIGH PITCHED HORN ASSEMBLY
(a) Apply battery voltage and check the operation of the high pitched horn assembly according to the table below. OK:
If the result is not as specified, replace the high pitched horn assembly. |
 |
1. REMOVE COOL AIR INTAKE DUCT SEAL

2. REMOVE LOW PITCHED HORN ASSEMBLY
(a) Disconnect the connector. |
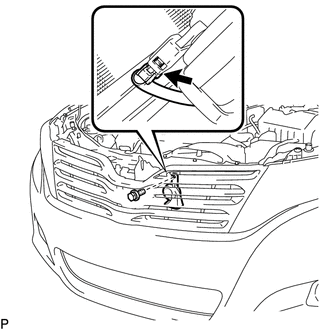 |
(b) Remove the bolt and low pitched horn assembly.
3. REMOVE HIGH PITCHED HORN ASSEMBLY
(a) Disconnect the connector. |
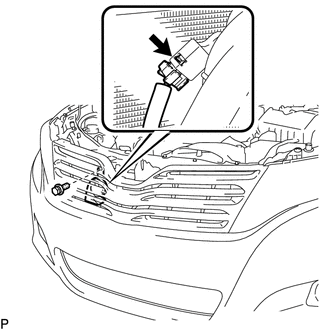 |
(b) Remove the bolt and high pitched horn assembly.
Installation INSTALLATION PROCEDURE1. INSTALL LOW PITCHED HORN ASSEMBLY
(a) Install the low pitched horn assembly with the bolt.
Torque:
20 N·m {204 kgf·cm, 15 ft·lbf}
(b) Connect the connector.
2. INSTALL HIGH PITCHED HORN ASSEMBLY
(a) Install the high pitched horn assembly with the bolt.
Torque:
20 N·m {204 kgf·cm, 15 ft·lbf}
(b) Connect the connector.
3. INSTALL COOL AIR INTAKE DUCT SEAL

Test yourself
A quick Toyota Venza quiz: every answer comes with an explanation and a link to the manual page.