Installation
1. INSTALL PARKING BRAKE SWITCH ASSEMBLY
(a) Install the parking brake switch assembly with the screw. Torque: 0,9 N·m {9 kgf·cm, 8 in·lbf} |
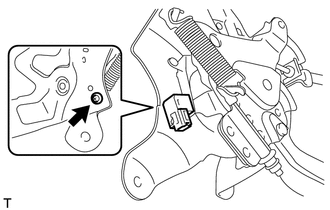 |
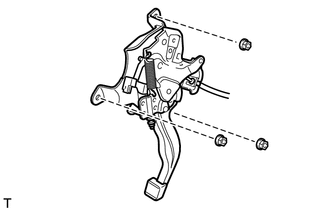
2. INSTALL PARKING BRAKE PEDAL ASSEMBLY
(a) Install the parking brake pedal assembly with the 3 nuts. Torque: 21 N·m {214 kgf·cm, 15 ft·lbf} |
 |
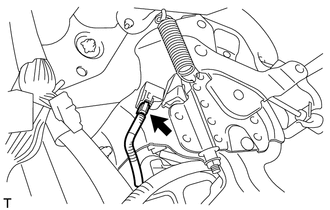
(b) Connect the parking brake switch connector. |
 |
(c) Install the No. 1 parking brake cable assembly with the bolt and nut.
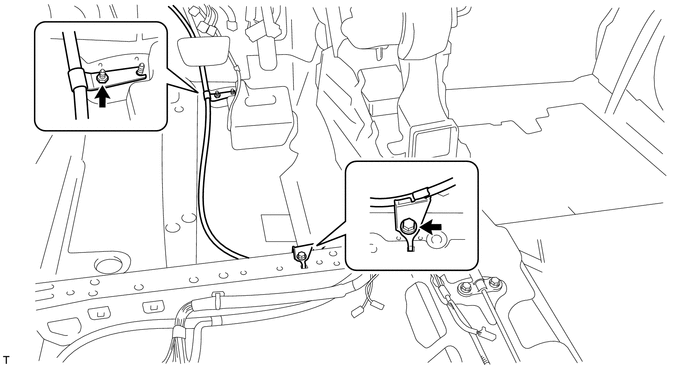
Torque:
Nut :
5,4 N·m {55 kgf·cm, 48 in·lbf}
Bolt :
15 N·m {153 kgf·cm, 11 ft·lbf}
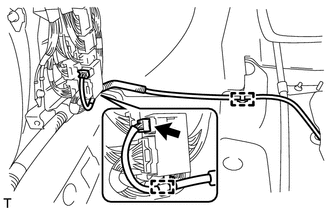
(d) Connect the heated oxygen sensor connector and engage the 2 clamps (for 2GR-FE). |
 |
(e) Return the floor carpet assembly to an original state.
3. INSTALL CONSOLE BOX SUB-ASSEMBLY

4. INSTALL POSITION INDICATOR HOUSING ASSEMBLY
5. INSTALL SHIFT LEVER KNOB SUB-ASSEMBLY
6. INSTALL LOWER INSTRUMENT PANEL SUB-ASSEMBLY
7. INSTALL NO. 2 INSTRUMENT PANEL UNDER COVER SUB-ASSEMBLY
8. INSTALL COWL SIDE TRIM SUB-ASSEMBLY RH
9. INSTALL FRONT DOOR SCUFF PLATE RH
10. INSTALL LOWER NO. 1 INSTRUMENT PANEL FINISH PANEL
11. INSTALL COWL SIDE TRIM SUB-ASSEMBLY LH
12. INSTALL FRONT DOOR SCUFF PLATE LH
13. INSTALL AIR CONDITIONING CONTROL ASSEMBLY
14. INSTALL CONSOLE BOX ASSEMBLY
15. INSTALL NO. 2 CONSOLE BOX CARPET
16. INSTALL UPPER CONSOLE PANEL SUB-ASSEMBLY (w/o Seat Heater System)
17. INSTALL UPPER CONSOLE PANEL SUB-ASSEMBLY (w/ Seat Heater System)
18. INSTALL FRONT SEAT ASSEMBLY LH
HINT:
Refer to the instructions for Installation of the front seat assembly.
- for Manual Seat:
- for Power Seat:
19. CONNECT CABLE TO NEGATIVE BATTERY TERMINAL
NOTICE:
When disconnecting the cable, some systems need to be initialized after the cable is reconnected (See page ).
20. INSPECT BRAKE WARNING LIGHT
Test yourself
A quick Toyota Venza quiz: every answer comes with an explanation and a link to the manual page.