Satellite Radio Antenna

ILLUSTRATION
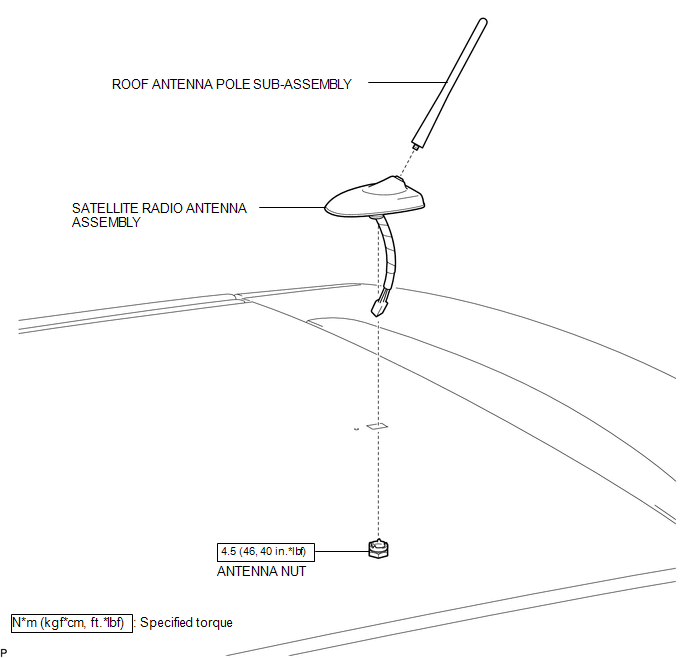
Removal REMOVAL PROCEDURE
1. REMOVE ROOF HEADLINING ASSEMBLY
(See page  )
2. REMOVE ROOF ANTENNA POLE SUB-ASSEMBLY
3. REMOVE SATELLITE RADIO ANTENNA ASSEMBLY
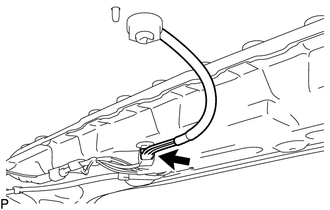
(a) Disconnect the connector. |
 |
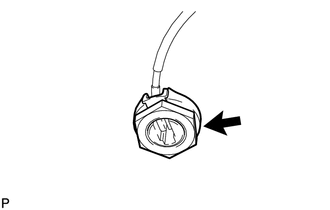
(b) Remove the antenna nut. |
 |
(c) Disengage the 2 claws and remove the satellite radio antenna assembly. |
 |
1. INSTALL SATELLITE RADIO ANTENNA ASSEMBLY
(a) Engage the 2 claws to the vehicle body to temporarily install the satellite radio antenna assembly.
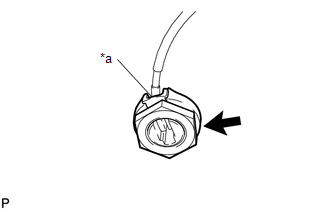
(b) Place the antenna cord in the cutout of the antenna nut. Text in Illustration
|
 |
(c) Install the satellite radio antenna assembly with the antenna nut.
Torque:
4,5 N·m {46 kgf·cm, 40 in·lbf}
(d) Connect the connector.
2. INSTALL ROOF ANTENNA POLE SUB-ASSEMBLY

3. INSTALL ROOF HEADLINING ASSEMBLY
(See page )
Test yourself
A quick Toyota Venza quiz: every answer comes with an explanation and a link to the manual page.