Heating, air conditioning
Removing and installing damper weight for refrigerant line, low-pressure side
In this manual: Heating, air conditioning
~1min read
Special tools and workshop equipment required |
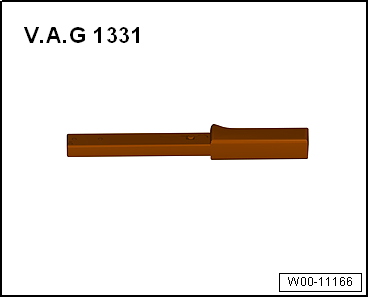
Torque wrench -V.A.G 1331/- (5…50 N·m)Removing
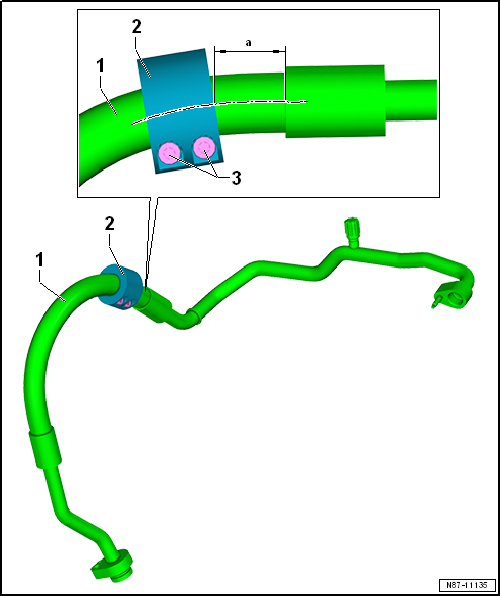
 Note It is not necessary to remove the refrigerant line in order to remove and install the damper weight. Depending on the vehicle model, type of refrigerant lines and production period, an additional damper weight -2- may be installed on refrigerant line -1- → Electronic Parts Catalogue. |
 |
Installing
Note Ensure that the damper weight -2- is firmly seated on the refrigerant line and that it won't make contact with any other components during any condition. The refrigerant line on the low-pressure side -1- must not be pinched due to the additional weight -B-. Torque setting: |
 |
| Component | Specified torque |
| Bolts on damper weight | 10 ± 1 N·m |
Test yourself
A quick Volkswagen Golf quiz: every answer comes with an explanation and a link to the manual page.
Was this page helpful?