Removing and installing front entry light -W31-/-W32-
In this manual: Electrical system
~1min read
Caution
Danger of damage to component surfaces.
When using leverage tools, mask visible areas of the component with commercially available adhesive tape.
Note Removal and installation of all entry lights are performed in the same manner and are described only for one light. The entry lights can be tested by means of the final control diagnostic function of the respective door control unit.
Front left entry light -W31-
Front right entry light -W32-
Rear left entry light -W33-
Rear right entry light -W34-
Removing: → Anchor
Installing: → Anchor
Renewing entry light bulb: → Anchor
Special tools and workshop equipment required
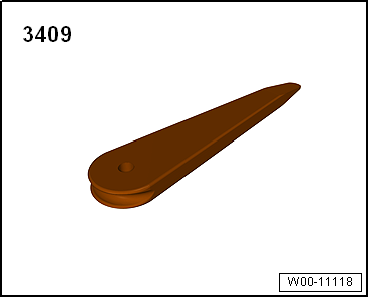
Removal wedge -3409-
Removing
Switch off ignition and all electrical consumers.
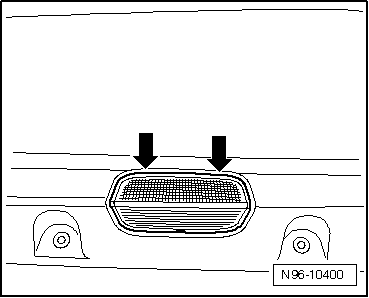
Use removal wedge -3409- or a screwdriver to carefully lever out light.
Release and detach connector and remove light.
Installing
Installation is carried out in reverse order of removal.
Replacing entry light bulb
Remove front entry light → Anchor.
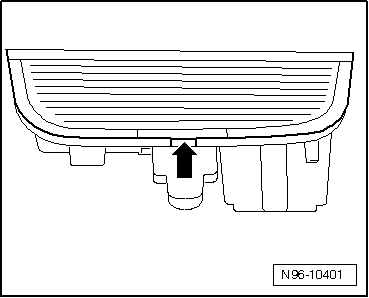
Carefully lever off lens from housing.
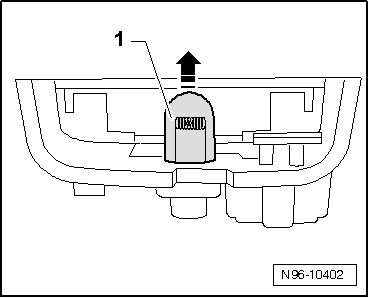
Pull bulb -1- straight upwards out of holder.
Installation is carried out in reverse order of removal.
Removing and installing door warning lamp -W30-/-W36-
Note The door warning lamp and the entry light are combined to form one component. Therefore, they can only be removed and installed together as an entire unit.
Removing and installing door warning lamp → Chapter.
?
Test yourself
A quick Volkswagen Golf quiz: every answer comes with an explanation and a link to the manual page.
 Note Removal and installation of all entry lights are performed in the same manner and are described only for one light. The entry lights can be tested by means of the final control diagnostic function of the respective door control unit.
 Caution