General body repairs, exterior
Removing and installing rear lid
In this manual: General body repairs, exterior
~1min read
Special tools and workshop equipment required |
Removing |
|
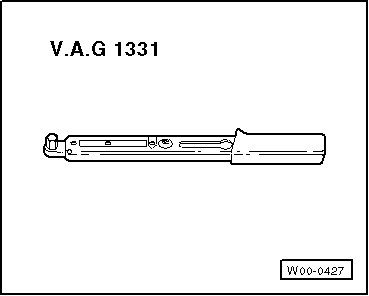
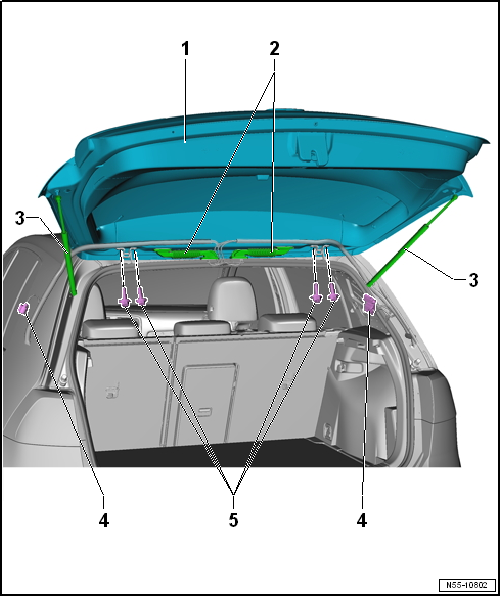
- Remove upper rear lid trim → General body repairs, interior; Rep. gr.70.
- Remove lower rear lid trim → General body repairs, interior; Rep. gr.70.
- Remove high-level brake light → Electrical system; Rep. gr.94
- Remove connectors of all installed electrical components.
- Thread electric cables/wire together with rubber grommet -2- out of rear lid.
 Note
The connectors -4- for wires -2- are located on left C-pillars.
- Loosen bolts -5- on left and right hinges (do not unbolt completely).
Further dismantling requires the assistance of a second mechanic.
- Remove gas struts -3- → Chapter.
- Now, remove bolts -5- completely and then remove rear lid -1-.
Installing |
- Install rear lid -1- with the aid of a 2nd mechanic.
- Install gas struts -3- → Chapter.
- Guide wires -2- into rear lid and attach rubber grommet.
- Connect connectors of all installed electrical components.
Further installation is performed in the reverse order of removal.
- Before closing rear lid, check function of lid release components.
- Adjusting rear lid → Chapter.
Test yourself
A quick Volkswagen Golf quiz: every answer comes with an explanation and a link to the manual page.
Was this page helpful?