Running gear, axles, steering
Renewing bonded rubber bush for axle beam
In this manual: Running gear, axles, steering
~3min read
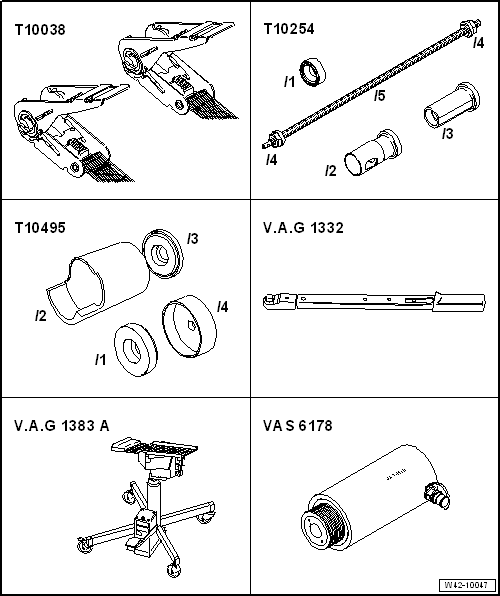
Special tools and workshop equipment required
Tensioning strap -T10038-
Assembly tool -T10254-
Assembly tool -T10495-
Torque wrench -V.A.G 1332-
Engine and gearbox jack -V.A.G 1383 A--2- with gearbox support -V.A.G 1359/2-.
Hydraulic press -VAS 6178- and press button -10205/13-
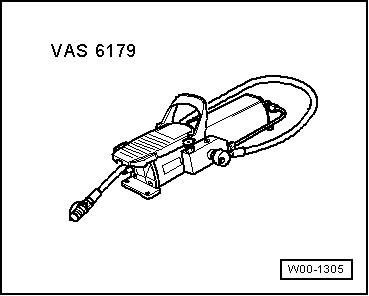
Foot pump -VAS 6179-Removing
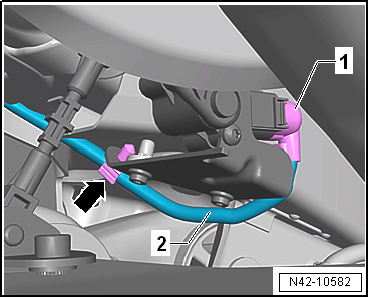
Vehicles with vehicle level sender |
 |
|
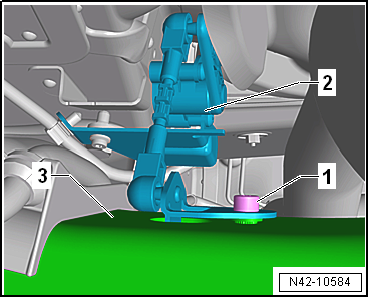
 |
Continuation for all vehicles |
 |
 Note The clip will be destroyed and must be renewed. |
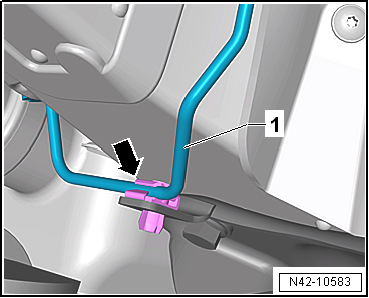 |
|
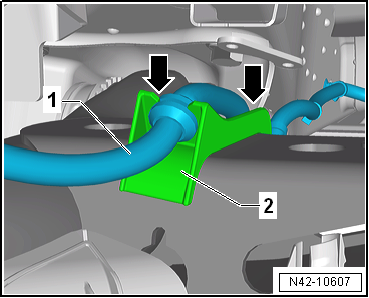 |
|
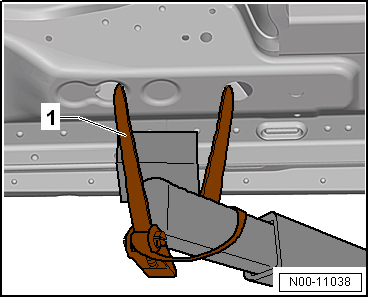 |
 WARNING If the vehicle is not strapped down, there is a great danger that the vehicle will slip off the lifting platform!
|
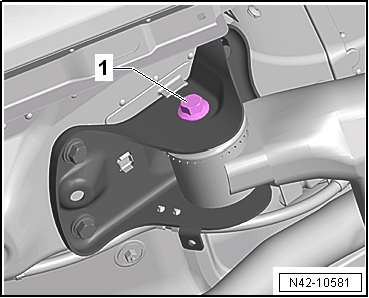 |
|
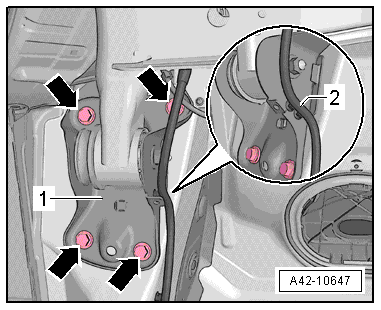 |
|
|
- Fit special tools as shown in illustration.
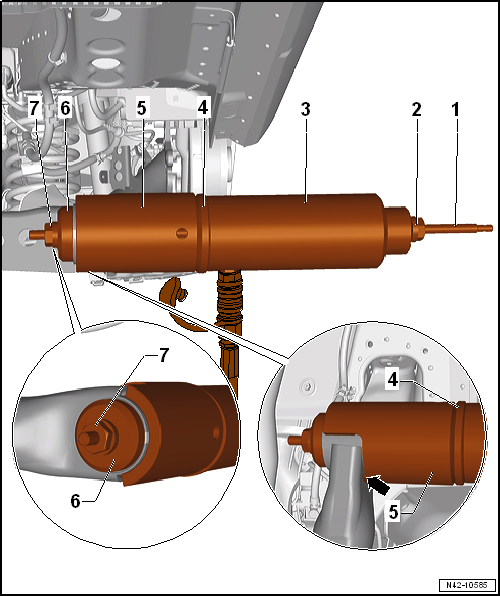
1 - Spindle -T10254/5-
2 - Nut -T10254/4-
3 - Hydraulic press -VAS 6178- and thrust piece -T10205/13-
4 - Thrust plate -T10495/3-
5 - Tube -T10495/2-
Make sure that the tube is lying against the axle beam -arrow-.
6 - Thrust piece -T10495/1-
7 - Nut -T10254/4-
- Pull out bonded rubber bush by operating the pump.
Installing |
|
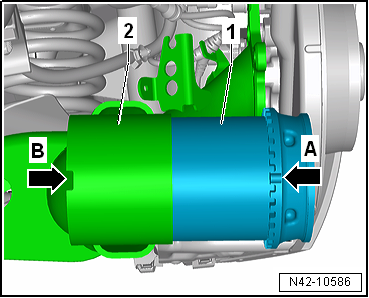 |
- Fit special tools as shown in illustration.
1 - Spindle -T10254/5-
2 - Nut -T10254/4-
3 - Hydraulic press -VAS 6178- and thrust piece -T10205/13-
4 - Thrust piece -T10495/1-
5 - Bonded rubber bush
6 - Thrust plate -T10495/3-
7 - Nut -T10254/4-
- Before pressing in bonded rubber bush, make sure that marking on bonded rubber bush aligns with mark on axle beam.
- Press bonded rubber bush in to stop.
- After mounting, check installed position of bonded rubber bush.
Continue installation in reverse order.Specified torques→ Chapter „Assembly overview - axle beam“→ Chapter „Assembly overview - rear vehicle level sender, torsion beam axle“→ Chapter „Torque settings for wheel bolts“On vehicles with vehicle level sender, carry out basic settings for wheel damper electronics → Vehicle diagnostic tester. On vehicles with vehicle level sender, carry out basic adjustment of headlights → Electrical system; Rep. gr.94. |
Test yourself
A quick Volkswagen Golf quiz: every answer comes with an explanation and a link to the manual page.
Was this page helpful?