General body repairs, interior
Separating backrest cover from backrest padding
In this manual: General body repairs, interior
~2min read
 Note Removal and installation is described for the left seat. Apply the same instructions for removal and installation of right seat components as appropriate. Special tools and workshop equipment required |
|
|
Removing
Only for vehicles without entry assistance
Continued for all vehicles
|
 |
Only seats without through-loading function
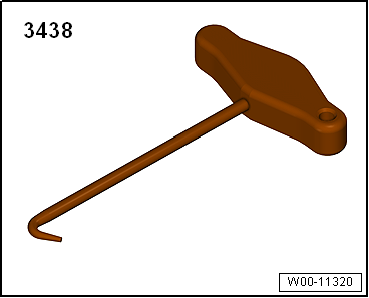
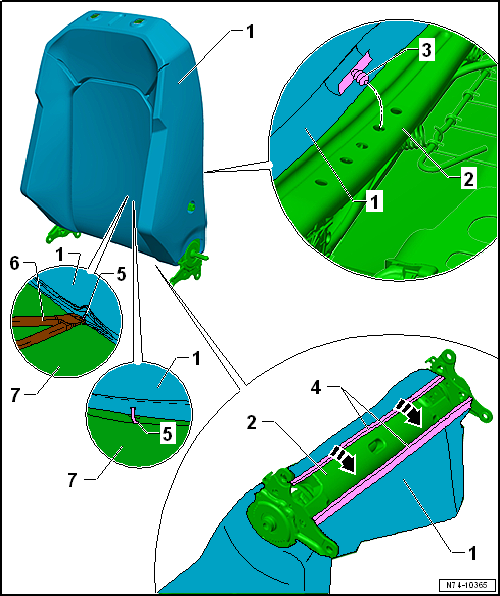
- Open beading strips -4- using front-end hook -3438-.
Only seats with through-loading function
A zip fastener is installed instead of the beading strip -4-.
- Open zip fastener.
Continuation for all seats
- Roll backrest cover -1- upwards at front and rear.
- Pull backrest cover -1- upwards in order to gain access to the upholstery clips -5- on left and right.
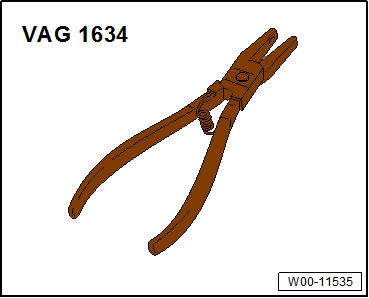
- Open upholstery clips -5- using pliers -6-.
- Pull backrest cover -1- on padding -7- upwards.
- Pull backrest cover -1- further upwards in order to gain access to the upholstery clips -5-.
- Detach clip -3- from backrest frame -2- on both sides at the rear.
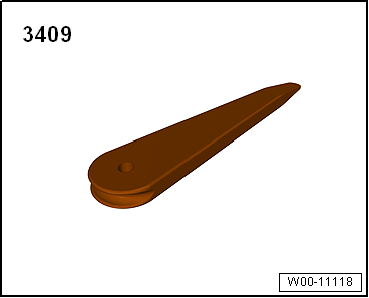
- Use removal wedge -3409- for this.
- Open upholstery clips -5- on backside.
- Pull backrest cover -1- further upwards in order to gain access to the remaining upholstery clips -5-.
Only for vehicles with entry assistance |
Continued for all vehicles
InstallingInstall in reverse order, but note the following:
|
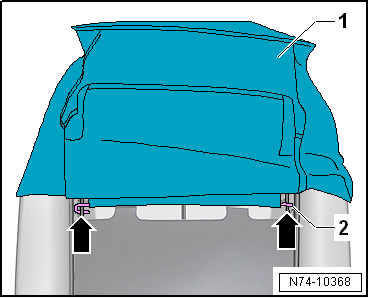 |
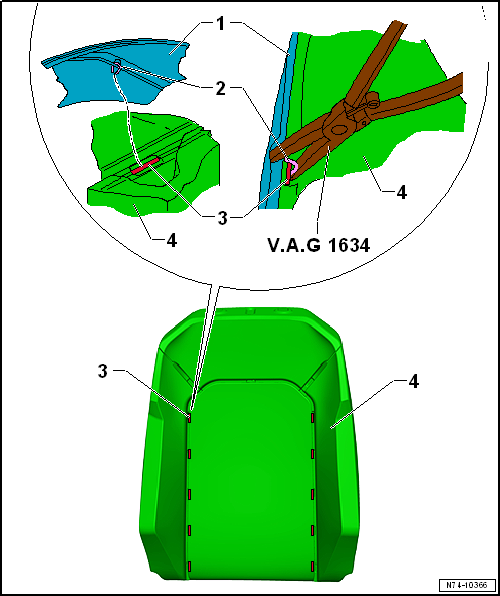
- Pull backrest cover -1- over padding -4-.
- Thread in backrest cover -1- on head restraint guide → Item.
- Secure backrest cover -1- with upholstery clips -2- in mountings -3-.
- Use upholstery clip pliers -V.A.G 1634- for this.
- Ensure that backrest cover -1- is free of creases.
Specified torques
|
Test yourself
A quick Volkswagen Golf quiz: every answer comes with an explanation and a link to the manual page.
Was this page helpful?