Checking the valves and valve guides
The following procedure applies to all of the valves and valve guides.
1. Measure:
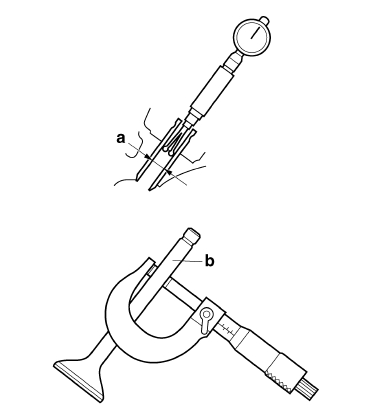
- Valve-stem-to-valve-guide clearance Out of specification
 Replace the
valve guide.
Valve-stem-to-valve-guide clearance = Valve guide inside diameter "a" - Valve stem diameter "b" 
2. Replace:
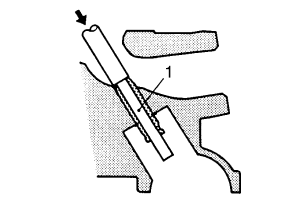
- Valve guide
NOTE:
To ease valve guide removal and installation, and to maintain the correct fit, heat the cylinder head to 100 C (212 F) in an oven.
a. Remove the valve guide with the valve guide remover "1".
b. Install the new valve guide with the valve guide installer "2" and valve guide remover "1". 
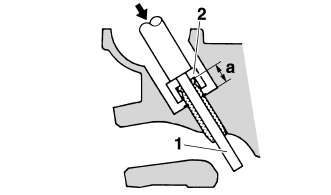
a. Valve guide position
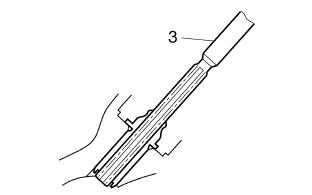
c. After installing the valve guide, bore the valve guide with the valve guide reamer "3" to obtain the proper valve-stem-to-valve-guide clearance.
NOTE:
After replacing the valve guide, reface the valve seat. 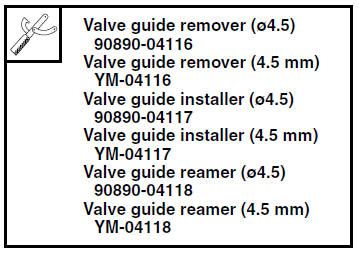
3. Eliminate:
- Carbon deposits (from the valve face and valve seat)
4. Check:
- Valve face Pitting/wear
 Grind the valve
face. - Valve stem end Mushroom shape or diameter larger than the body of the valve stem
 Replace
the valve.
5. Measure:
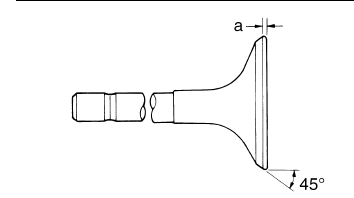
- Valve margin thickness D "a" Out of specification Replace
the valve.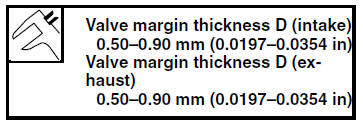
6. Measure:
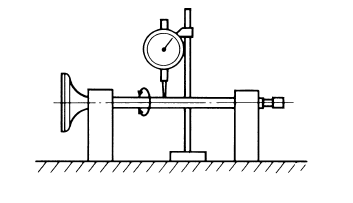
- Valve stem runout Out of specification Replace
the valve.
NOTE:
- When installing a new valve, always replace the valve guide.
- If the valve is removed or replaced, always replace the valve stem seal.

Test yourself
A quick Yamaha YZF-R125 quiz: every answer comes with an explanation and a link to the manual page.