Engine
Removing the valves
In this manual: Engine
~1min read
The following procedure applies to all of the valves and related components.
NOTE:
Before removing the internal parts of the cylinder head (e.g., valves, valve springs, valve seats), make sure the valves properly seal.
1. Check:
- Valve sealing Leakage at the valve seat
 Check
the valve face, valve seat, and valve seat width.
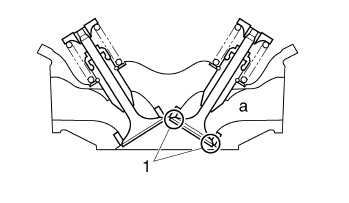
a. Pour a clean solvent "a" into the intake and exhaust ports.
b. Check that the valves properly seal.
NOTE:
There should be no leakage at the valve seat "1".
2. Remove:
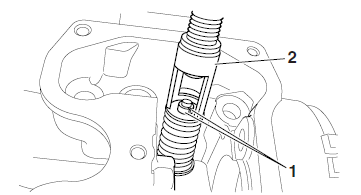
- Valve cotters "1"
NOTE:
Remove the valve cotters by compressing the valve spring with the valve spring compressor and the valve spring compressor attachment "2".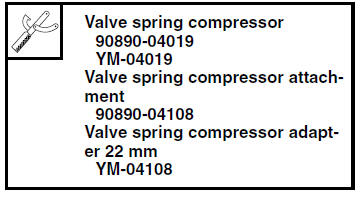
3. Remove:
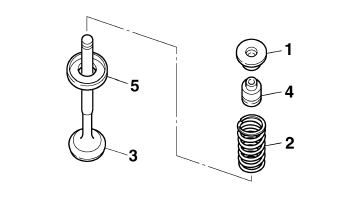
- Upper spring seat "1"
- Valve spring "2"
- Valve "3"
- Valve stem seal "4"
- Lower spring seat "5"
NOTE:
Identify the position of each part very carefully so that it can be reinstalled in its original place.
Test yourself
A quick Yamaha YZF-R125 quiz: every answer comes with an explanation and a link to the manual page.
Was this page helpful?