Chassis
Installing the drive chain
In this manual: Chassis
~1min read
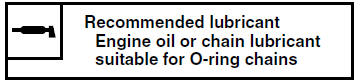
1. Lubricate:
- Drive chain
- Master link

2. Install:
- Drive sprocket
- Drive sprocket retainer bolts

3. Install:
- Master link
- O-rings
- Master link plate
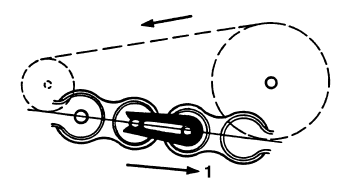
- Master link clip "1"

- The closed end of the master link clip must face in the direction of drive chain rotation.
- Never install a new drive chain onto worn drive chain sprockets; this will dramatically shorten the drive chain's life.
NOTE:
Install the master link plate with its manufacturer mark facing outward.
4. Install:
- Drive sprocket cover
NOTE:
Be sure not to pinch the neutral switch lead when installing the drive sprocket cover.
5. Install:
- Rear wheel Refer to "REAR WHEEL" on page 4-12.
6. Adjust:
- Drive chain slack Refer to "ADJUSTING THE DRIVE CHAIN SLACK" on page 3-21.

A drive chain that is too tight will overload the engine and other vital parts, and one that is too loose can skip and damage the swingarm or cause an accident. Therefore, keep the drive chain slack within the specified limits.
Test yourself
A quick Yamaha YZF-R125 quiz: every answer comes with an explanation and a link to the manual page.
Was this page helpful?