Bodywork
Door - dismantling
In this manual: Bodywork
~2min read
1 Remove the trim panel as described in the preceding Section. Lock remote control handle 2 Slide the handle rearwards to disengage the tabs from the cut-outs. 3 Rotate the lock handle and disconnect it from the link rod. Door glass
4 Extract the screws from the glass mounting. 5 With the glass fully lowered, remove the weatherseal strips from the glass slot in the door. 6 Turn the glass very carefully and withdraw it from the door. A new glass is supplied complete with lower mounting. Window regulator
7 Extract the fixing screws (arrowed) (Fig.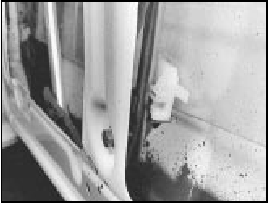
12.7 Door glass mounting Door lock (three-door) 8 Extract the screw and remove the handle from the edge of the door. 9 Remove the glass guide channel fixing bolts and withdraw the channel from the door. 10 Extract the screws which hold the lock to the edge of the door and remove it.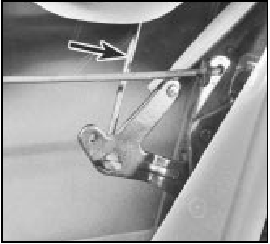
12.11 Door lock plunger rod 12 The exterior handle with cylinder lock can be removed by reaching into the door cavity and unscrewing the two fixing nuts.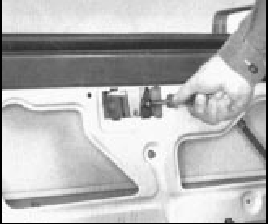
Fig. 12.6 Door glass mounting screw (Sec 12)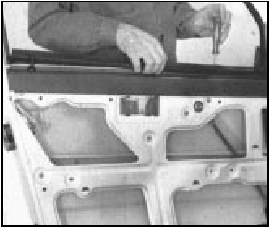
Fig. 12.7 Removing door weatherseal (Sec 12)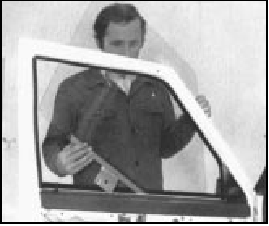
Fig. 12.8 Removing door glass (Sec 12)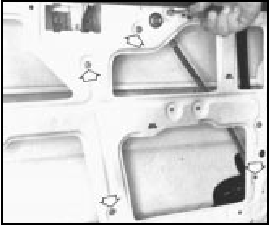
Fig. 12.9 Door window regulator fixing screws (Sec 12)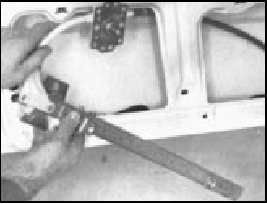
Fig. 12.10 Removing door window regulator (Sec 12)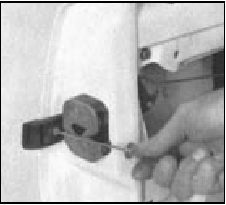
Fig. 12.11 Removing door handle fixing screw (three-door model) (Sec 12)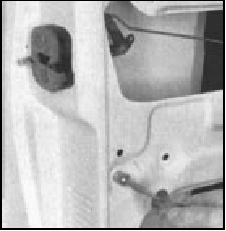
Fig. 12.12 Extracting glass guide channel screw (Sec 12)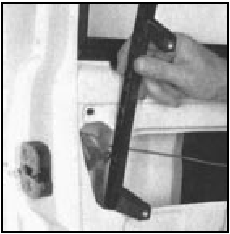
Fig. 12.13 Removing glass guide channel (Sec 12)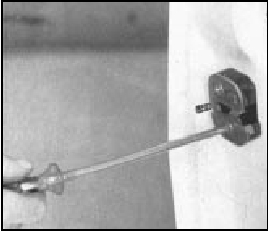
Fig. 12.14 Removing door lock fixing screw (Sec 12)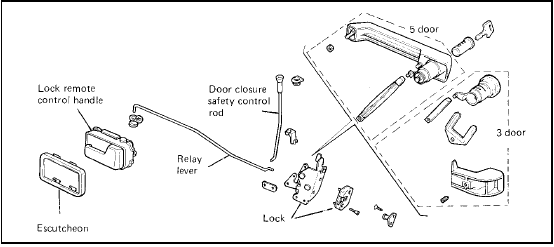
Fig. 12.15 Door lock components (Sec 12)
4 Extract the screws from the glass mounting. 5 With the glass fully lowered, remove the weatherseal strips from the glass slot in the door. 6 Turn the glass very carefully and withdraw it from the door. A new glass is supplied complete with lower mounting. Window regulator
7 Extract the fixing screws (arrowed) (Fig.
12.9) and withdraw the regulator from the door through one of the larger lower apertures (photo).
12.7 Door glass mounting Door lock (three-door) 8 Extract the screw and remove the handle from the edge of the door. 9 Remove the glass guide channel fixing bolts and withdraw the channel from the door. 10 Extract the screws which hold the lock to the edge of the door and remove it.
Door lock (five-door)
11 Extract the screws which hold the lock to the door edge. Withdraw the lock and disconnect the lock plunger link rod (photo).
12.11 Door lock plunger rod 12 The exterior handle with cylinder lock can be removed by reaching into the door cavity and unscrewing the two fixing nuts.
Refitting
13 This is a reversal of the removal operations. Oil and grease the lock and window regulator mechanism.
Fig. 12.6 Door glass mounting screw (Sec 12)
Fig. 12.7 Removing door weatherseal (Sec 12)
Fig. 12.8 Removing door glass (Sec 12)
Fig. 12.9 Door window regulator fixing screws (Sec 12)
Fig. 12.10 Removing door window regulator (Sec 12)
Fig. 12.11 Removing door handle fixing screw (three-door model) (Sec 12)
Fig. 12.12 Extracting glass guide channel screw (Sec 12)
Fig. 12.13 Removing glass guide channel (Sec 12)
Fig. 12.14 Removing door lock fixing screw (Sec 12)
Fig. 12.15 Door lock components (Sec 12)
Test yourself
A quick Fiat Uno quiz: every answer comes with an explanation and a link to the manual page.
Was this page helpful?