Body and Paint
General Procedures - Liftgate Alignment
In this manual: Body and Paint
20steps
~120min
4/5difficulty
Done 0 of 20
Special Service Tools / General Equipment
Interior trim removal tool
Materials
| Name | Specification |
|---|---|
| Seam Sealer TA-2-B, 3M™ 08308, LORD Fusor® 805DTM |
- |
Adjustment
All alignments
- Open the liftgate.

- Move the liftgate opening weatherstrip and the liftgate trim cover aside.

- Remove the liftgate sill trim panel.
- Release the clips of the liftgate sill trim panel.
Use the general equipment: Interior Trim Removal Tool.
- If equipped
Disconnect the electrical connector of the rear keyless entry antenna.

- Release the clips of the liftgate sill trim panel.
- Remove the liftgate latch.
Torque: 18 lb-ft (25 N·m)
Liftgate Left and Right, Up and Down Alignment
- Loosen the bolts.
Loosen:
: 2 turns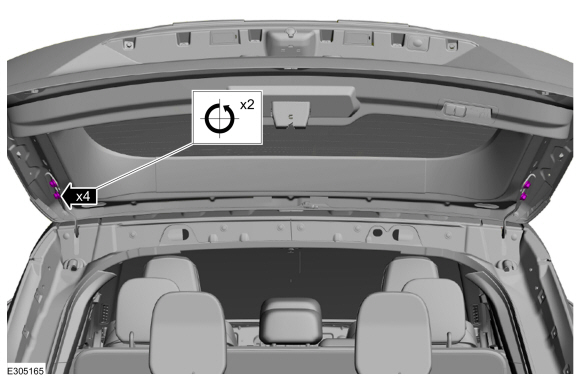
- Carefully close the liftgate.
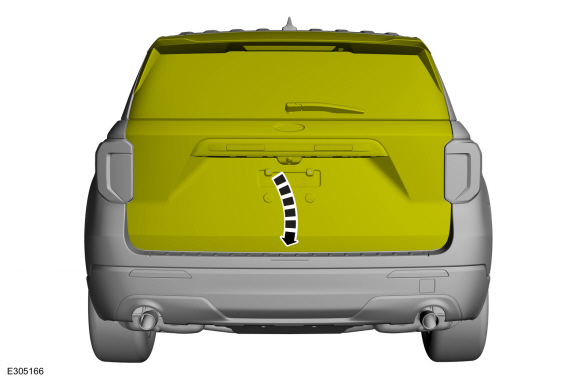
- If necessary, adjust the liftgate.

- Carefully open the liftgate.
- Tighten the bolts.
Torque: 22 lb-ft (30 N·m)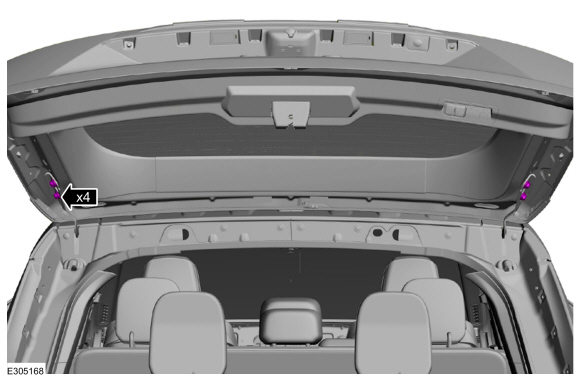
Liftgate Up and Down Alignment
- Adjust the bumpers.
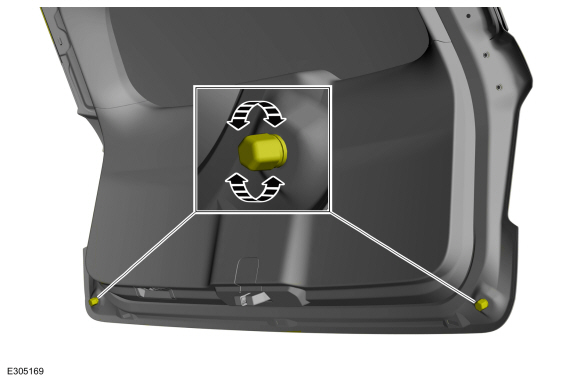
- Both sides
Remove the pin-type retainer and the drip molding.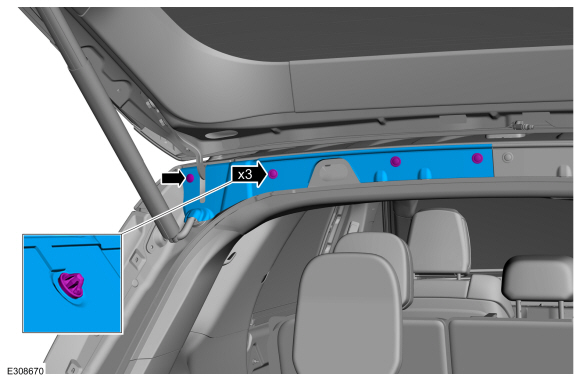
- Both sides
Remove the hinge cover.
- Carefully close the liftgate.
- Both sides
Loosen the bolts.
Loosen:
: 2 turns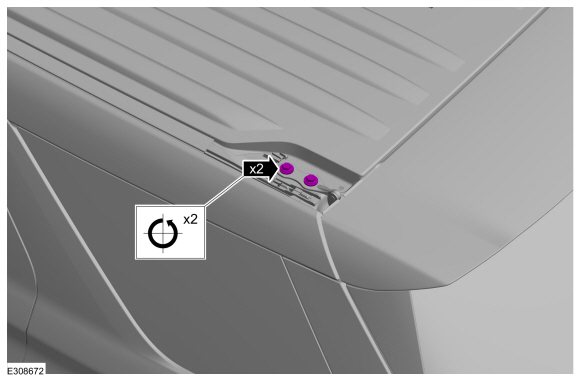
- If necessary, adjust the liftgate.

- Both sides
Tighten the bolts.
Torque: 26 lb-ft (35 N·m)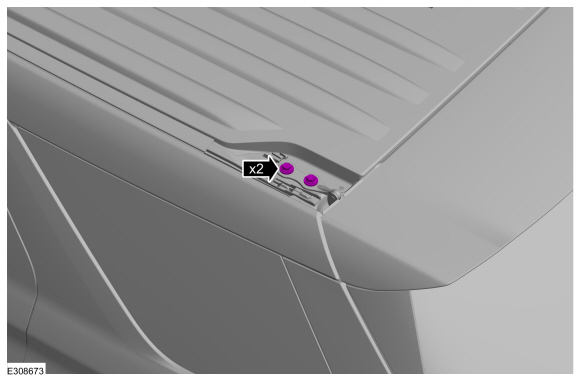
- Both sides
Apply seam sealer.
Material: Seam Sealer / TA-2-B, 3M™ 08308, LORD Fusor® 805DTM
All alignments
- Check the body and liftgate alignment.
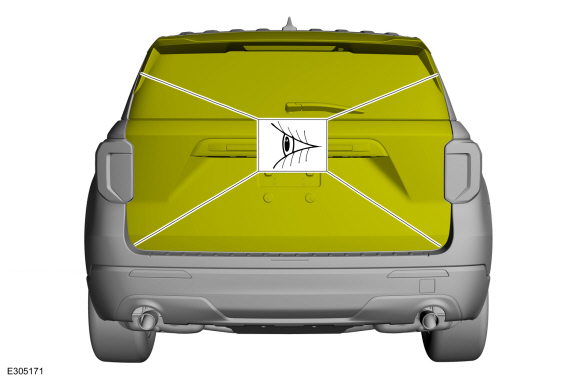
- Position aside the removed components.
- If equipped with a power liftgate, perform the power liftgate initialization.
Refer to: Power Liftgate Initialization (501-03 Body Closures, General Procedures).
Test yourself
A quick Ford Explorer quiz: every answer comes with an explanation and a link to the manual page.
Was this page helpful?