Clutch Master Cylinder
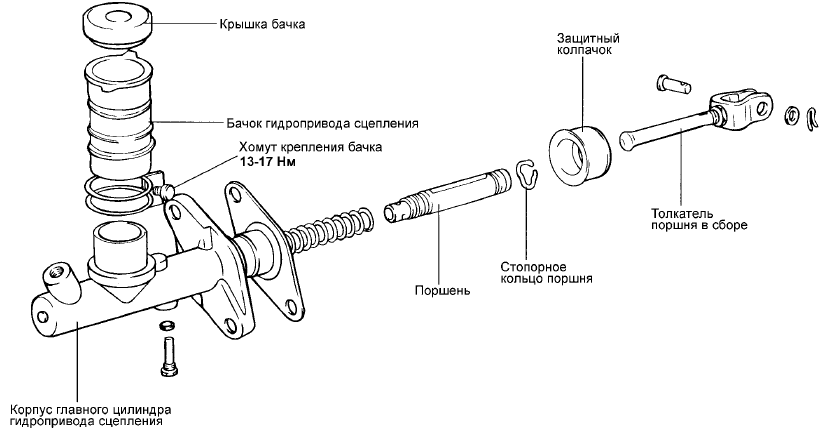
CLUTCH MASTER CYLINDER - COMPONENTS
DISASSEMBLY
1. Remove the reservoir cap, reservoir mounting clamp and clutch fluid reservoir.
2. Remove the piston stop ring.
3. Pull out the pushrod and piston assembly.
Be careful not to damage the piston assembly or the master cylinder body.
INSPECTION 1. Check the inner surface of the master cylinder body for rust, corrosion (pitting) or scoring.
2. Check the piston cap for wear or deformation.
3. Check the piston for rust, corrosion (pitting) or scoring.
4. Check the clutch hydraulic lines for blockage.
5. Measure the inner diameter of the master cylinder with a cylinder bore gauge and measure the outer diameter of the piston with a micrometer.
Measure the inner diameter of the master cylinder at three points along its length (near end, middle and far end of the body) and in two directions perpendicular to each other.
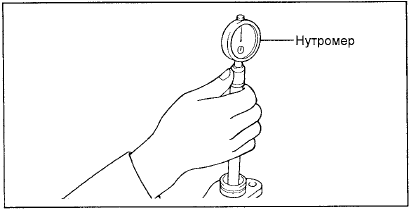
6. If the clearance between the piston and the clutch master cylinder body exceeds the specified limit, replace the master cylinder and/or piston assembly.
Specified limit: 0.15 mm
INSTALLATION
1. Apply the specified fluid to the inner surface of the clutch master cylinder body and the outer surface of the piston assembly.
Specified fluid: DOT 3 brake fluid 2. Install the piston assembly.
3. Install the piston stop ring.
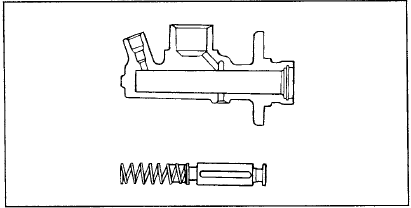
4. Install the pushrod assembly.
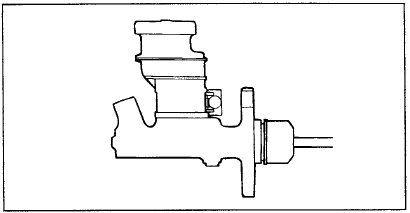
5. Install the reservoir, reservoir mounting clamp and reservoir cap.
Test yourself
A quick Hyundai Elantra CN7 quiz: every answer comes with an explanation and a link to the manual page.