Body Electrical System
Smart Key Diagnostic Procedures
In this manual: Body Electrical System
38steps
~228min
4/5difficulty
Done 0 of 38
Inspection
Self-diagnosis using scan tool: The GDS can quickly diagnose SMART KEY system malfunctions. The GDS can forcibly operate actuators, monitor input/output values and perform self-diagnosis. The following three functions are critical in the SMART KEY system.- SMART KEY Device Input Problem.
- SMART KEY Unit Problem.
- SMART KEY Device Output Problem.
- SMART KEY Unit Input Problem: Switch Diagnosis
- SMART KEY Unit Problem: Communication Diagnosis
- SMART KEY Unit Output Problem: Antenna and Switch Diagnosis
- Connect the GDS cable to the data link connector on the lower panel of the driver's side airbag, then turn on the GDS power.
- Select the vehicle model, then select the SMART KEY system.
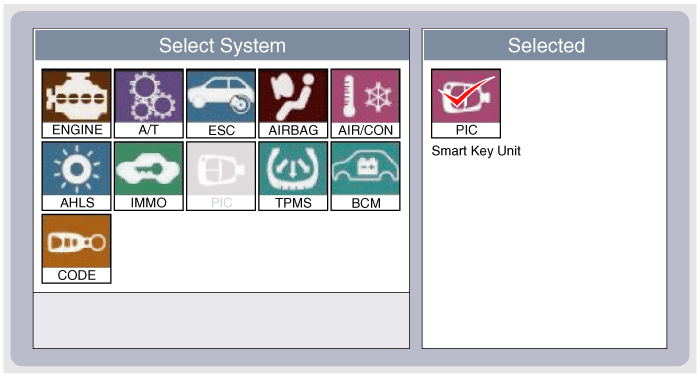
- Select "SMART KEY Device".
- After turning the IG on, select "Current Data".
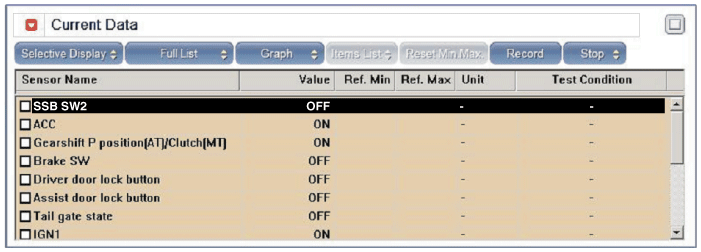
- You can view the status of each switch on the scan tool after connecting the "Current Data" process.
Display Description FL Switch SW ON: The driver's door handle button is on. FR Switch SW ON: The auxiliary door handle button is on. Trunk Open SW ON: The trunk lid button is on. Gear Position P ON: The shift lever is in the P position. IGN 1 ON: The IGN switch is in the IG position. ACC ON: The IGN switch is in the ACC position. Brake SW ON: The brake switch is on. - The communication diagnosis checks that all linked components operate normally.
- Connect the GDS cable to the data link connector (DLC) on the lower panel of the driver's side crash pad.
- After turning the ignition switch ON, select "DTC".
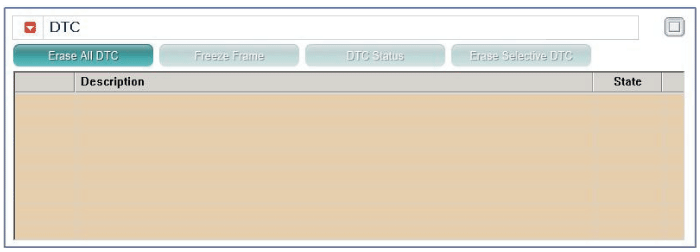
- Connect the GDS cable to the data link connector (DLC) on the lower panel of the driver's side crash pad.
- With the ignition switched ON, select "ACTUATOR TEST".
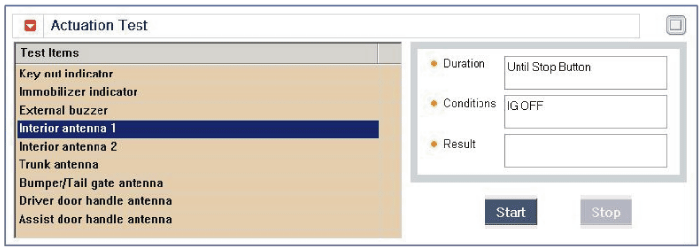
- Place the smart key near the corresponding antenna and operate it using the GDS.
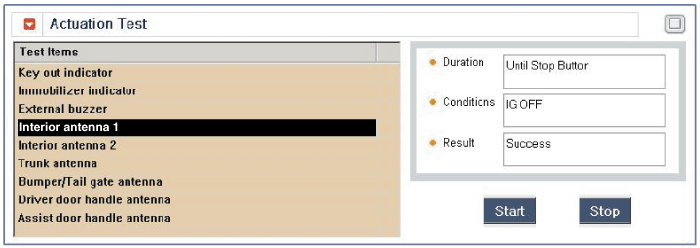
- If the smart key LED blinks, the smart key is normal.
- If the smart key LED does not blink, check the smart key battery voltage.
- Antenna Activation
A. INTERIOR Antenna 1 B. INTERIOR Antenna 2 C. Trunk Antenna D. BUMPER / Trunk Antenna E. DRV_DR Antenna F. AST_DR Antenna - Connect the GDS cable to the data link connector (DLC) on the lower panel of the driver's side crash pad.
- Select "Antenna Status Check".
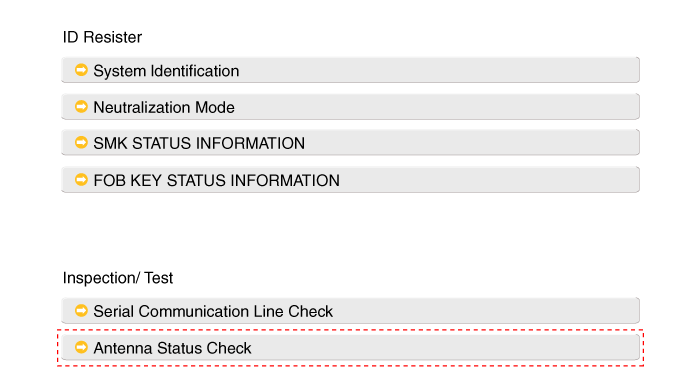
- After turning the IG switch ON, select "Antenna Status Check".
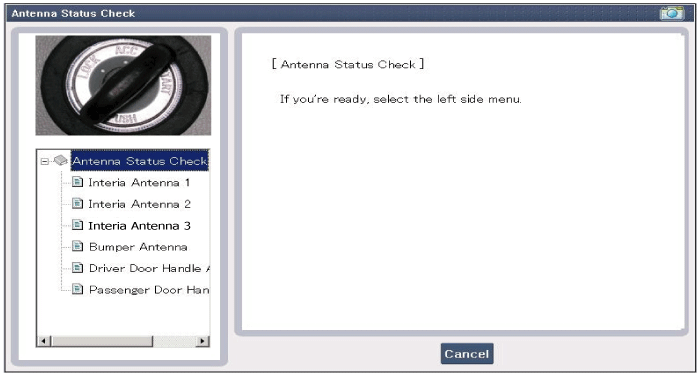
- Place the smart key near the corresponding antenna and operate it using the GDS.
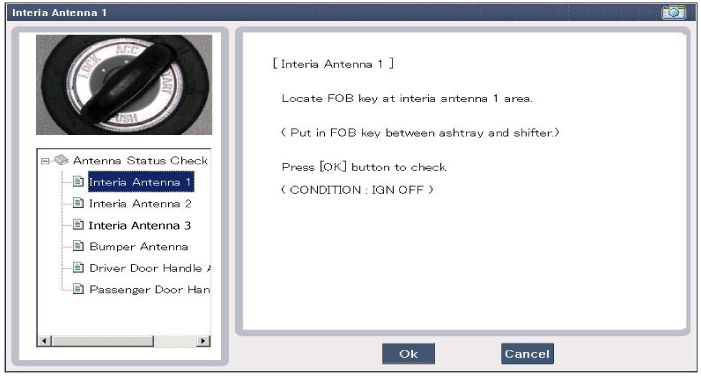
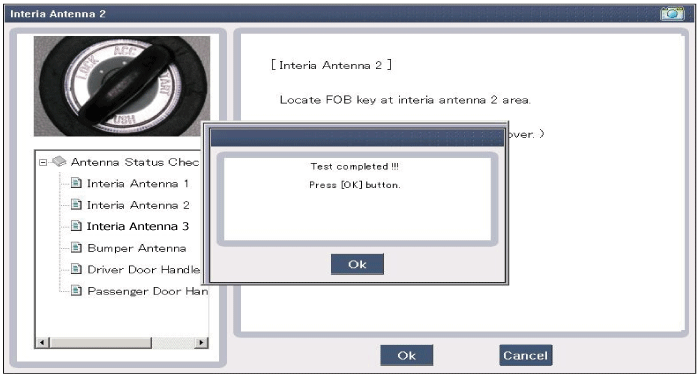
- If the smart key operates normally, the corresponding antenna, the smart key (transmission and reception) and the external receiver are normal.
- Antenna Status
A. INTERIOR Antenna 1 B. INTERIOR Antenna 2 C. INTERIOR Antenna 3 D. BUMPER / Trunk Antenna E. DRV_DR Antenna F. AST_DR Antenna - Connect the GDS cable to the data link connector (DLC) on the lower panel of the driver's side crash pad.
- Select "Serial Link Check".
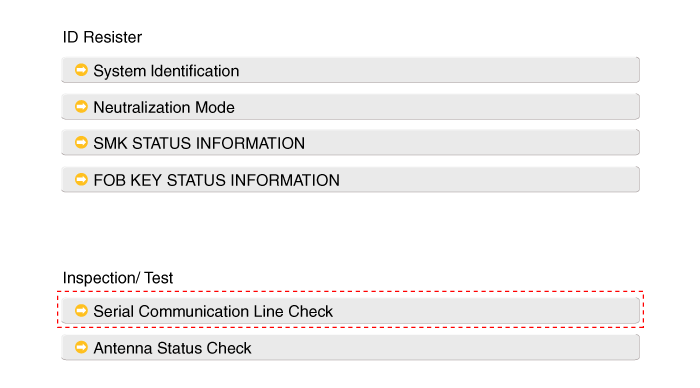
- With the ignition switched ON, select "Receiver Communication Line Check".
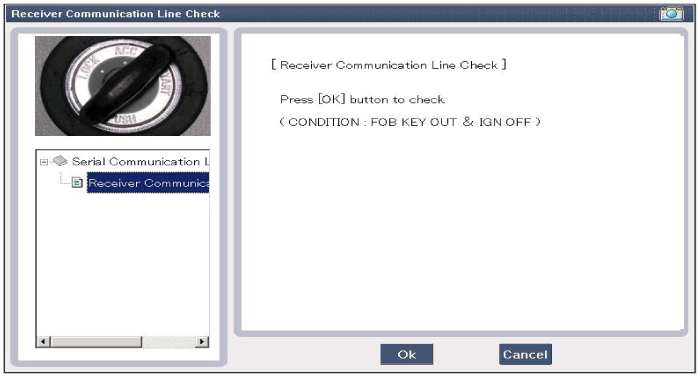
- Check the serial communication line using the GDS.
- If the smart key operates normally, communication between the smart key unit and the external receiver is normal.
- If the smart key does not operate normally, check the following items.
A. Open or no response from the external receiver communication line. B. Short of the external receiver communication line to ground. - Connect the GDS cable to the data link connector (DLC) on the lower panel of the driver's side crash pad.
- After turning the ignition switch ON, select "KEY FOB STATUS INFO".
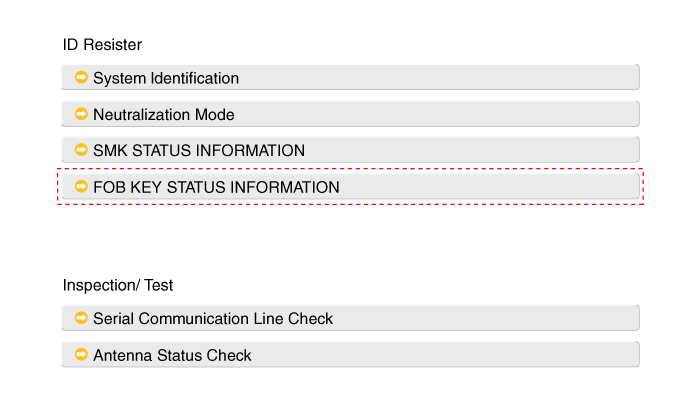
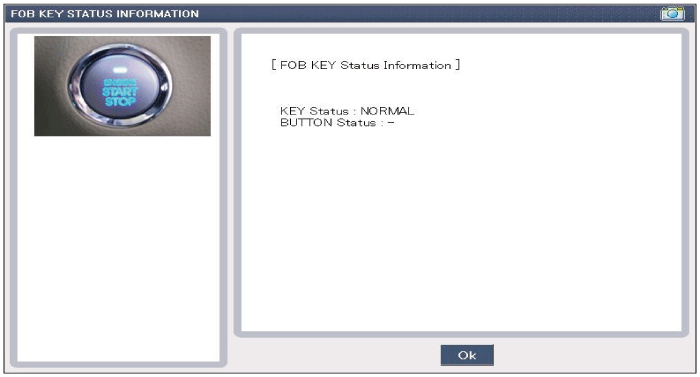
- Connect the GDS cable to the data link connector (DLC) on the lower panel of the driver's side crash pad.
- After turning the ignition switch ON, select "SMK STATUS INFO".
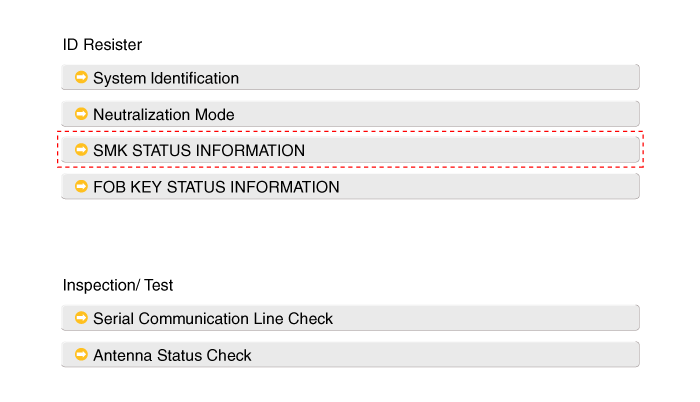
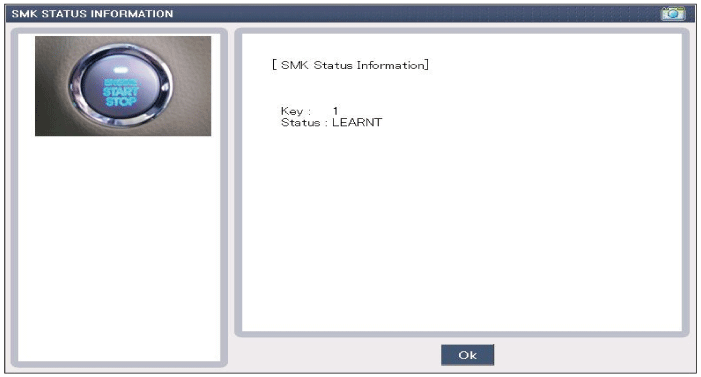
- Connect the GDS cable to the data link connector (DLC) on the lower panel of the driver's side crash pad.
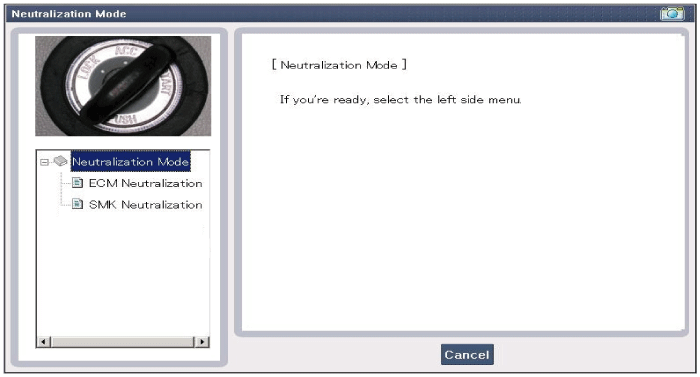
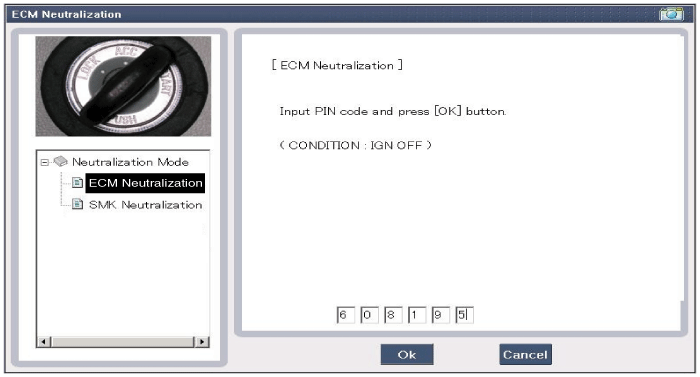
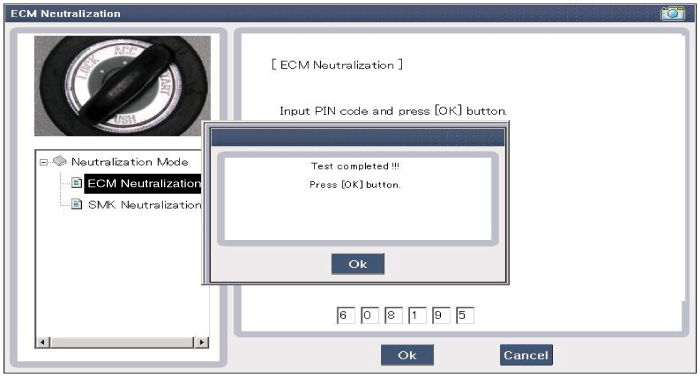
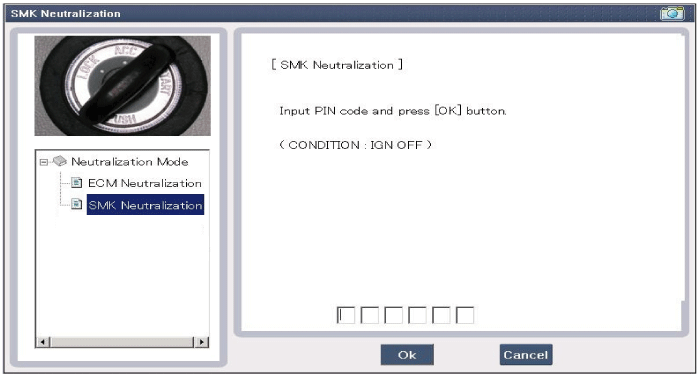
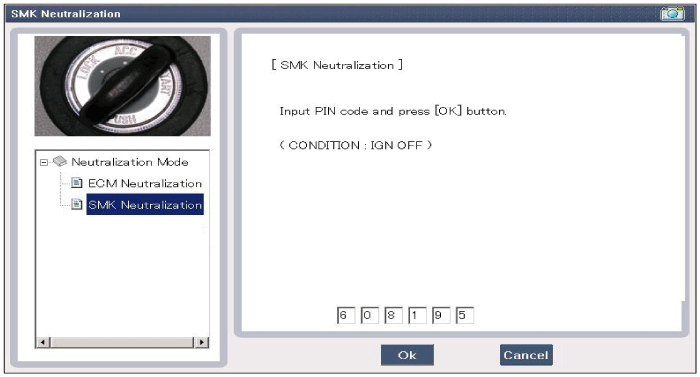
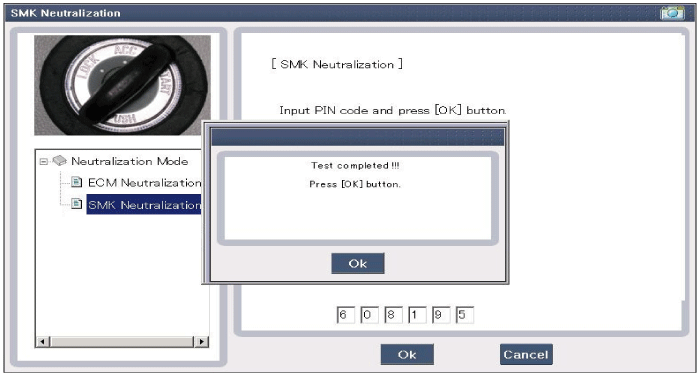
- After turning the ignition switch ON, select "Neutralization Mode".
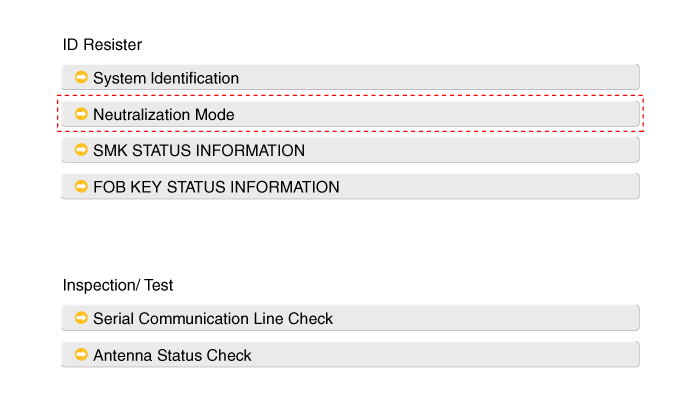
Test yourself
A quick Hyundai Genesis DH quiz: every answer comes with an explanation and a link to the manual page.
Was this page helpful?