Body Electrical System
Wireless Charging Device Repair Procedures
In this manual: Body Electrical System
12steps
~72min
3/5difficulty
Done 0 of 12
Removal
- Disconnect the negative (-) battery terminal.
- Remove the floor console upper cover assembly. (Refer to Body - "Floor Console Assembly")
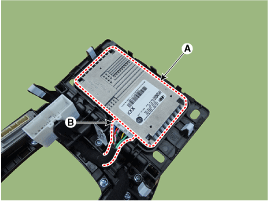
- Remove the wireless charging unit (A) after removing the screws and disconnecting the connector (B).
Installation
- Install the wireless charging unit.
- Connect the wireless charging unit connectors.
- Install the floor console assembly.
- Connect the negative (-) battery terminal.
[Diagnosis Using KDS/GDS]
- Body electrical system faults can be diagnosed more quickly using the vehicle diagnostic system (KDS/GDS). KDS/GDS provides the following information.
- Self-diagnosis: Checks and displays diagnostic trouble codes (DTC).
- Data list: Checks the input/output values of the system.
- Active test: Checks the operating condition of the system.
- Special functions: Controls system parameters, zero point adjustment and other functions.
- To diagnose the vehicle with the diagnostic equipment, select the "vehicle model" and the "wireless charging system" to be checked.
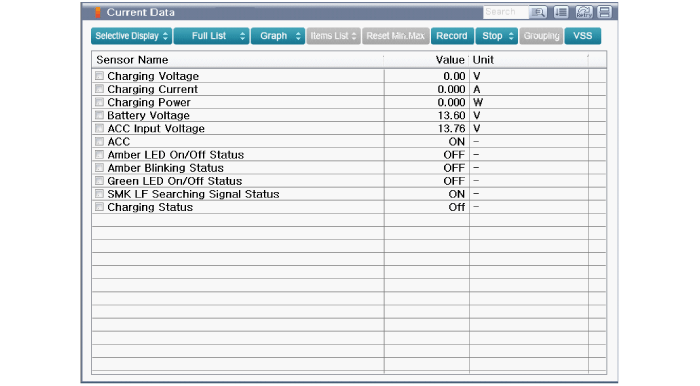
- To check the current input/output values, select the Data List menu. The sensor input/output values corresponding to the selected module can be checked.
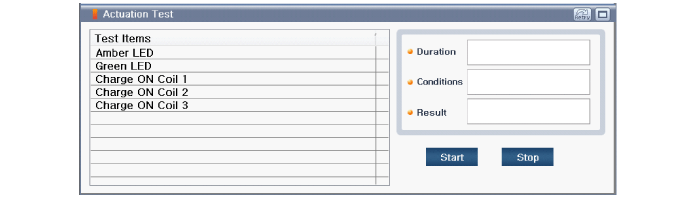
- To actuate the selected module input forcibly, select "Active Test".
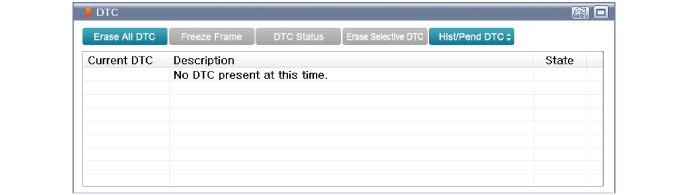
- To check the cause of a fault for each module using self-diagnosis, select "Diagnostic Trouble Code".
Test yourself
A quick Hyundai Kona quiz: every answer comes with an explanation and a link to the manual page.
Was this page helpful?