In this manual: Heating, Ventilation, and Air Conditioning
13steps
~78min
3/5difficulty
Tightening torque found on this page
Done 0 of 13
Components and Component Location
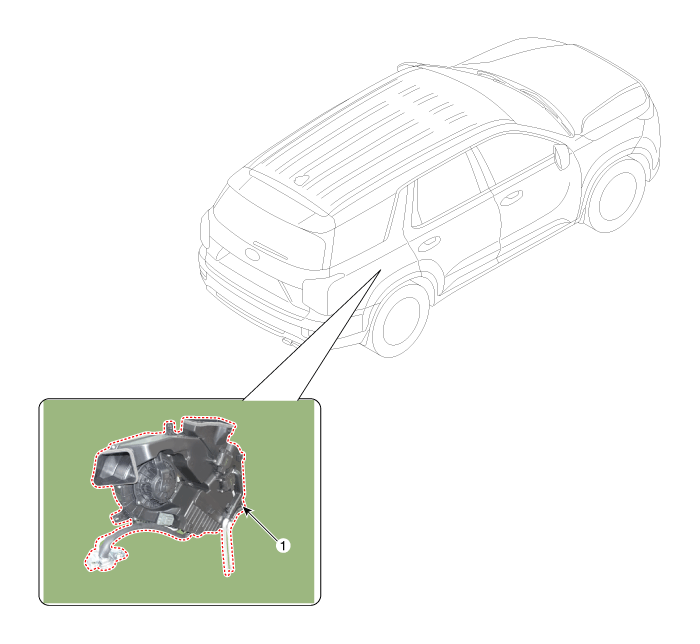
Component Location
1. Rear Heater and A/C
Repair Procedures
Replacement
Be careful not to damage parts located under the vehicle (floor under cover, fuel filter, fuel tank, and canister) when lifting the vehicle with a lift. (Refer to General Information - Jack Lifting Points and Support Points)
Disconnect the negative (-) battery terminal.
Recover the refrigerant using a recovery/recharging station.
Remove the luggage side trim [RH] (Refer to Body - Luggage Side Trim).
Remove the rear wheel guard cover [RH]. (Refer to Body - "Rear Wheel Guard Cover")
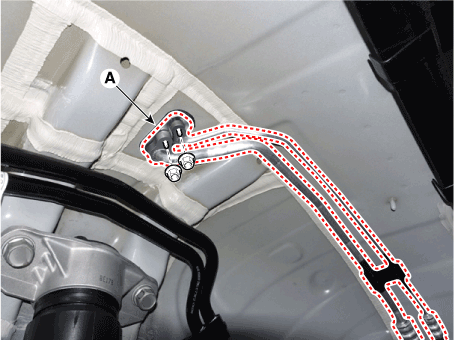
Loosen the mounting nuts and remove the cooling line (A).
Tightening torque: 8.8–13.7 N·m
Plug or cap the lines immediately after disconnecting them to prevent moisture and dust from entering.
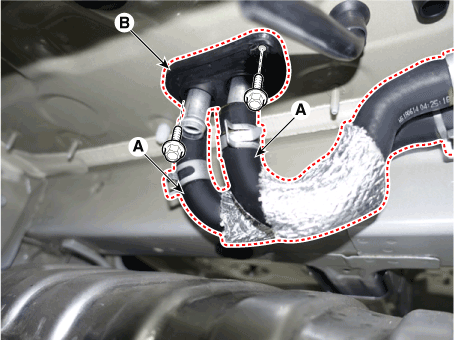
Press the lock pin and disconnect the rear heater hose (A), loosen the mounting bolts, and remove the bracket (B).
Coolant will flow when the hose is disconnected. Wipe up the water immediately, as it may damage electrical parts and surface coatings.
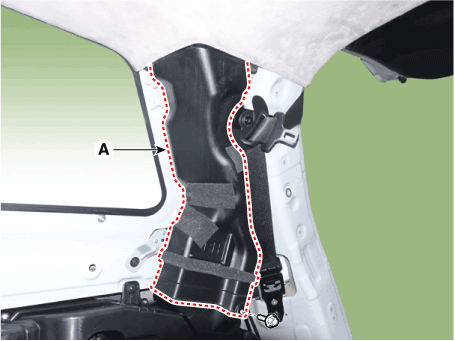
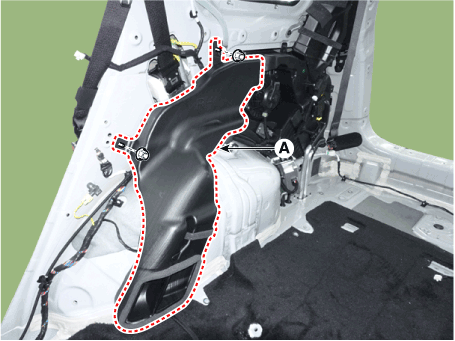
Loosen the mounting nuts and clamps, and remove the rear duct (A).
Tightening torque: 8.8–13.7 N·m
[Upper][Lower]
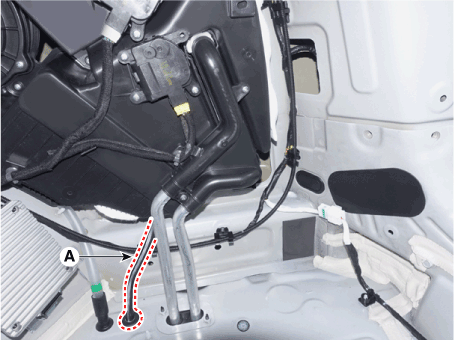
Loosen the mounting bolts of the rear evaporator pipe (A).
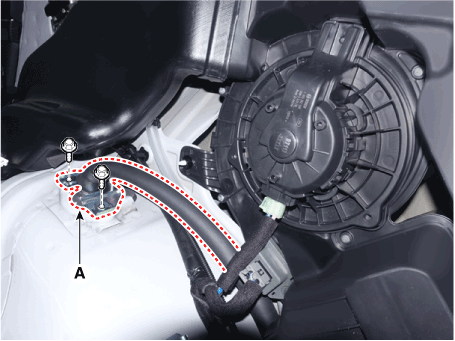
Remove the drain hose (A) from the rear heater and A/C.
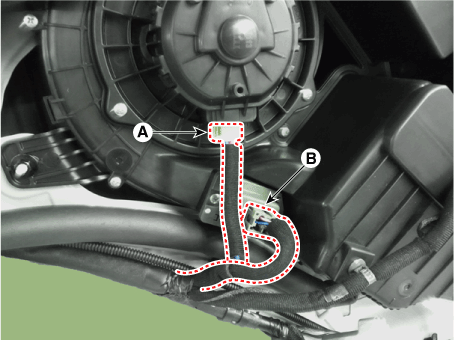
Press the lock pin and disconnect the blower motor connector (A) and the rear power MOSFET connector (B).
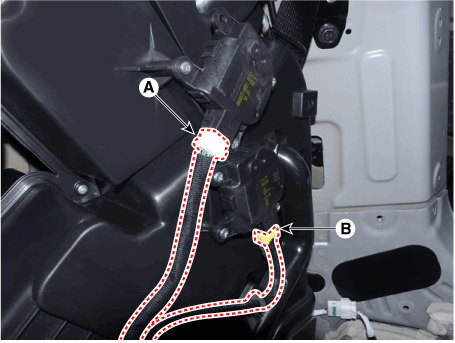
Press the lock pin and disconnect the rear mode control actuator connector (A) and the rear temperature control actuator connector (B).
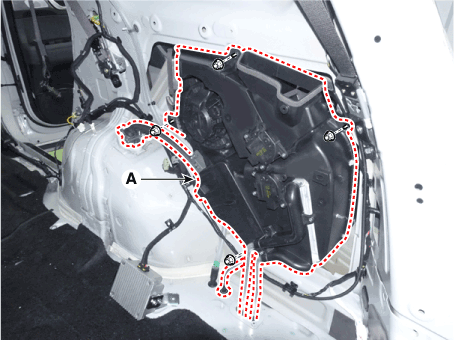
Loosen the mounting nuts and bolts, and remove the rear heater and A/C unit (A).
Install in the reverse order of removal.
Make sure the connector is properly connected.
Replace all damaged clips.
?
Test yourself
A quick Hyundai Palisade quiz: every answer comes with an explanation and a link to the manual page.