Body Work (Interior and Exterior)
Floor Console Assembly
In this manual: Body Work (Interior and Exterior)
18steps
~108min
5/5difficulty
Done 0 of 18
Components and Component Location
COMPONENT LOCATION

| 1. Floor Console Assembly |
Repair Procedures
REPLACEMENT
[M/T]
- Remove the shift knob and shift lever boot (A) by turning counterclockwise.

- Using a screwdriver or remover, remove the upper bracket cover (A).

- Disconnect the connector (A).

- Remove the floor console strut (A) using a screwdriver or remover.

- Disconnect the connectors from the multimedia connector (A).

- Using a screwdriver or remover, remove the side bracket cover (A).
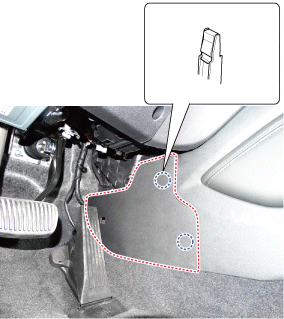
- Loosen the mounting screws and bolts, then remove the rear floor console assembly (A).

- To install, perform the removal procedure in reverse order.
[A/T]
- To remove the shift knob and protective boots (A), pull them upward.

- Remove the upper floor console cover (A) using a screwdriver or remover.

- Disconnect the connectors (A) from the upper floor console cover.

- Separate the floor console tray (A).
- Disconnect the connectors from the floor console struts (A).
- Remove the floor console side cover (A) by pushing it toward the rear.
- Remove the console armrest (A).

- Remove the floor console armrest pad (A).

- Loosen the mounting screws and bolts, then remove the floor console assembly (A).
- To install, perform the removal procedure in reverse order.
Test yourself
A quick Hyundai Tucson quiz: every answer comes with an explanation and a link to the manual page.
Was this page helpful?