Brake Light Switch Operation Inspection
- Turn the ignition switch to ON.
- The brake light (LED) [A] should go on when the brake lever is applied or after the brake pedal is depressed about 10 mm (0.39 in.).
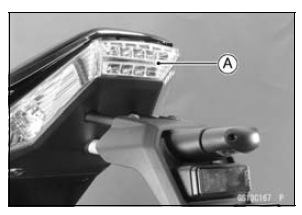
If it does not, adjust the brake light switch.
- Remove the front footpeg bracket (see Brake Pedal Removal in the Brakes chapter).
- Remove the front footpeg bracket (see Brake Pedal Removal in the Brakes chapter).
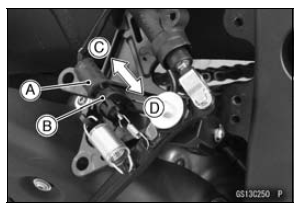
- While holding the switch body, turn the adjusting nut to adjust the switch.
Switch Body [A] Adjusting Nut [B] Light sooner as the body rises [C] Light later as the body lowers [D]
NOTICE
To avoid damaging the electrical connections inside the switch, be sure that the switch body does not turn during adjustment.
If it does not go on, inspect or replace the following parts.
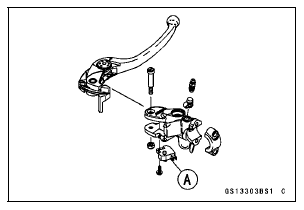
Battery (see Charging Condition Inspection in the Electrical System chapter) Brake Light (LED) (see Tail/Brake Light (LED) Removal Installation in the Electrical System chapter) Main Fuse 30 A and Brake Light/Horn Fuse 10 A (see Fuse Inspection in the Electrical System chapter) Front Brake Light Switch [A] (see Switch Inspection in the Electrical System chapter) Rear Brake Light Switch (see Switch Inspection in the Electrical System chapter) Harness (see Wiring Inspection in the Electrical System chapter)
Test yourself
A quick Kawasaki Ninja ZX-10R quiz: every answer comes with an explanation and a link to the manual page.