Kia Sorento XM 2011-2023 Repair Manual
Temperature Control Actuator Replacement
In this manual: Kia Sorento XM 2011-2023 Repair Manual
21steps
~126min
4/5difficulty
Done 0 of 21
[Driver Side]
- Disconnect the negative (-) battery terminal.
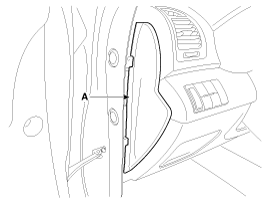
- Using a screwdriver or a pry tool, remove the driver side cover of the crash pad side cover.
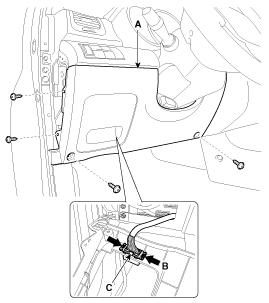
- Loosen the mounting screws, then remove the lower protector panel (A).
- Press the stopper pin (B), then disconnect the diagnostic connector (C).
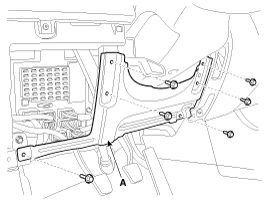
- Loosen the mounting bolts, then remove the reinforcement panel (A).
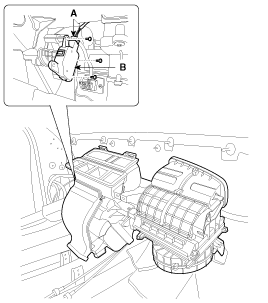
- Loosen the screw, then remove the driver side shower duct.
- Disconnect the temperature control actuator connector (A).
- Remove the temperature control actuator (B) after loosening the mounting screws.
- Install in the reverse order of removal.
[RHD]
- Disconnect the negative (-) battery terminal.
- Remove the hood side trim. (Refer to Body - "Emergency Pad")
- Using a screwdriver or a removal tool, remove the side cover of the airbag (A).
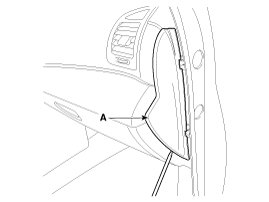
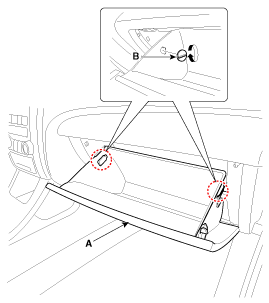
- Disconnect the plug (B) from the glove box (A).
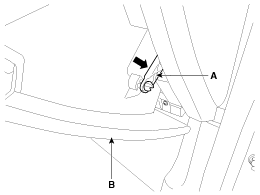
- Disconnect the air duct (A) from the glove box (B).
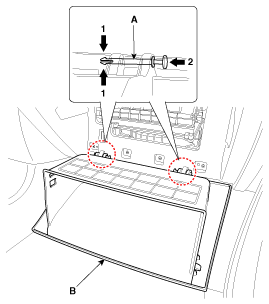
- Disconnect the pins (A) and remove the glove box (B).
- After loosening the mounting screws, remove the side trim protector [RH] (A).
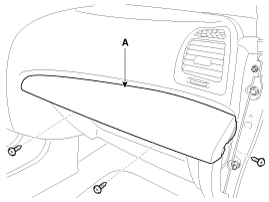
- After loosening the mounting screws, remove the protector under the cover (A).
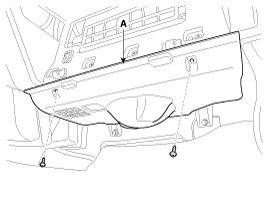
- Remove the glove box housing (A) after removing the mounting screws.
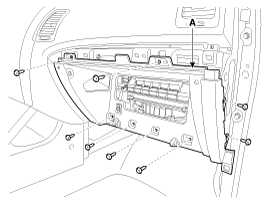
- Disconnect the glove box lamp connector (A).
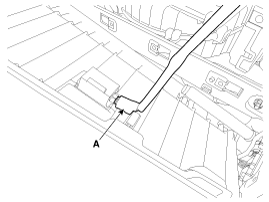
- Disconnect the connector (A), then remove the temperature control actuator (B) after loosening the mounting screws.
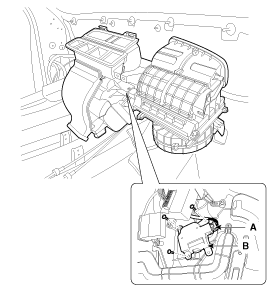
- Install in the reverse order of removal.
Test yourself
A quick Kia Sorento Owner's Manual quiz: every answer comes with an explanation and a link to the manual page.
Was this page helpful?