Heating, Ventilation, and Air Conditioning
Heater and A/C Control Unit (Manual)
In this manual: Heating, Ventilation, and Air Conditioning
11steps
~66min
3/5difficulty
Done 0 of 11
Components and Component Location
Components
[Non-ISG]

| No. | Connector A | Connector B |
| 1 | Low | Battery |
| 2 | General | Illumination (+) |
| 3 | Ground | HTD |
| 4 | Medium (Low) | ISG Battery |
| 5 | Medium (High) | - |
| 6 | High | Latch Out (-) |
| 7 | - | |
| 8 | REF Sensor (+5V) | |
| 9 | Intake Actuator (FRE) | |
| 10 | Intake Actuator (REC) | |
| 11 | Intake Actuator Feedback | |
| 12 | PAB by Signal | |
| 13 | PAB Off Signal | |
| 14 | Ground | |
| 15 | Sensor Ground | |
| 16 | Illumination (-) | |
| 17 | IGN2 | |
| 18 | IGN1 | |
| 19 | PAB IGN1 | |
| 20 | Ambient Sensor (+) | |
| 21 | Evaporator Sensor (+) | |
| 22 | MAX Blower Signal | |
| 23 | Seat Belt Reminder | |
| 24 | Rear Left Seat Belt Unbuckled Reminder | |
| 25 | Rear Center Seat Belt Unbuckled Reminder | |
| 26 | Rear Right Seat Belt Unbuckled Reminder | |
| 27 | - | |
| 28 | C_CAN (High) | |
| 29 | C_CAN (Low) | |
| 30 | Rear Heater Switch | |
| 31 | Blower Signal Common | |
| 32 | Ground |
Repair Procedures
Replacement
- Disconnect the negative (-) battery terminal.
- Remove the floor console assembly. (Refer to Body – Floor Console Assembly)
- Remove the emergency pad lower panel. (Refer to Body - "Emergency Pad Lower Panel")
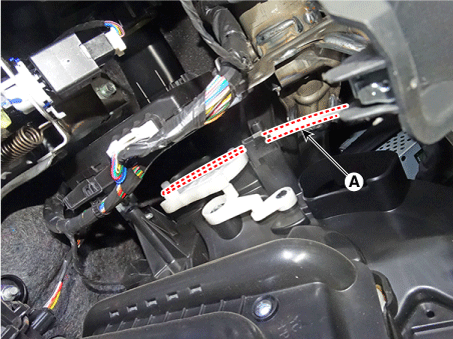
- Remove the driver side air vent duct (A) after loosening the screw.

- Disconnect the mode control cable (A).
- Remove the glove box housing. (Refer to Body - "Glove Box Housing")
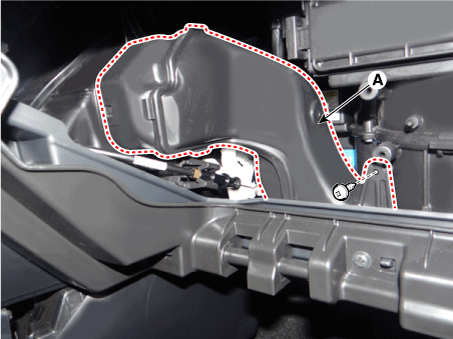
- Remove the passenger side air vent duct (A) after loosening the screw.
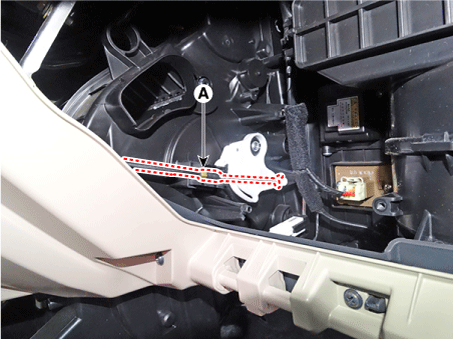
- Disconnect the temperature control cable (A).
- Loosen the mounting screws, then remove the air conditioner and heater control assembly (A).
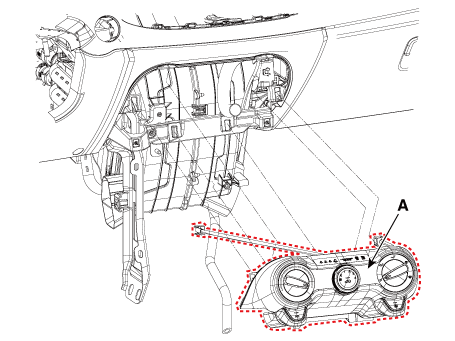
- Disconnect the A/C and heater controller connectors (A).
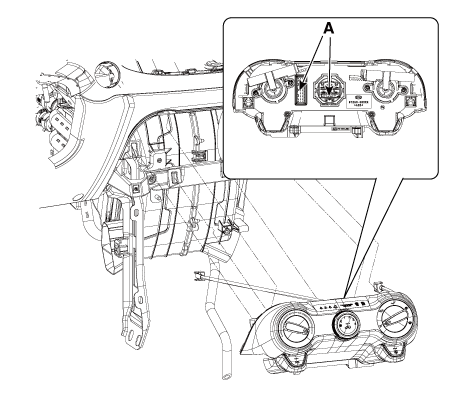
- Install in the reverse order of removal.
Test yourself
A quick Kia Picanto JA quiz: every answer comes with an explanation and a link to the manual page.
Was this page helpful?