Exhaust System
Exhaust System
Commercial Service Tool
| Tool name | Description | |
|---|---|---|
| Power tool | 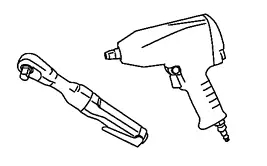 |
Loosening bolts and nuts |
Exhaust System
Inspection
Check exhaust pipes, muffler and mounting for improper attachment, leakage, cracks, damage or deterioration.
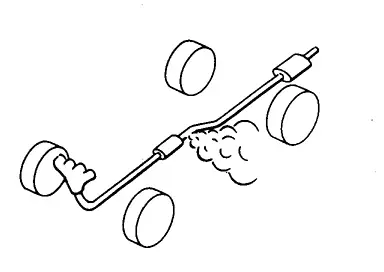
If damage is found, repair or replace damaged parts.
Exhaust System
Exploded View
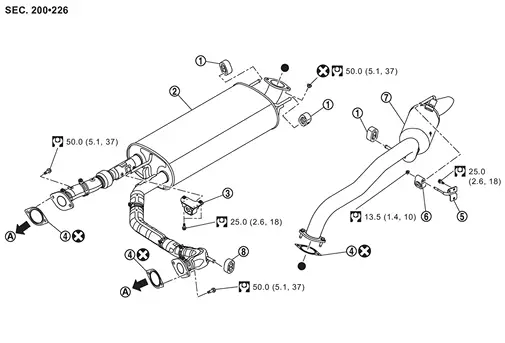
 |
Mounting rubber 1 |  |
Main muffler |  |
Mounting rubber 2 |
 |
Gasket |  |
Mounting bracket |  |
Mounting rubber 3 |
 |
Rear muffler |  |
Mounting rubber 4 | ||
 |
To catalyst. Refer to Exploded View. | ||||
 : N·m (kg-m, ft-lb) |
|||||
 : Always replace after every disassembly. |
|||||
 : Indicates that the parts is connected at points with same symbols in actual vehicle. |
|||||
Removal & Installation
REMOVAL
Remove spare tire. Refer to Removal & Installation.
Remove rear muffler with the following procedure: Loosen the mounting nut of the mounting bracket .
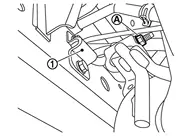 and rear muffler from the vehicle as a set.
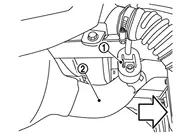
: vehicle front
Remove mounting nut from the mounting bracket , and remove the mounting rubber 3 and rear muffler as a set from the mounting bracket.  and mounting rubber 3 from rear muffler .
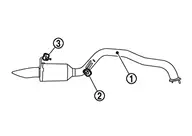 if necessary.
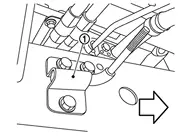
: vehicle front
Disconnect each connection and remove the main muffler.
INSTALLATION
Note the following items, and install in the reverse order of removal.
Temporarily tighten bolts and nuts when installing exhaust pipe assembly. Tighten them to the specified torque when connecting the vehicle rear to the vehicle front.
EXHAUST SYSTEM : Inspection (Removal & Installation)
INSPECTION AFTER INSTALLATION
Check clearance between tail tube and rear bumper is even.
With engine running, check exhaust tube joints for gas leakage and unusual noises.
Check to ensure that mounting brackets and mounting rubbers are installed properly and free from undue stress. Improper installation could result in excessive noise and vibration.