Door inner trim panel - removal and refitting
Removal
1. Procedure is described for a front door; rear doors are similar, except where noted.
2. Except on models with electric windows, the window winder handle must first be removed. In the absence of special tool KM-31 7-A, release the handle securing clip by introducing a strip of rag between the handle and the door trim panel and working it back and forth to pick up the ends of the clip.
Remove the handle, clip and trim plate (see illustration).
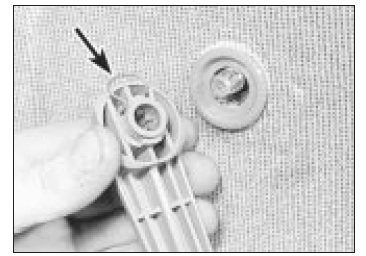
Window winder handle spring clip (arrowed)
3. Prise the surround from the remote control handle (see illustration).
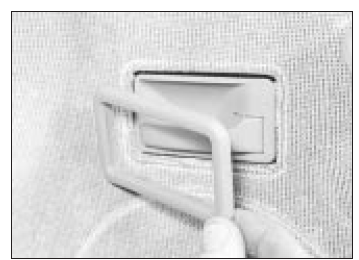
Removing the surround from the remote control handle
4. Unscrew the interior lock button (see illustration).
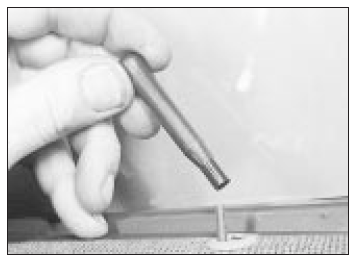
Unscrewing the lock button
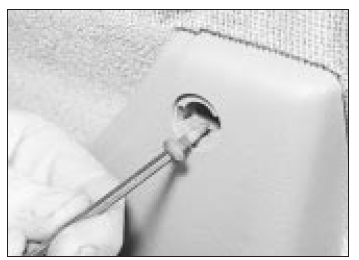
5. When a door pocket is fitted, prise out the screw cover and remove the securing screw (see illustrations). Remove the two screws at the bottom of the pocket, if fitted, then remove the pocket. On rear doors, unclip the ashtray housing.
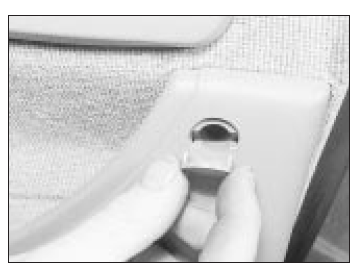
Door pocket screw cover
Removing a door pocket screw
6. Remove the armrest. Precise details of fixing will vary with trim level, but usually there are two Torx screws at the fore end (see illustrations). Some armrests also have an ordinary self-tapping screw at the rear end.
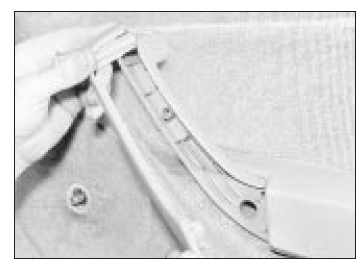
Removing the armrest screw cover
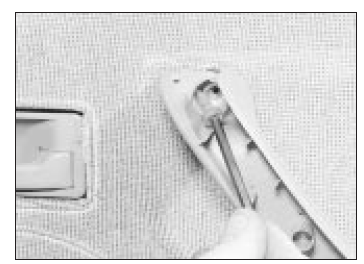
Removing an armrest screw
7. With some trim levels there is a self-tapping screw securing the trim to the door shut face.
Remove this if present (see illustration).
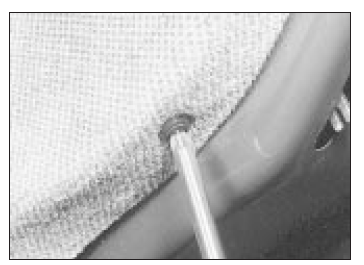
Trim securing screw on the door shut face - rear door shown
8. Uncap the retaining clips with a broad-bladed screwdriver or a palette knife and remove the panel. The degree of force needed to release the clips is not far off that which will break them: obtain new clips for refitting if necessary.
9. Free the plastic sheets from the door or trim panel as appropriate.
Refitting
10. Refit in the reverse order to removal. make sure that the plastic sheet is intact and securely glued round the bottom and sides on the door: if it is broken or detached, rainwater may leak into the vehicle or damage the door trim.
Test yourself
A quick Opel Corsa quiz: every answer comes with an explanation and a link to the manual page.