Engine
Fuel tank removal and installation
In this manual: Engine
7steps
~42min
2/5difficulty
Done 0 of 7
Removal

Installation
- Keep away from fire or spark.
- Spilled gasoline should be wiped off immediately.
- Work in a well-ventilated area.
- Remove the front seat. Refer to “exterior parts removal and installation” in section 9d (page 9d- 6).
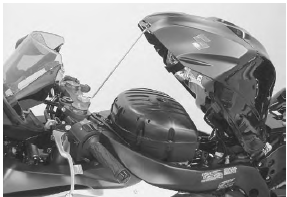
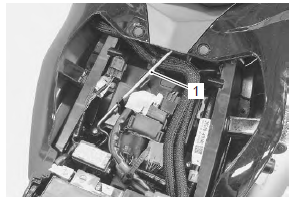
- Take out the fuel tank prop stay (1).
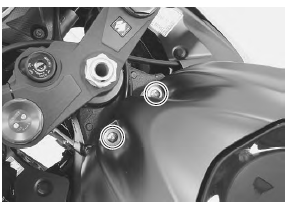
- Remove the bolts.
- Lift and support the fuel tank with the prop stay.
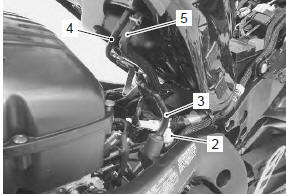
- Disconnect the fuel pump lead wire coupler (2).
- Place a rag under the fuel feed hose (3) and disconnect the fuel feed hose from the fuel tank.
when removing the fuel tank, do not leave the fuel feed hose on the fuel pump side.
- Disconnect the fuel tank drain hose (4).
- Disconnect the surge hose (5). (For e-33)
- disconnect the fuel tank breather hose. (Except for e-33)
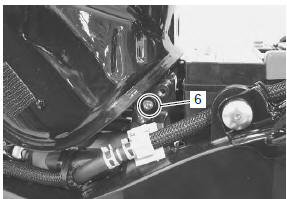
- Remove the fuel tank by removing its bracket bolt (6).
Installation
Install the fuel tank in the reverse order of removal.
Pay attention to the following point:
Noteconnect the fuel feed hose to the fuel pump until it locks securely (a click is heard).
Test yourself
A quick Suzuki GSX-R 1000 quiz: every answer comes with an explanation and a link to the manual page.
Was this page helpful?