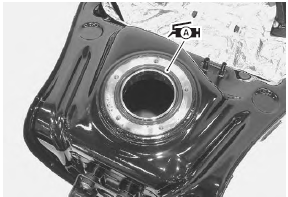
Remove the fuel tank. Refer to “fuel tank removal and installation” .
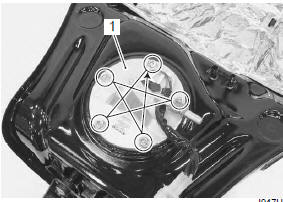
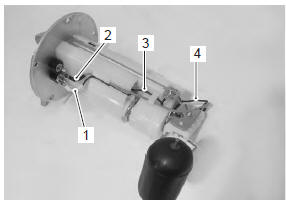
Remove the fuel pump assembly (1) by removing its mounting bolts diagonally.
Spilled gasoline should be wipe off immediately.
Keep away from fire or spark.
Work in a well-ventilated area.
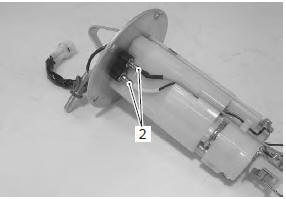
Disconnect the lead wires (2).
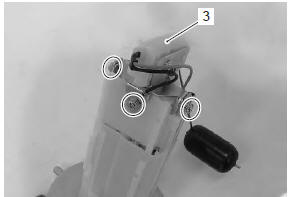
Remove the fuel level gauge (3).
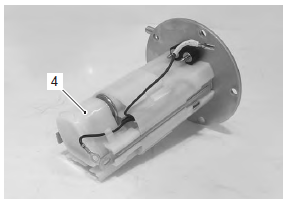
Remove the fuel pressure regulator assembly (4).
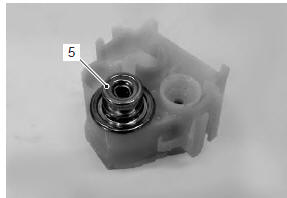
Caution never remove the fuel pressure regulator (5) from the holder.
Remove the o-ring (6) and fuel pump case (7).
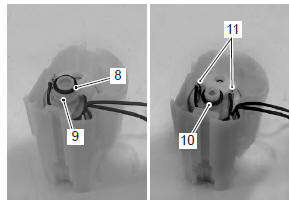
Remove the o-ring (8) and joint (9).
Remove the o-ring (10) and lead wires (11).
Remove the fuel mesh filter (12).
Remove the fuel pump (13).
Assembly
Refer to “fuel mesh filter inspection and cleaning” .
Assemble the fuel tank pump in the reverse order of the disassembly. Pay attention to the following points:
Caution
to prevent fuel leakage, the bushing and o-ring must be replaced with new ones.
Apply engine oil lightly to the o-rings.
Caution connect all lead wires securely so as not to cause contact failure.
Fuel pump (+) lead wire (y/r)
Fuel level gauge (+) lead wire (r/b)
Fuel pump (–) lead wire (b/w)
Fuel level gauge (–) lead wire (b/w)
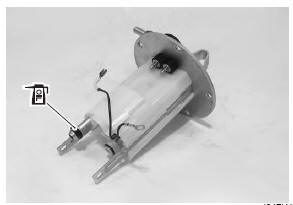
Install a new o-ring and apply grease to it.
: Grease 99000–25010 (suzuki super grease “a” or equivalent)The o-ring must be replaced with a new one to prevent fuel leakage.
When installing the fuel pump assembly, first tighten all the fuel pump mounting bolts lightly and then to the specified torque in the ascending of numbers.

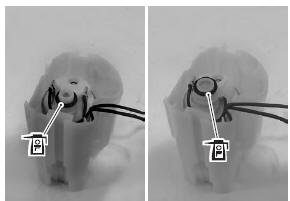

 : Grease 99000–25010 (suzuki
 The o-ring