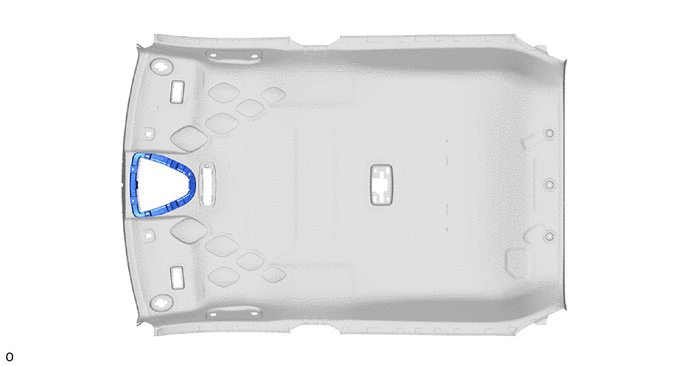
Disassembly
DISASSEMBLY
PROCEDURE
1. REMOVE ROOF HEADLINER PADDING (except vehicles for cold areas)
(a) Remove the 2 roof headliner paddings.
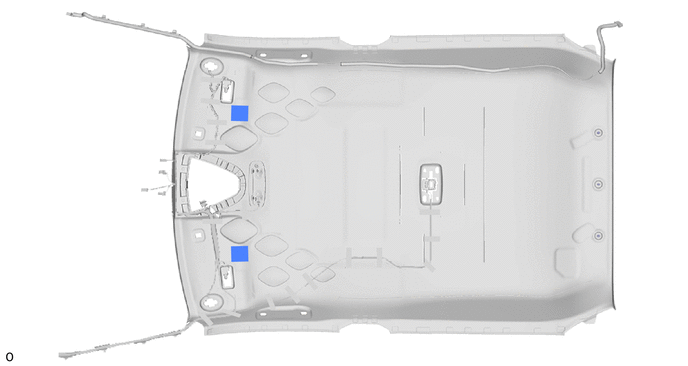
2. REMOVE NO. 1 ROOF INSULATOR BOARD
(a) Remove the No. 1 roof insulator pad.
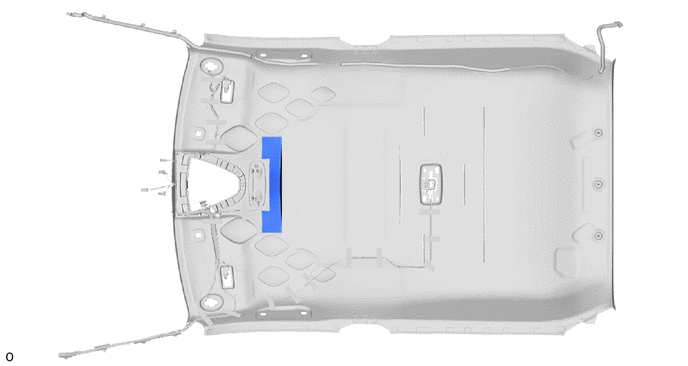
3. REMOVE NO. 2 ROOF INSULATOR PAD
(a) Remove the 2 No. 2 roof insulator pads.
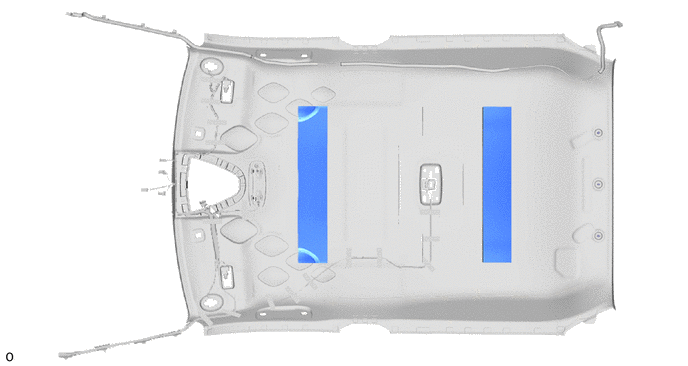
4. REMOVE ROOF INSULATOR PAD
(a) Remove the 2 roof insulator pads.
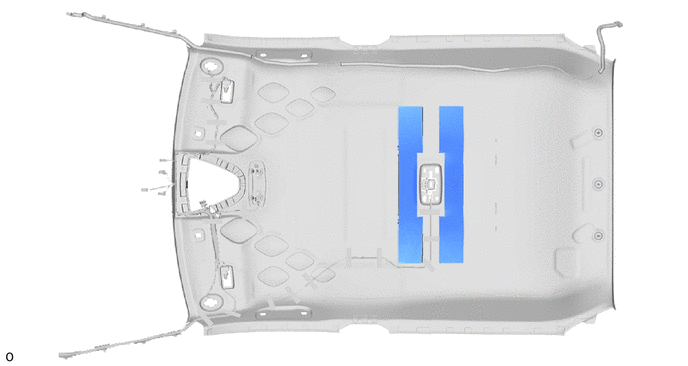
5. REMOVE NO. 3 ROOF INSULATOR PAD (for cold regions)
(a) Remove the double-sided adhesive tape to remove the 2 No. 3 roof insulator pads.
HINT:
Remove any remaining double-sided adhesive tape residue from the roof headliner.
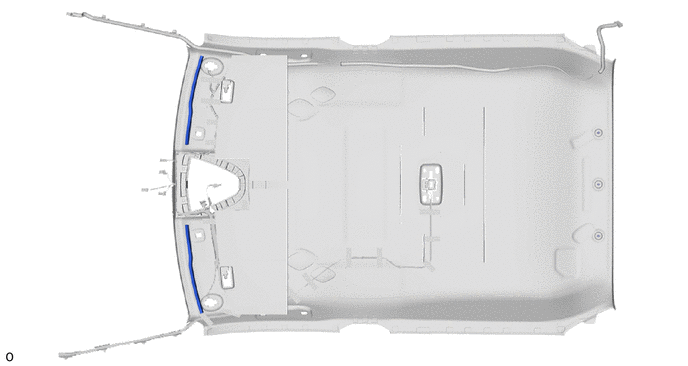
6. REMOVE LH ROOF HEADLINER PAD (for cold regions)
(a) Remove the LH roof headliner pad.
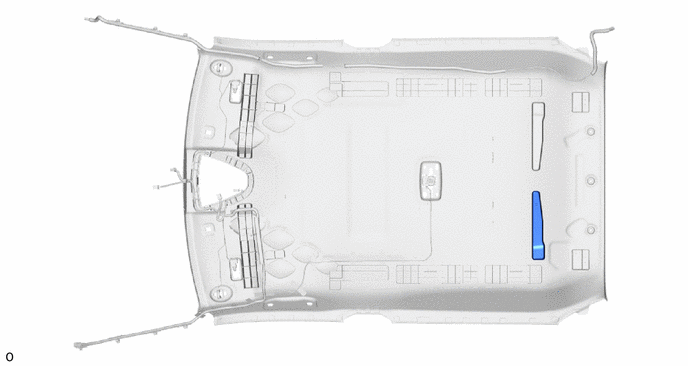
7. REMOVE RH ROOF HEADLINER PAD (for cold regions)
(a) Remove the RH roof headliner pad.
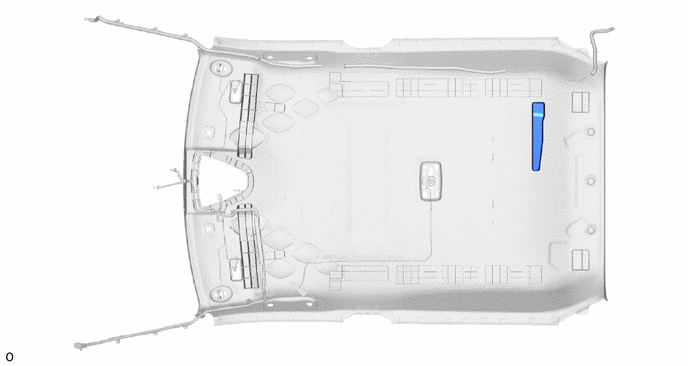
8. REMOVE NO. 2 ROOF HEADLINER PAD (for cold regions)
(a) Remove the No. 2 roof headliner pad.
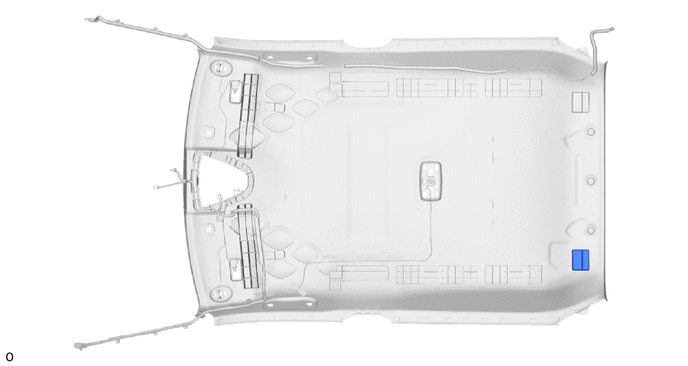
9. REMOVE ROOF HEADLINER PAD (for cold regions)
(a) Remove the roof headliner pad.
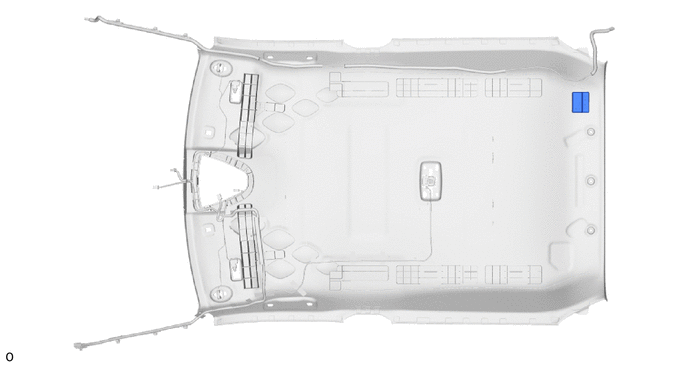
10. REMOVE LH REAR ROOF SIDE RAIL BRACE (for vehicles for cold regions)
(a) Remove the 4 LH rear roof side rail braces.
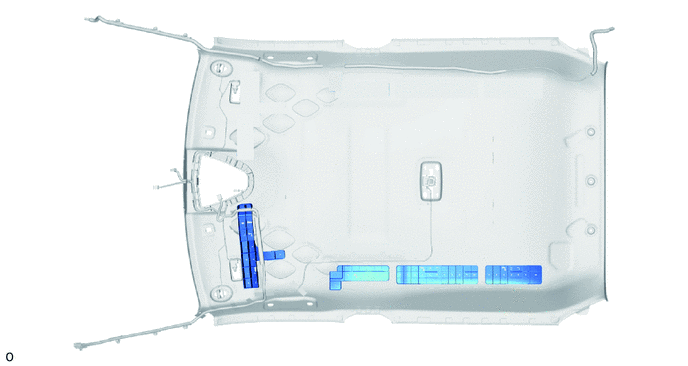
11. REMOVE RH REAR ROOF SIDE RAIL BRACE (for vehicles for cold regions)
(a) Remove the 4 RH rear roof side rail braces.
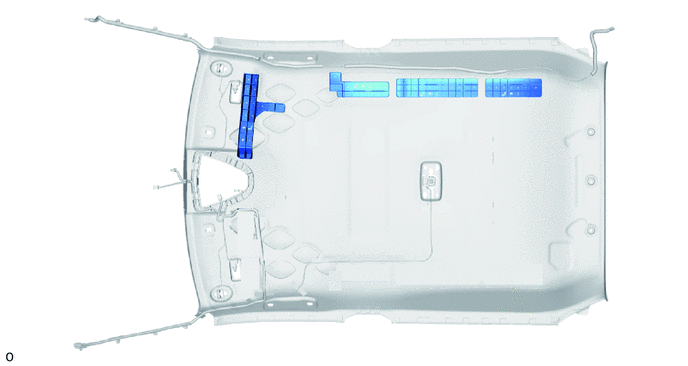
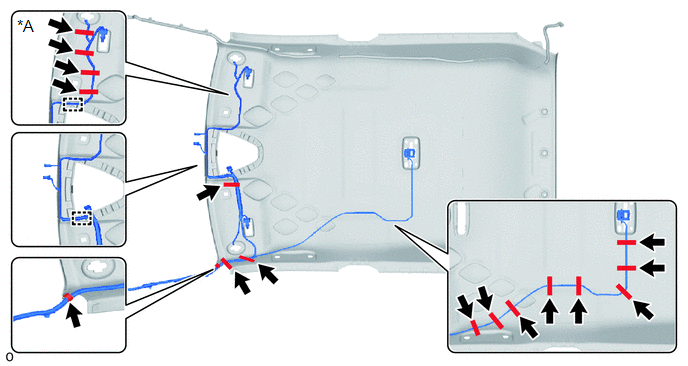
12. REMOVE NO. 1 ROOF WIRE
(a) Release each guide.
*A |
with courtesy light |
- |
- |
(b) Remove the adhesive tape pieces from each tape and remove the No. 1 roof wire.
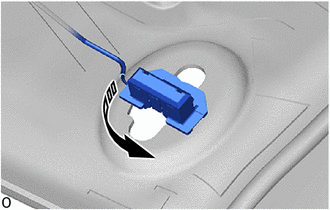
(c) with courtesy light:
 |
Remove in this direction |
(1) Turn the sun visor connector approximately 90° counterclockwise and disconnect the sun visor connectors as shown in the illustration.
HINT:
Perform the same procedure on the opposite side.
13. REMOVE NO. 2 ANTENNA WIRE SUB-ASSEMBLY
Click here
14. REMOVE ROOF HEADLINER BOX
(a) Remove the roof headliner light box.