Removal
REMOVAL
PRECAUTION / NOTICE / HINT
The procedures required (adjustment, calibration, initialization or registration) that must be performed after parts have been removed and installed or replaced during removal/installation of the rear upper arm assembly are listed below.
Procedures Required After Replacement / Removal / Installation of PartsReplaced Part or Performed Procedure | Required Procedure | Effect/Inoperative Function When Required Procedure Is Not Performed | Link |
|---|---|---|---|
Rear Wheel Alignment Adjustment |
|
|
 |
Removal/installation of rear left height control sensor sub-assembly*1 |
Initialize LH Headlight ECU Sub-assembly |
Automatic Headlight Leveling System |
|
Suspension, tires, etc. (Vehicle height changes due to suspension or tire replacement)*1 |
|||
Exhaust gas leak must be repaired |
Verification after Repair |
|
|
- *1: with height control sensor
CAUTION:
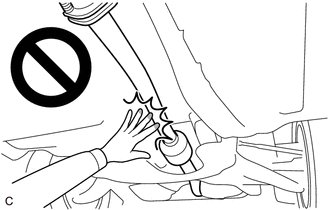
To avoid burns, do not touch the engine, exhaust pipe or other high-temperature components while the engine is hot.
PROCEDURE
1. REMOVE REAR SUSPENSION MEMBER SUB-ASSEMBLY
Click here
2. REMOVE REAR UPPER ARM ASSEMBLY LH
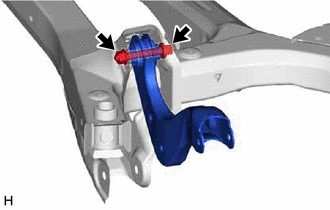
(a) Remove the bolt, nut and rear upper arm assembly LH from the rear suspension member sub-assembly. NOTICE: Do not turn the nut as it has a stopper. Loosen the bolt with the nut in place. |
 |
3. REMOVE REAR UPPER ARM ASSEMBLY RH
HINT:
Perform the same procedure as for the left side.